This section explains how to configure access for AWS S3 bucket objects across accounts.
Prerequisites
-
At least two accounts in AWS (in this example, account A and account B)
-
An AWS S3 bucket for account A (bucket owner) in region R
-
AWS SQS (simple queue service) for account B in region R
Create an AWS S3 Bucket
-
Sign in to the AWS Management Console.
-
Open the Amazon S3 console at https://console.aws.amazon.com/s3/ with the login credentials for account A.
-
Click Create bucket.
The Create bucket wizard appears.
-
In the Bucket name field, enter a DNS-compliant name for your bucket. The bucket name must:
-
Be unique across all of Amazon S3.
-
Be between 3 and 63 characters long.
-
Not contain uppercase characters.
-
Start with a lowercase letter or number.
-
-
In the Region field, choose the AWS Region where you want the bucket to reside. In this case, choose region R.
-
In Bucket settings for Block Public Access, select the Block Public Access settings that you want to apply to the bucket.
Do not clear the Block all public access default settings.
-
Click Create bucket. In this example, it is named bucket X.
Create an AWS SQS
Follow the instructions in Create a Simple Queue Service (SQS) in AWS using credentials for account B, ensuring that the SQS you create is in region R.
In this example, the queue is called queue Q.
Add Necessary Permissions in Bucket X to allow Account B to Access Its Objects
-
Go to https://console.aws.amazon.com/s3/ and type bucket X in the search box. Click the bucket in the drop-down list.
-
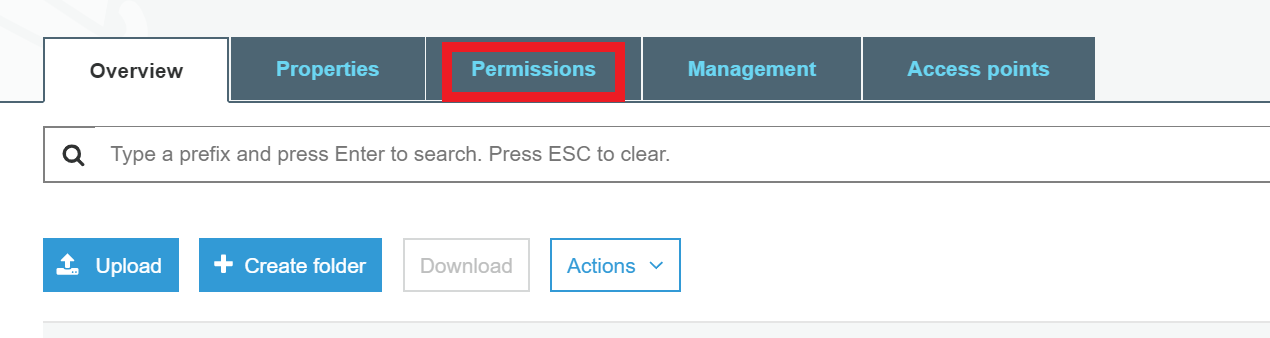
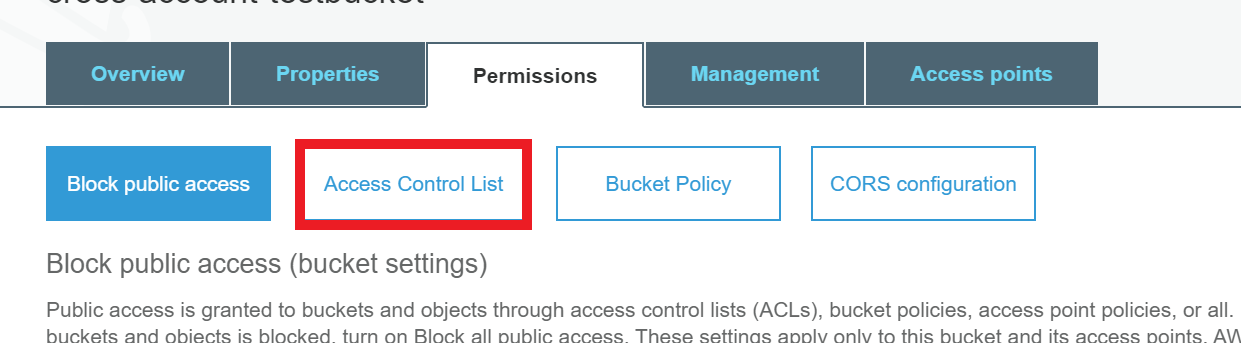
Click the Permissions Tab.
-
Click Access Control List.
-
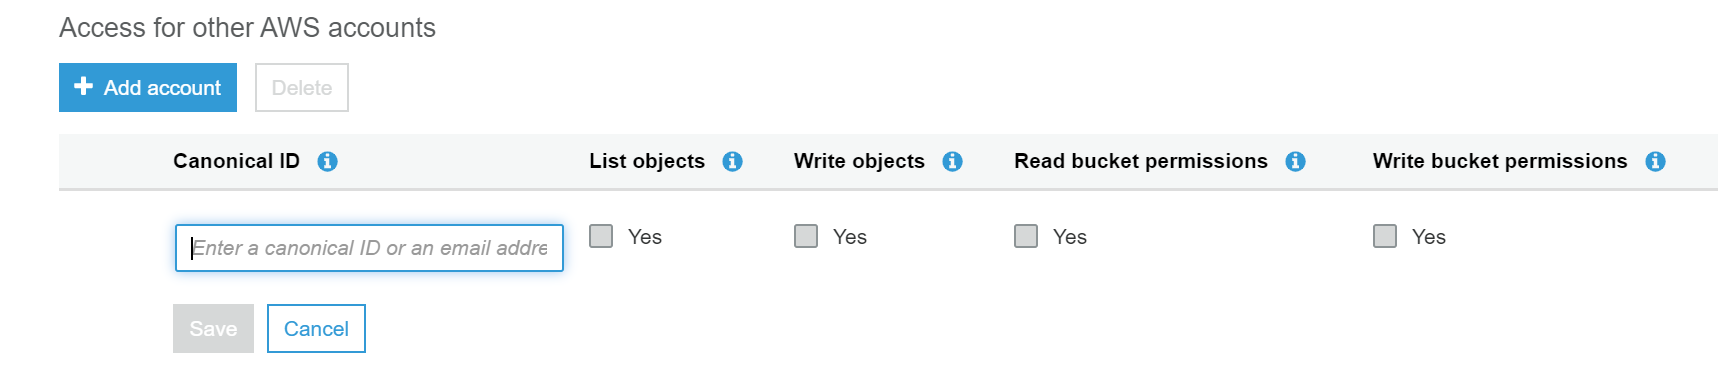
Click Add account.

-
Enter the Canonical ID of account B.
-
Verify the List objects and Read bucket permissions, and then click Save.
Those permissions are added to your account.

-
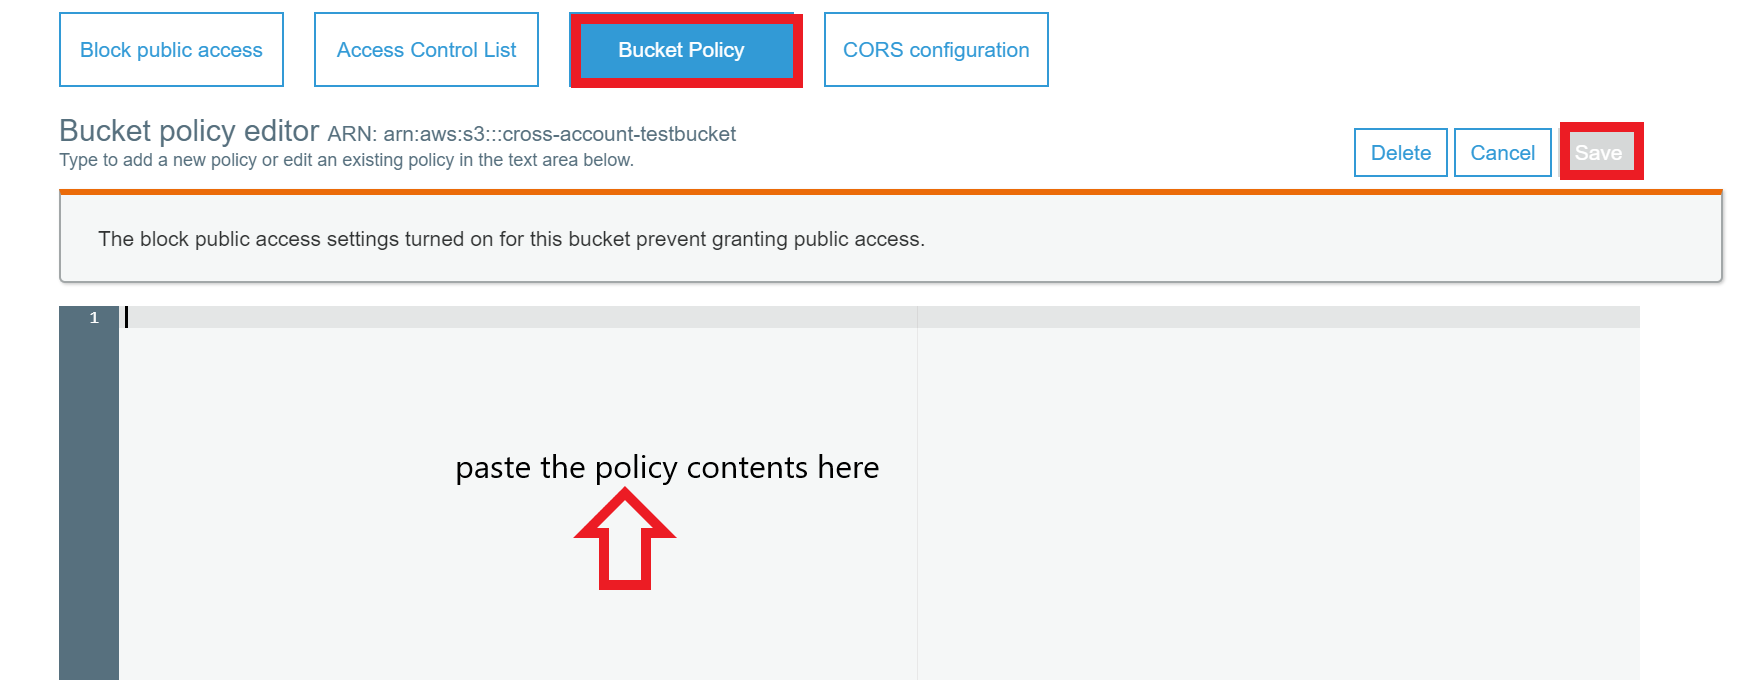
Click the Bucket Policy tab.
-
Paste the bucket policy below into the editor space.
Replace account B and bucket X with correct values.
{
"Version": "2012-10-17",
"Statement": [
{
"Sid": "Example permissions",
"Effect": "Allow",
"Principal": {
"AWS": "arn:aws:iam::account B:root"
},
"Action": [
"s3:GetBucketLocation",
"s3:ListBucket"
],
"Resource": "arn:aws:s3:::bucket X"
},
{
"Sid": "permissions 2",
"Effect": "Allow",
"Principal": {
"AWS": "arn:aws:iam::account B:root"
},
"Action": "s3:GetObject",
"Resource": "arn:aws:s3:::bucket X/*"
}
]
}
-
Click Save.
Configure SQS Events in Bucket X
-
Log in to https://console.aws.amazon.com/s3/ with the credentials for account A.
-
In the search bar, enter bucket X.
-
Click the name of the bucket, and then click the Properties tab.
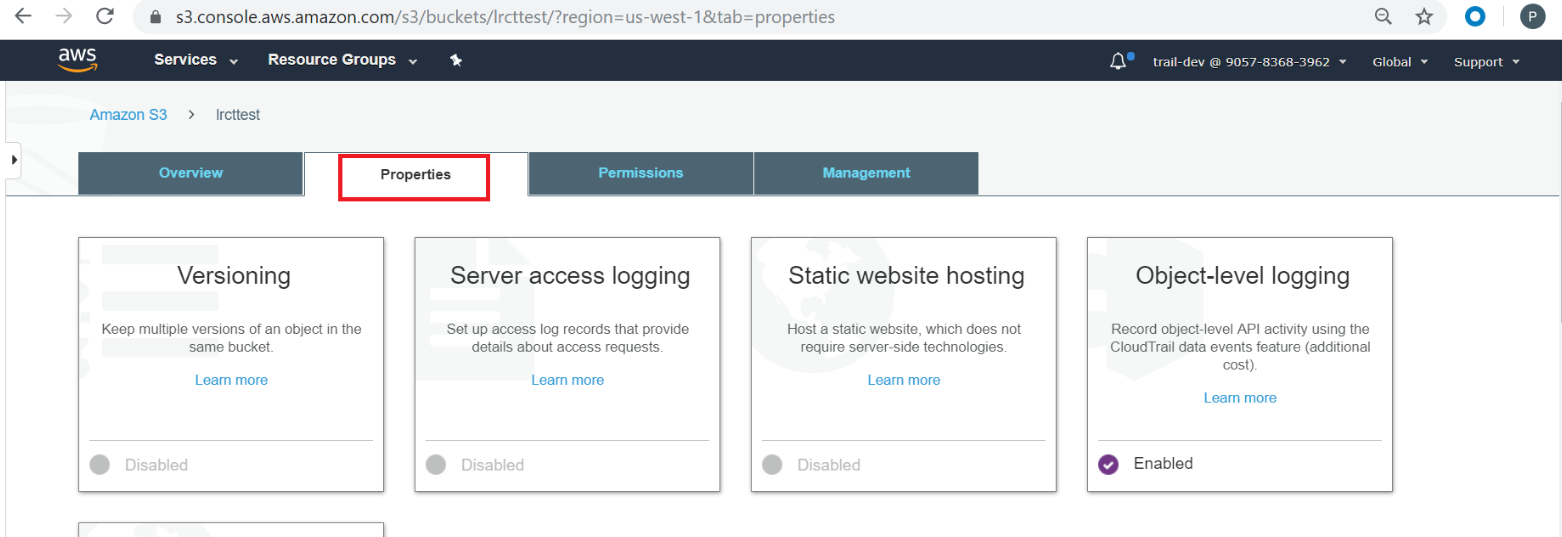
-
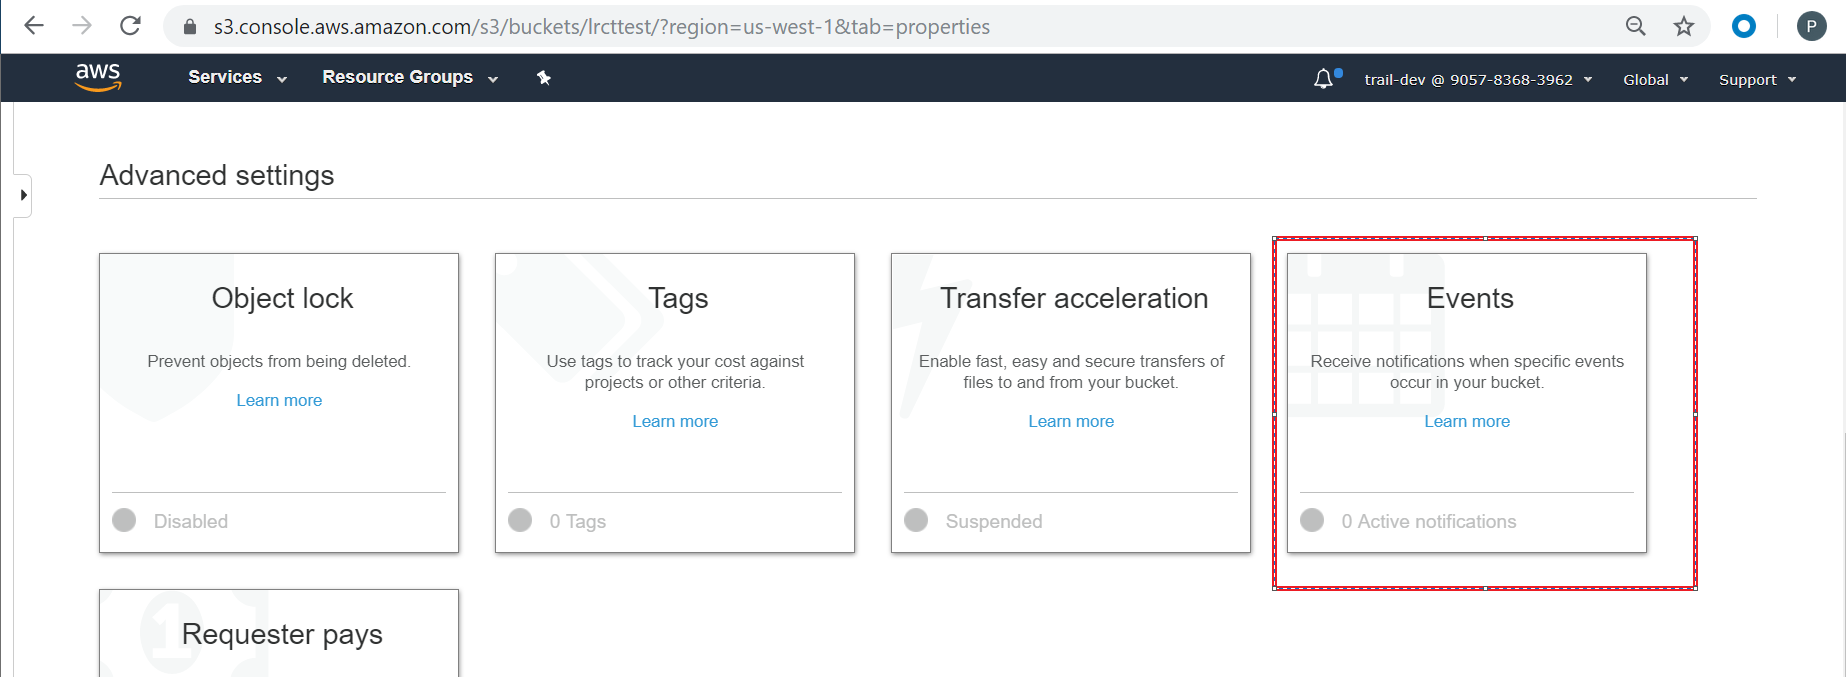
Under Advanced settings, click Events.
-
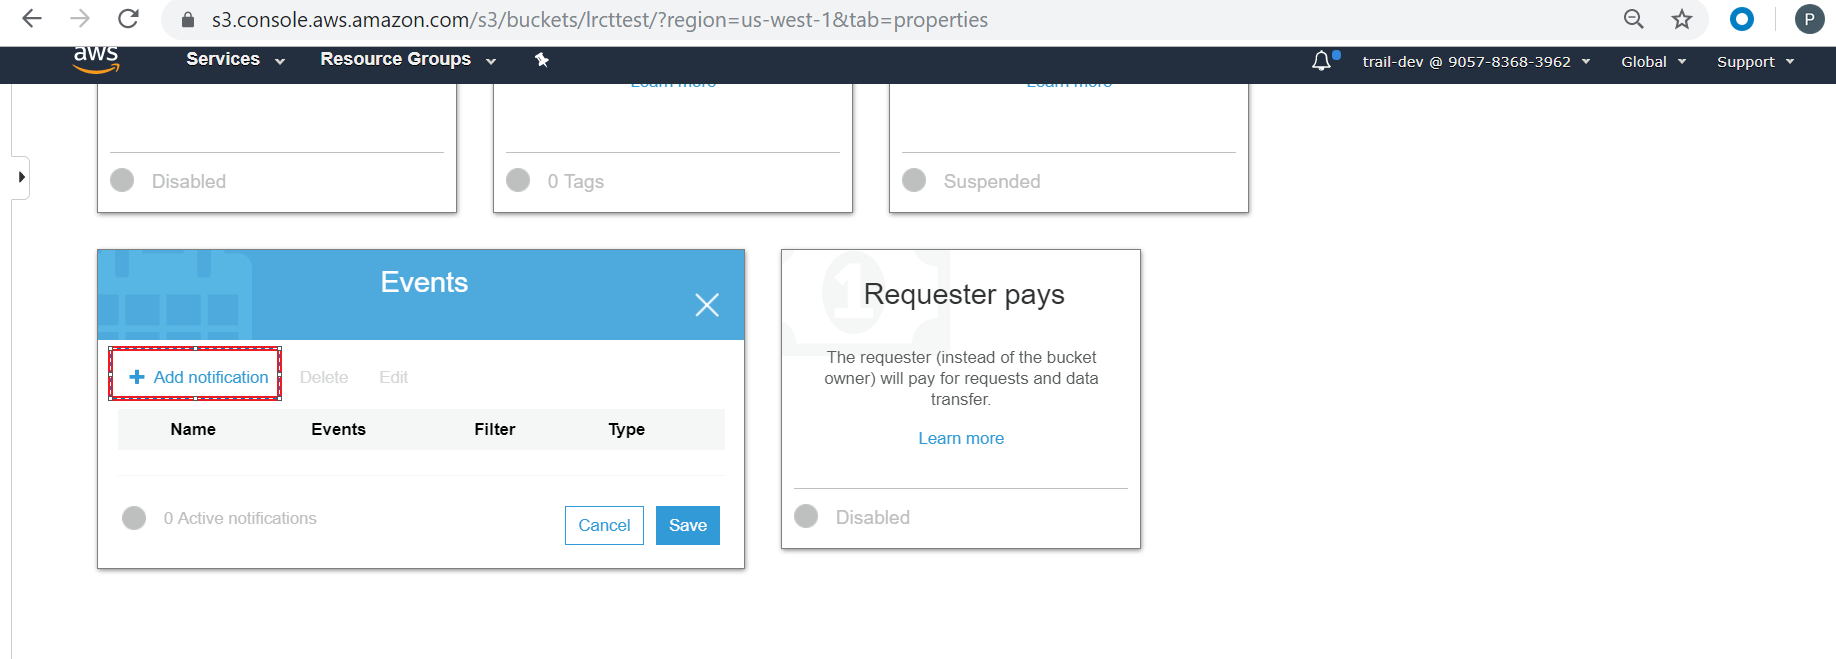
Click Add notification.
-
Configure the following permissions:
-
Name. Enter any name.
-
Events. Select the events you need to be notified of—for example, All object create events.
-
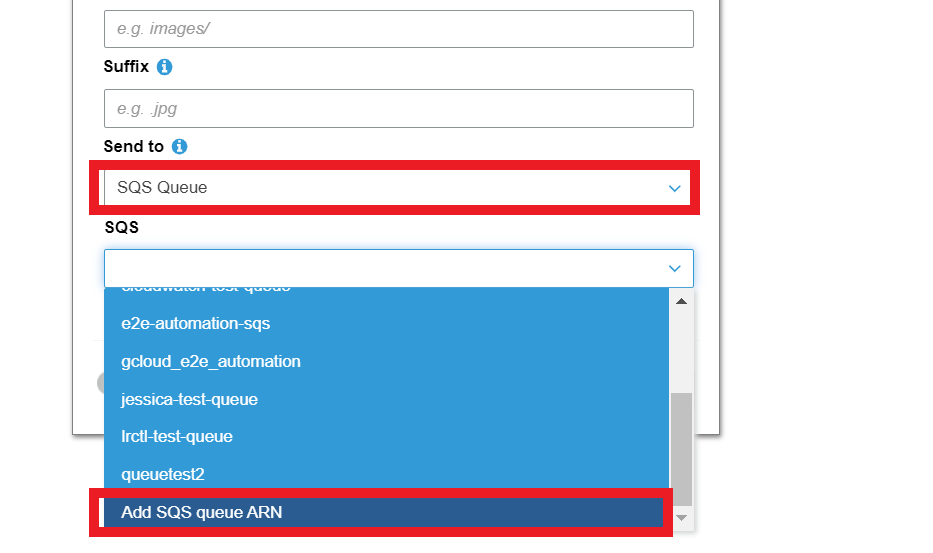
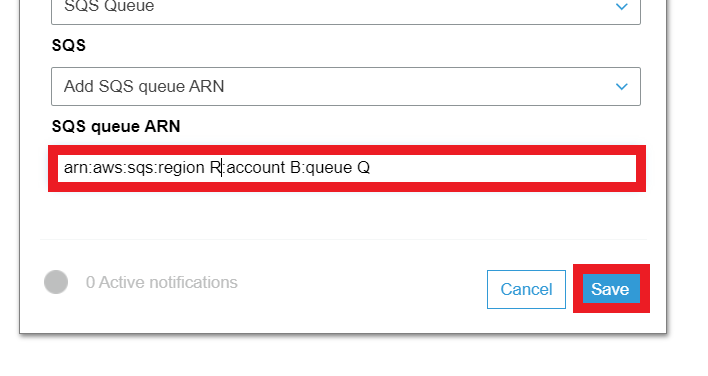
Send To. select the destination queue where you want to send events. In this example, click Add SQS queue ARM, as the queue resides in a different account.
-
Enter the ARN of the SQS. For example, arn:aws:sqs:region R:account B:queue Q.
-
-
Click Save.
-
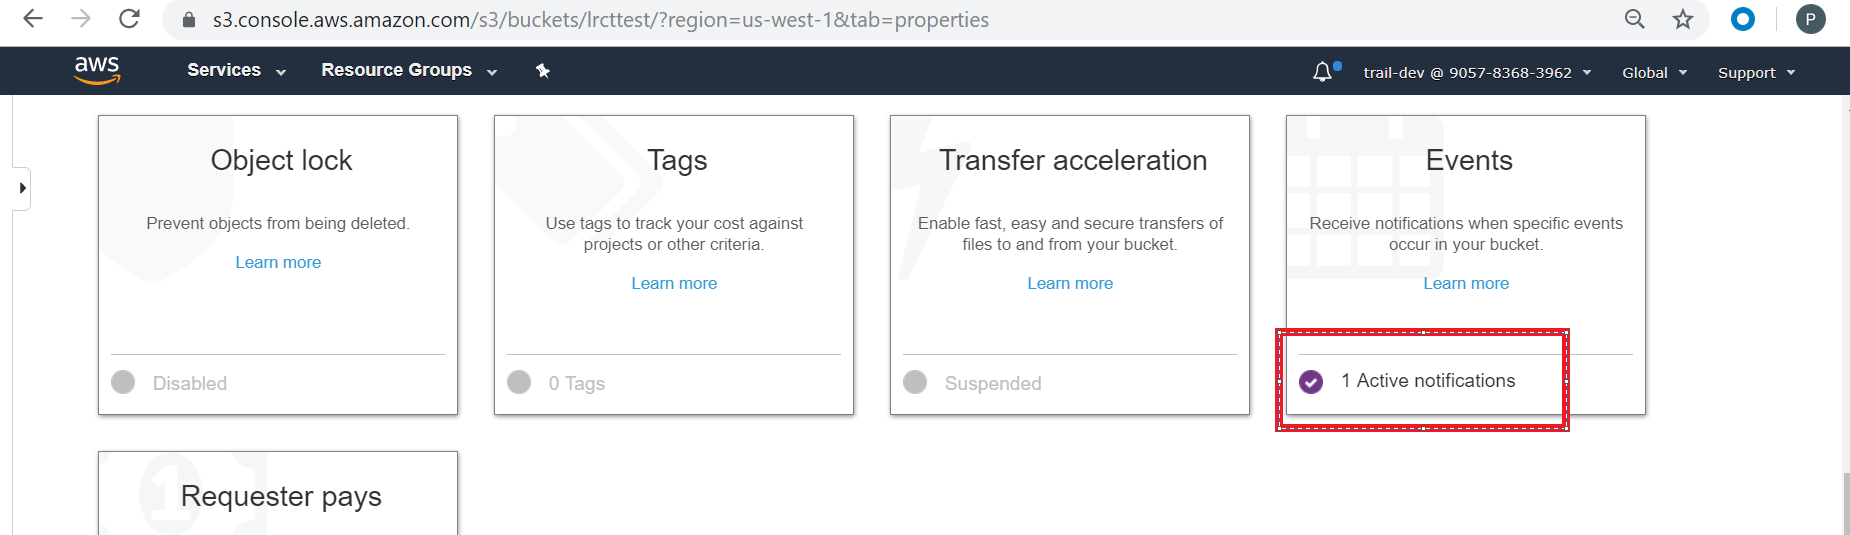
If you have correctly configured the event, the tile displays active notifications.
-
Add the above configuration in s3beat service by providing following input values:
-
-
Access ID for Account B
-
Secret access ID for Account B
-
queuename:region (for example, queueQ:regionR)
-
You can now access the bucket X objects in account A from account B.
To start the s3beat service, see Initialize the AWS S3 Beat.