Overview
-
The S3 Beat supports log collection from multiple S3 buckets and AWS accounts.
-
Each AWS S3 bucket from which you want to collect logs should be configured to send Object Create Events to an SQS (Simple Queue Service) queue. Then, you provide the queue name(s) and region(s) to the S3 Beat.
To collect from SQS queues belonging to multiple Amazon S3 accounts, multiple S3 Beat instances must be configured.
-
The S3 Beat offers two authentication methods: key-based and role-based. If you use role-based access, the s3beat service will not ask for the security credentials (access key and secret key).
To understand how to implement role-based access, see Configure Role-Based Access for an AWS EC2 Instance.
Requirements
SQS Queue
-
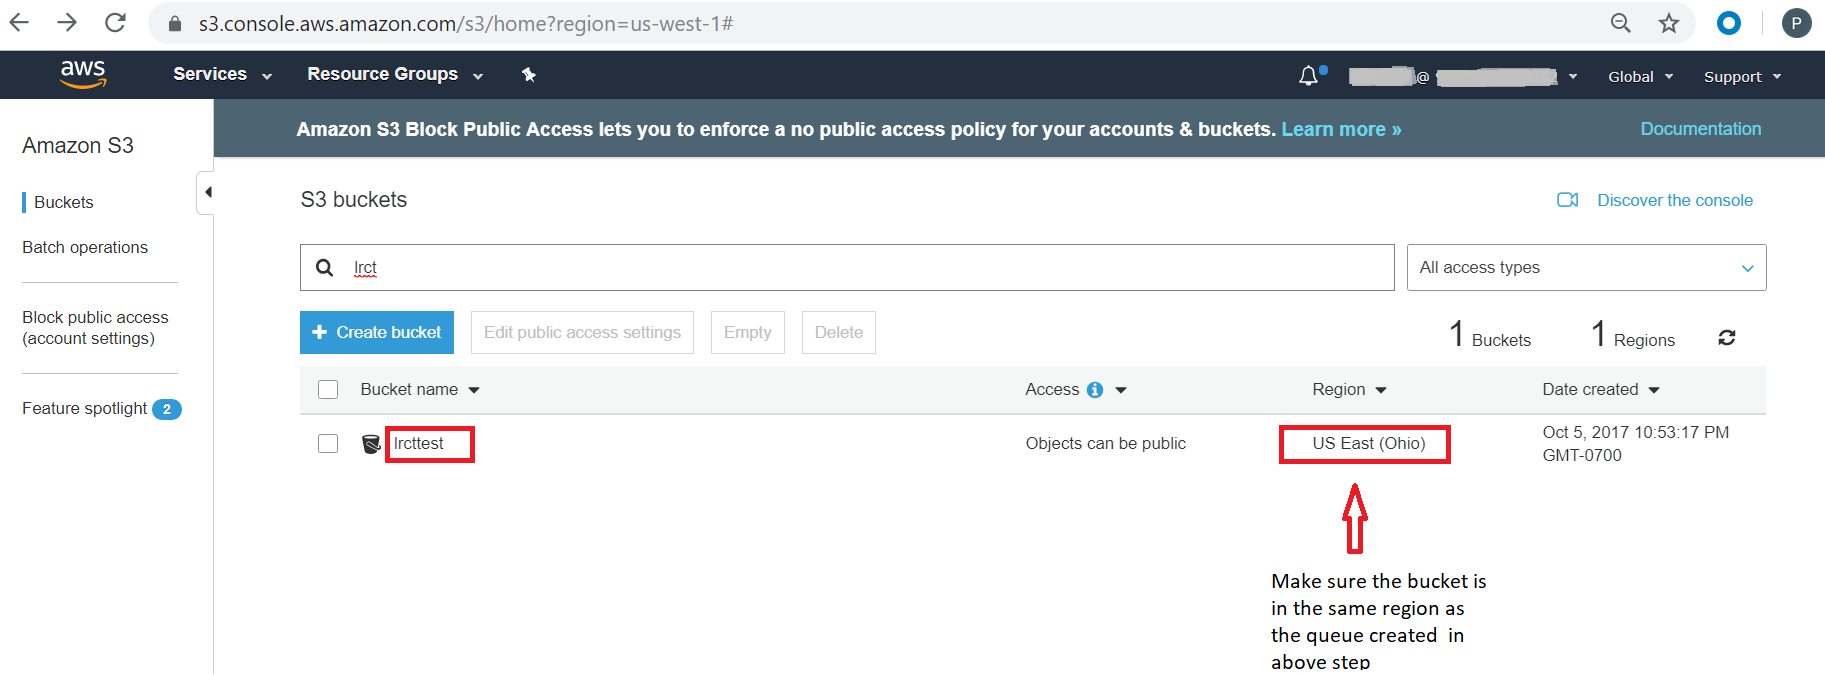
Each SQS Queue must be in the same AWS Region as the S3 bucket.
-
Each S3 bucket requires ReceiveMessage, DeleteMessage, and GetQueueUrl Actions to the SQS Queue.
S3 Bucket
-
The User or Role requires Read Action to the S3 bucket.
Log Source Types
S3 buckets can contain a variety of log source types. LogRhythm currently uses the bucket name and data path to identify the source type and correctly parse the message.
The table below shows the accepted keywords by s3beat. If your data path includes any of these accepted keywords, you do not need to add a prefix to identify the log sources in Enterprise SIEM.
The S3beat downloads logs from S3bucket via standard SQS (simple queue service) events only, so other logs residing in other locations are not collected by the beat. (FIFO SQS is not supported)
|
AWS Log Source Type |
Accepted Keywords |
Data Path Contains By Default |
Parsing support |
|---|---|---|---|
|
AWS CloudTrail CloudTrail Insight and CloudTrail Digest are not supported.
|
|
Yes |
Yes |
|
AWS CloudWatch |
|
Yes (only for exported logs) |
Only historical data support and Live data not supported |
|
AWS Config |
|
Yes |
Yes Configuration Update and Informational logs |
|
AWS GuardDuty |
|
Yes |
Yes Unexpected and potentially malicious activity logs |
|
AWS Application ELB |
|
Yes |
Application ELB logs |
If your default data path does not include an accepted keyword listed in the table above, then you will have to add one of these accepted keywords to the path as prefix.
Cisco Umbrella Log Source Type
If you are using Cisco Umbrella cloud, with Cisco providing access to their AWS S3 bucket we may not be able to collect them. If Cisco will not allow a custom bucket name, or access to SQS configuration, the Open Collector will not be able to collect these logs.
For the Cisco Umbrella log source type, you can modify your bucket name by using the following format to determine the log source type:
<user_defined_name>-<log_type_name>
Example
user_defined_name. test
log_type_name. ciscoumbrella
bucket name. test-ciscoumbrella
You must use ciscoumbrella for your log_type_name.
CloudFlare Log Source Type
For the CloudFlare log source type, you can modify your bucket name by using the following format to determine the log source type:
<user_defined_name>-<log_type_name>
Example
user_defined_name. test
log_type_name. cloudflare
bucket name. test-cloudflare
You must use cloudflare for your log_type_name.
Role-Based Authentication
The S3 Beat must run in an AWS EC2 Virtual Machine.
S3beat collects logs for any file format but it supports decompression of .zip, .tar, and .gz file formats only. Only single level depth decompression is supported for these file formats.
Access and Configure AWS S3
This section provides information for accessing and configuring your AWS S3 instance.
Obtain AWS Access and Secret Keys (Key-Based Authentication)
If you are using role-based access, skip to the Create a Simple Queue Service (SQS) in AWS section.
-
Log on to your AWS account.
-
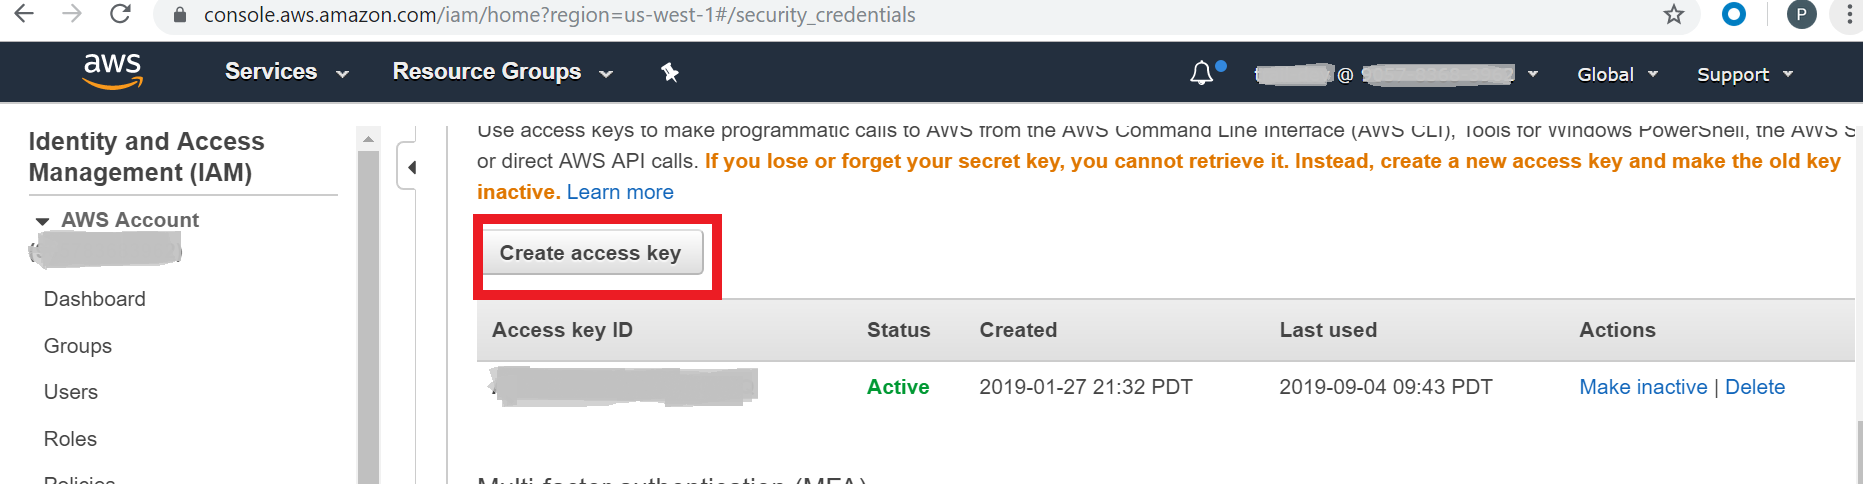
Click your user profile in the top-right corner, and then click My Security Credentials.
-
Click Create access key.
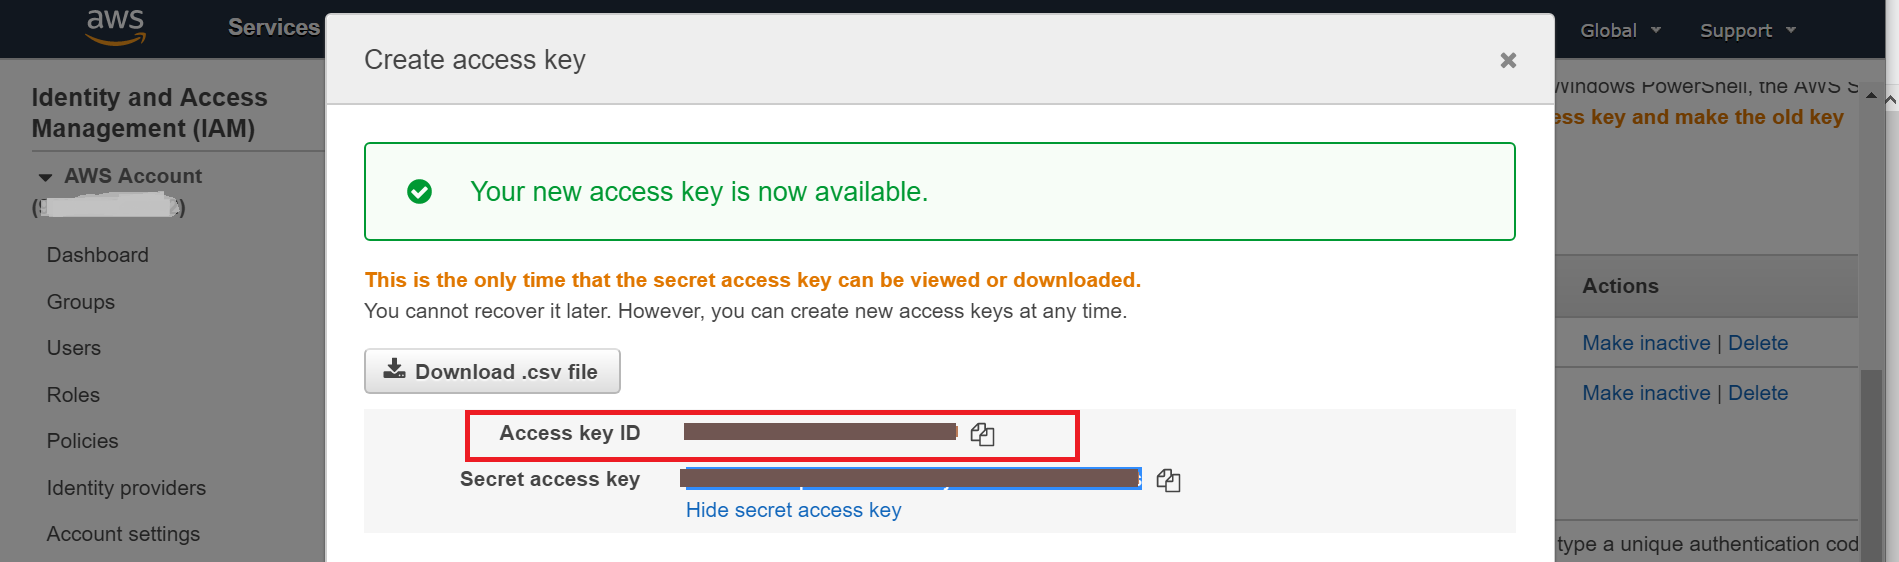
-
Download the .csv file or copy the Access key ID and paste it into a text editor. You will need it for steps in the Initialize the AWS S3 Beat section.
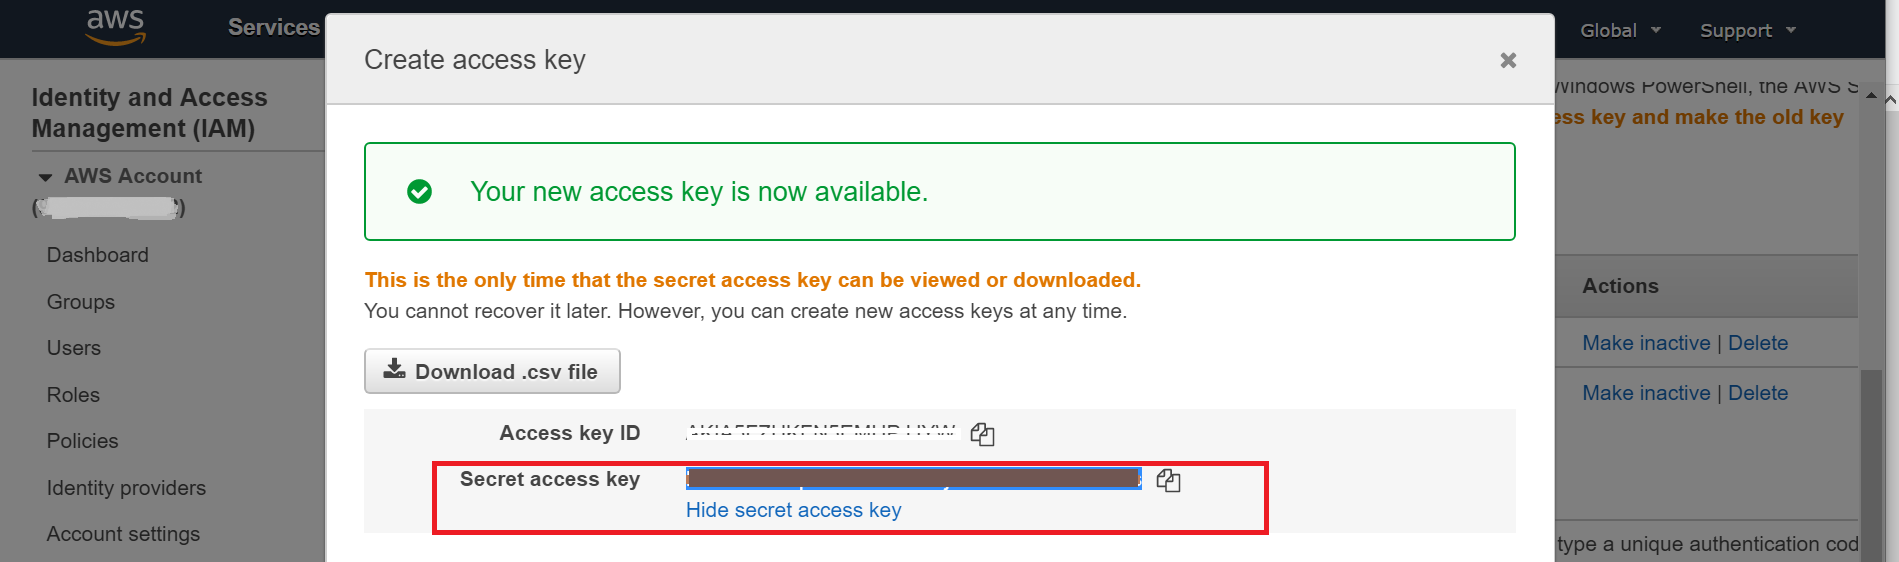
-
Copy the Secret access key and paste it into a text editor. You will need it for steps in the Initialize the AWS S3 Beat section.
Create a Simple Queue Service (SQS) in AWS (Role-Based Authentication)
For role-based authentication to work, your S3 Beat must run in an AWS EC2 Virtual Machine.
-
Log on to your AWS account.
-
On the top menu bar, click Services.
-
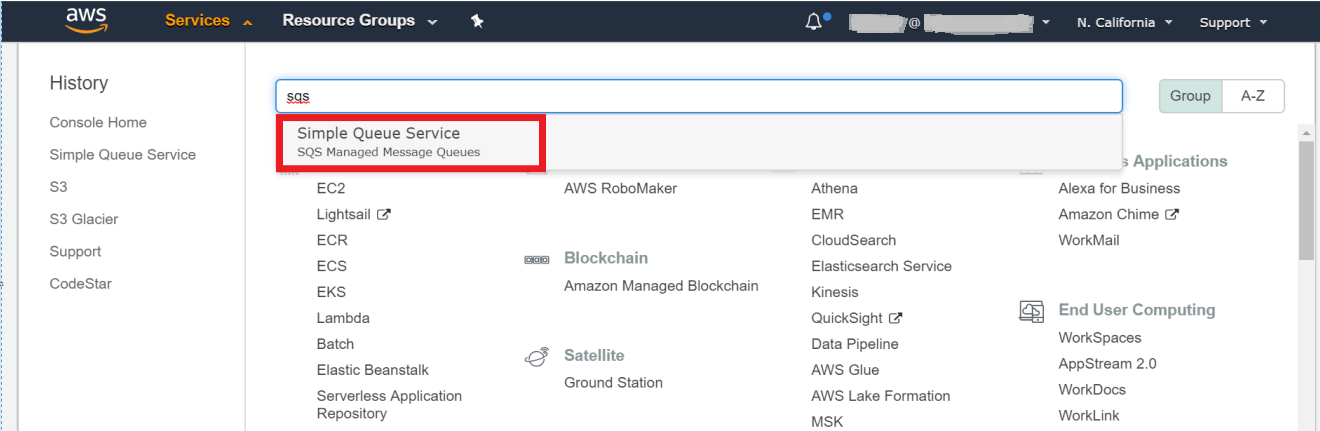
In the search field, enter sqs, and then select Simple Queue Service from the suggested search results.
-
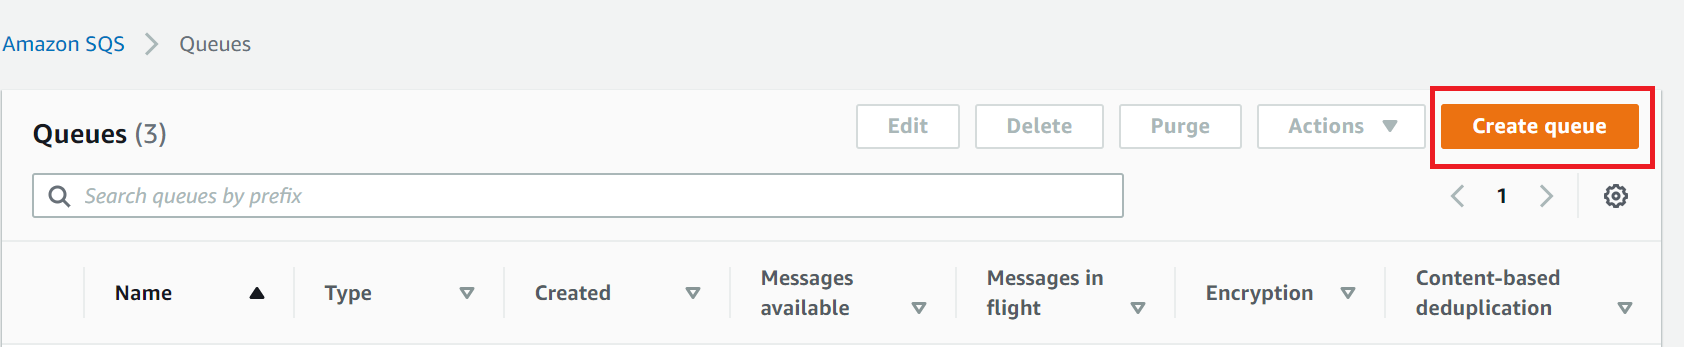
In the upper-right corner, click Create queue.
-
Select Standard from the options. Enter a name for the queue, and then copy and paste it into a text editor for use in future steps.
-
When prompted for Choose method, select Advanced, and then update the policy document.

-
In your policy document, update the following lines. (Or use the policy generator as defined in step 8.)
-
Replace SQS-queue-ARN with your SQS ARN.
-
Replace awsexamplebucket1 with your bucket name.
-
Replace bucket-owner-account-id with your account ID where the bucket resides.
{
"Version": "2012-10-17",
"Id": "__default_policy_ID",
"Statement": [
{
"Sid": "__owner_statement",
"Effect": "Allow",
"Principal": {
 	"Service": "s3.amazonaws.com"
  },
"Action": [
	"sqs:DeleteMessage",
    "sqs:GetQueueUrl",
    "sqs:ReceiveMessage",
    "sqs:SendMessage"
],
"Resource": "SQS-queue-ARN",
"Condition": {
	"ArnLike": {
		"aws:SourceArn": "arn:aws:s3:::awsexamplebucket1"
	},
	"StringEquals": {
		"aws:SourceAccount": "bucket-owner-account-id"
	}
}
}
]
}
-
-
Click Policy generator. (Skip this step if you have already generated the policy in step 7.)
A new tab opens.

-
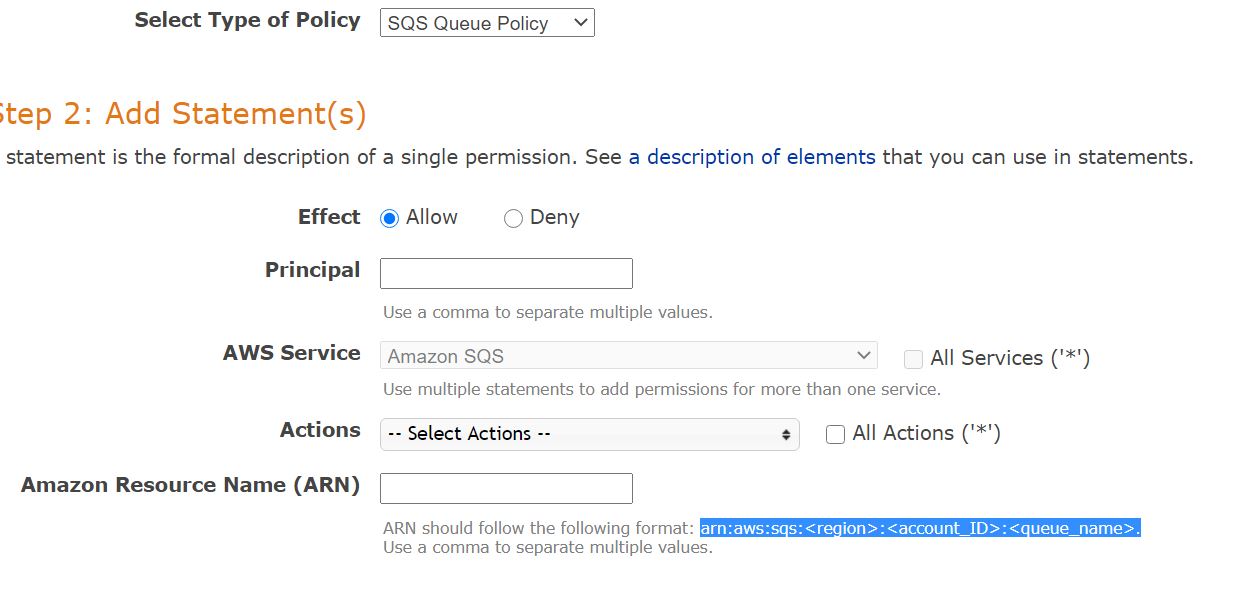
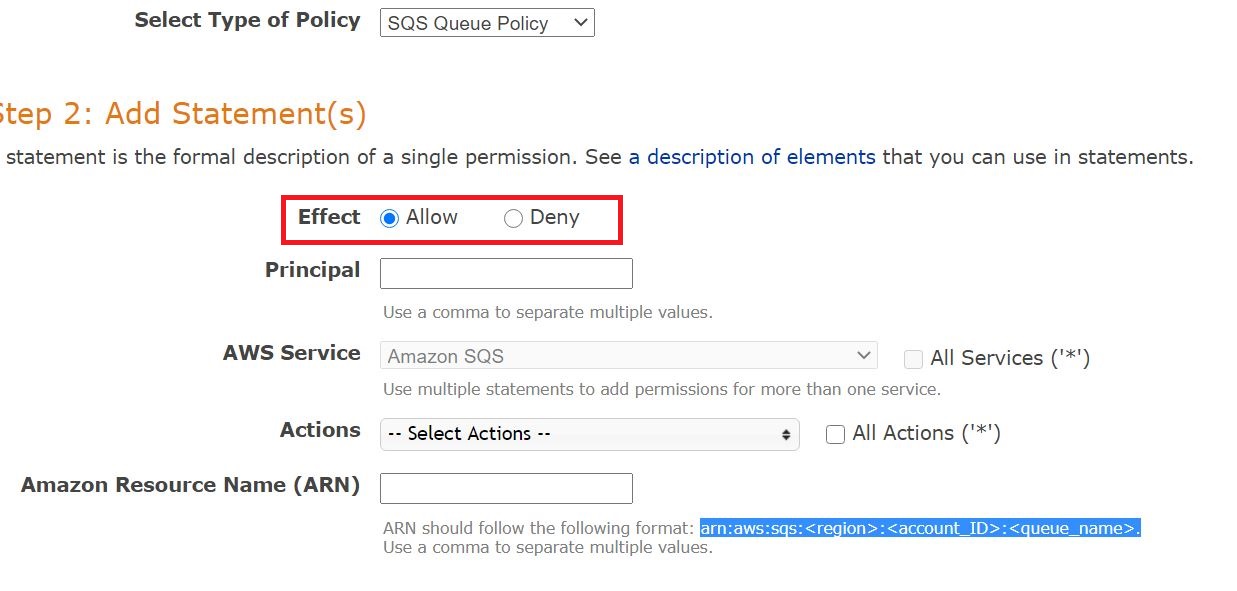
Create the Policy:
-
From the Select Type of Policy drop-down menu, select SQS Queue Policy.
-
For the Effect option, choose Allow.
-
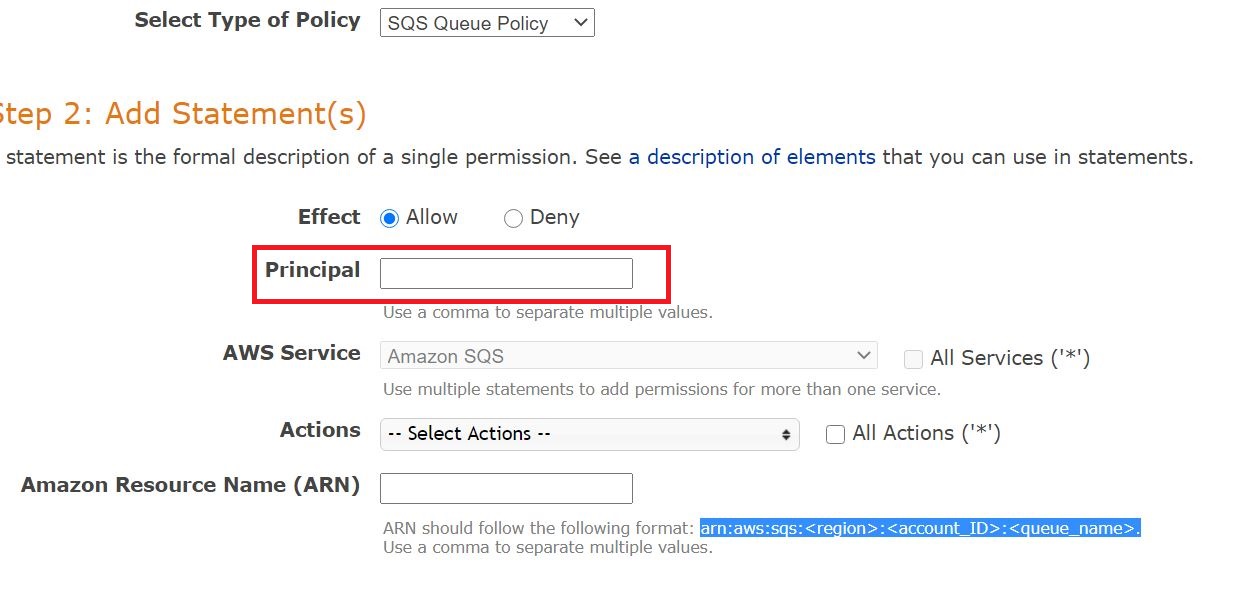
In the Principal field, type s3.amazonaws.com.
-
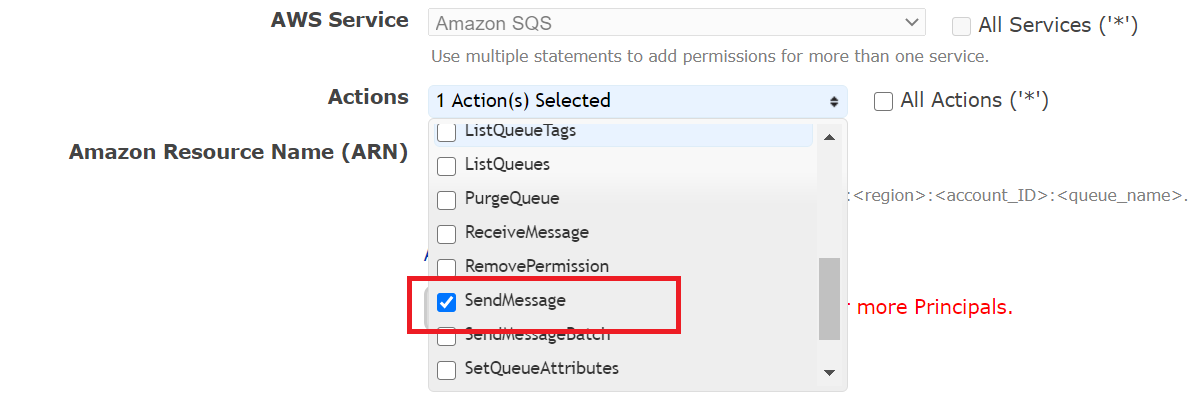
From the Actions drop-down menu, select Send Message, DeleteMessage, GetQueueURL, and ReceiveMessage.
-
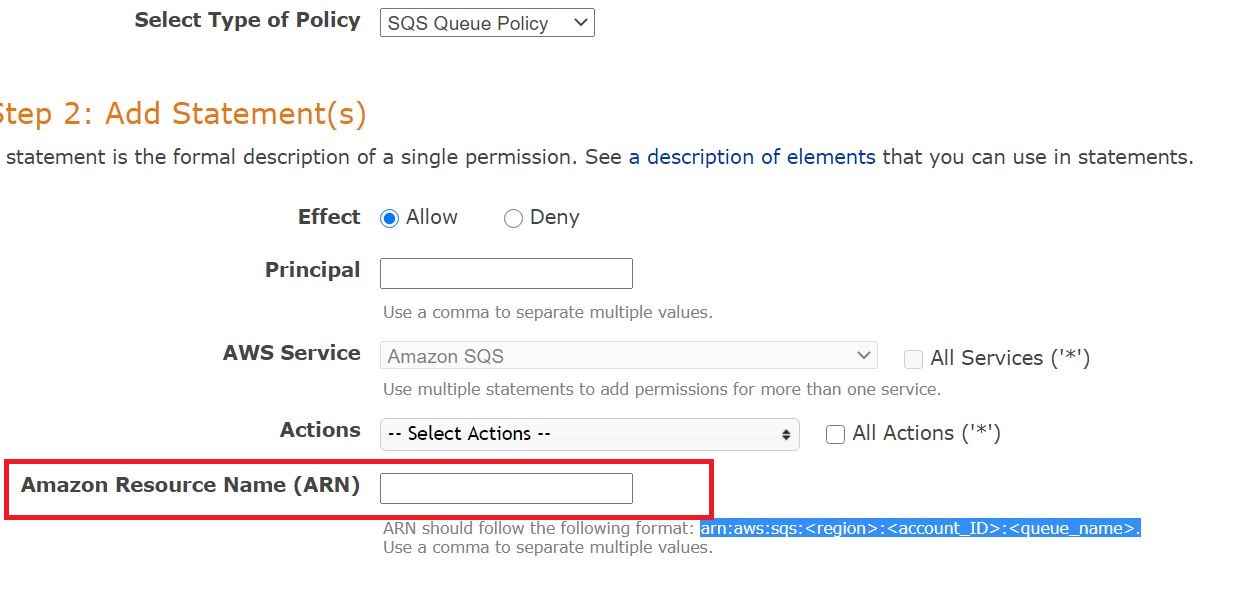
In the Amazon Resource Name (ARN) field, enter your ARN in the following format:
arn:aws:sqs:<region>:<account_ID>:<queue_name>
(Replace <region> with your S3 bucket region, <account_ID> with your account ID, and <queue_name> with your queue name)
-
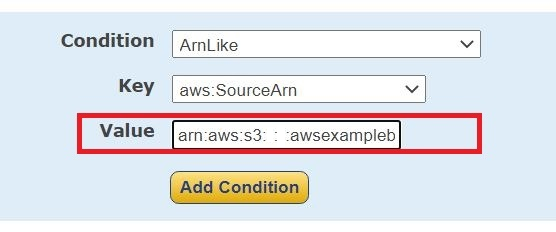
Click Add conditions.
-
From the Condition drop-down menu, select ArnLike.
-
From the Key drop-down menu, select aws:SourceArn.
-
In the Value field, enter arn:aws:s3:::awsexamplebucket1 (Replace awsexamplebucket1 with your bucket name.)
-
-
Click Add Condition.
-
From the Condition drop-down menu, select StringEquals.
-
From the Key drop-down menu, select aws:sourceAccount.
-
In the Value field, enter your account id.
-
-
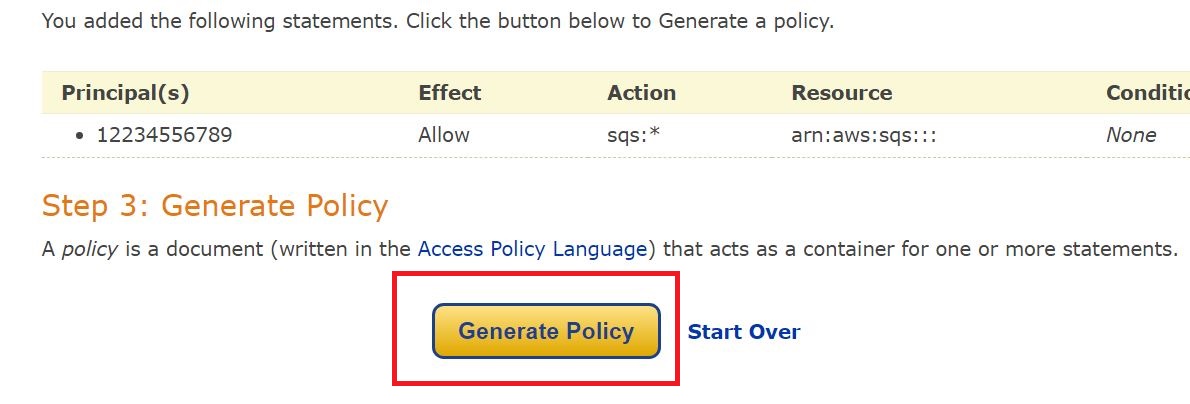
Click Add Statement.
-
Click Generate Policy.
Replace "AWS": [ "s3.amazonaws.com" ] with "Service": [ "s3.amazonaws.com" ] in the generated policy
The Generated policy should look like the following:
Account Id and other details shown in the following example policy are sample values.
{
  "Version": "2012-10-17",
  "Id": "Policy1617965803099",
  "Statement": [
    {
      "Sid": "Stmt1617965799569",
      "Effect": "Allow",
      "Principal": {
        "Service": "s3.amazonaws.com"
      },
      "Action": [
        "sqs:DeleteMessage",
        "sqs:GetQueueUrl",
        "sqs:ReceiveMessage",
        "sqs:SendMessage"
      ],
      "Resource": "arn:aws:sqs:us-east-1:1234567890:test-queue",
      "Condition": {
        "StringEquals": {
          "aws:SourceAccount": "12345678910"
        },
        "ArnLike": {
          "aws:SourceArn": "arn:aws:s3:::test-bucket"
        }
      }
    }
  ]
}
-
Copy the generated policy.
-
Go back to the SQS policy tab, and paste the policy there.
-
-
Click Create queue.

Configure Events to Be Sent to SQS Queues
-
Log on to your AWS account.
-
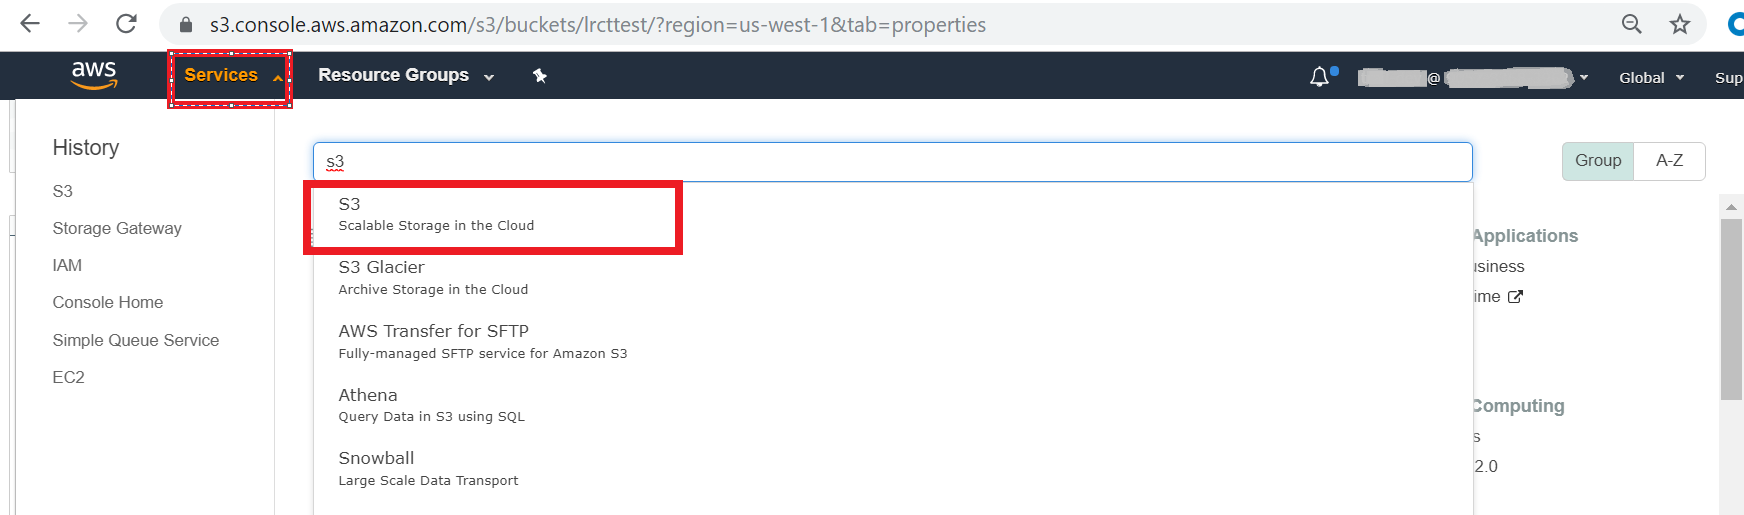
On the menu bar at the top, click Services.
-
In the search bar, enter s3, and then select S3 (Scalable Storage in the Cloud) from the suggested search results.
-
Search for the bucket you want to get events from.
-
Click the name of the bucket, and then click the Properties tab.
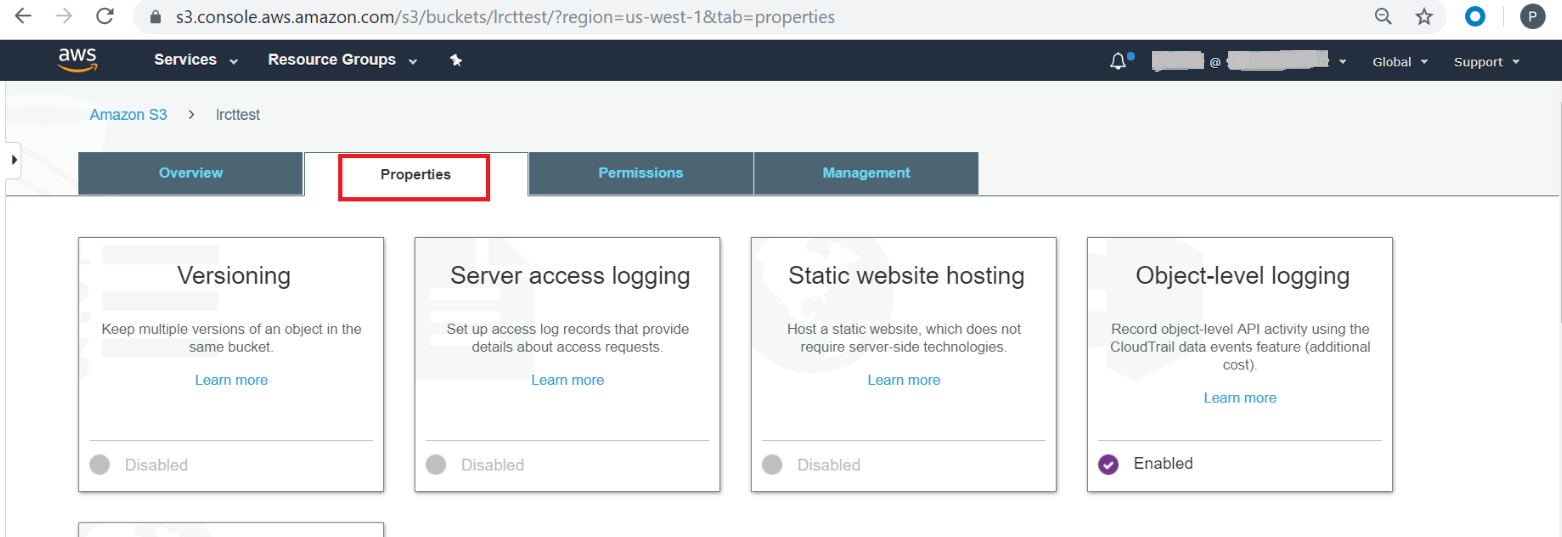
-
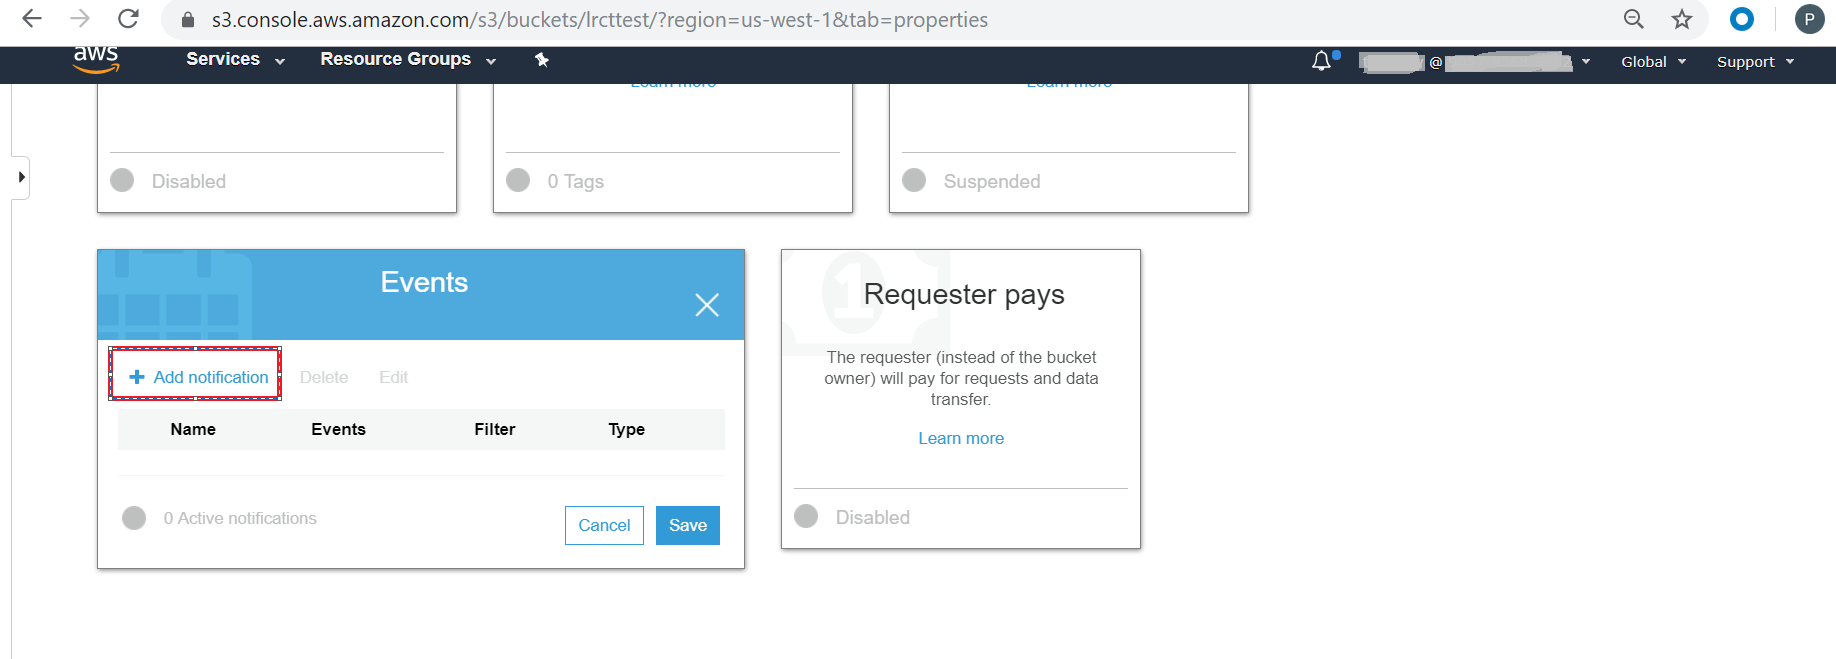
Under Advanced settings, click Events.
-
Click Add notification.
-
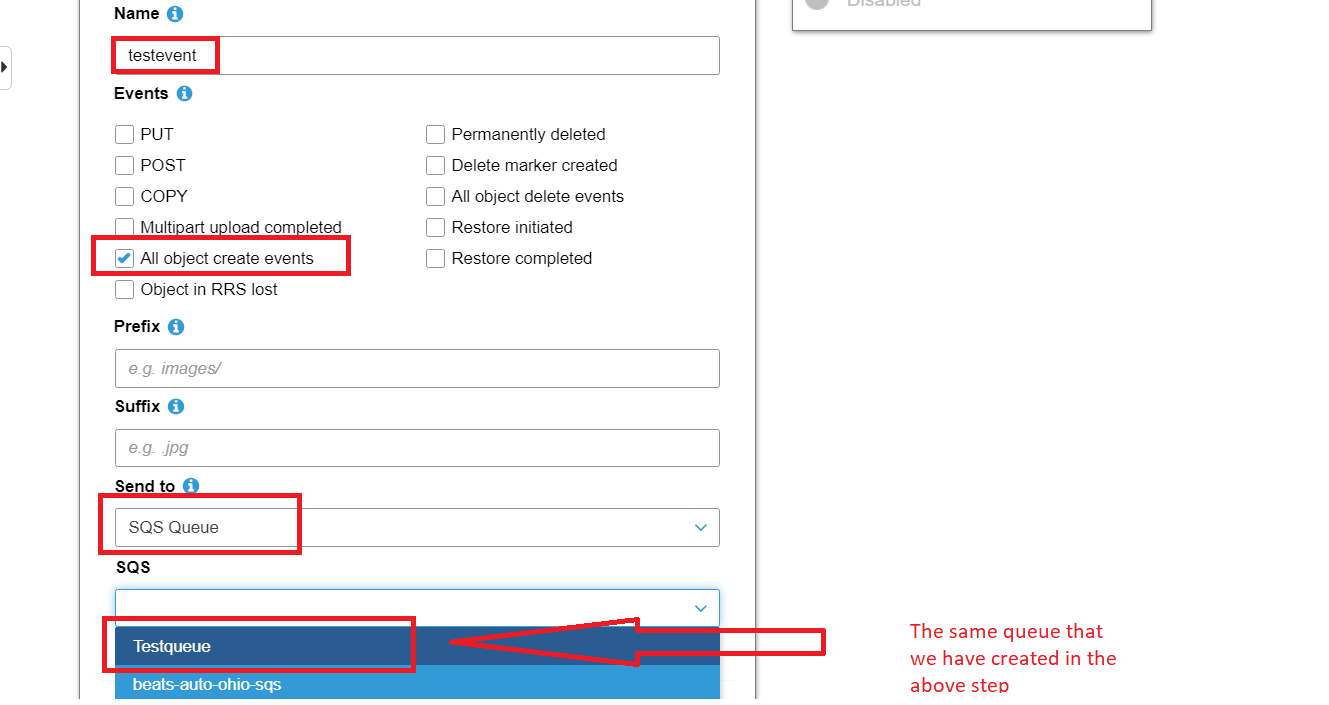
Configure the following permissions:
-
Name. Enter any name.
-
Events. Select the events you need to be notified of—for example, All object create events.
-
Send to. Enter the destination queue (created in the previous procedure) where you want to send events.
-
SQS. Select the queue created in the previous procedure.
-
-
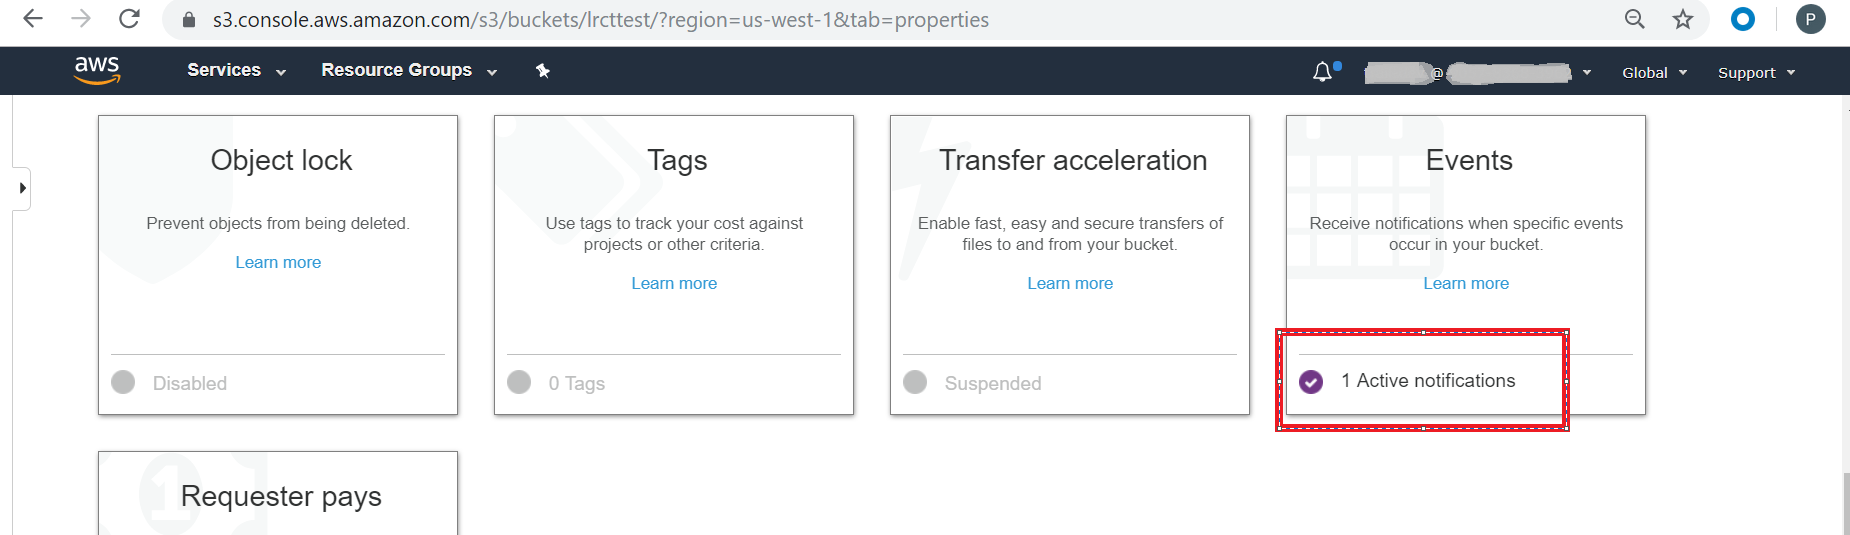
Click Save.
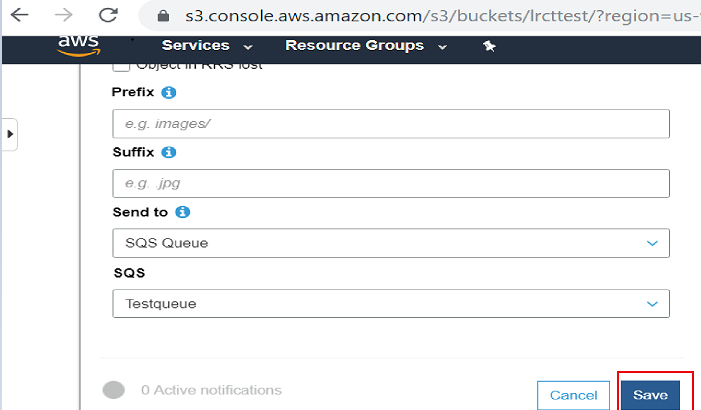
If you have correctly configured the event, the tile displays active notifications.
-
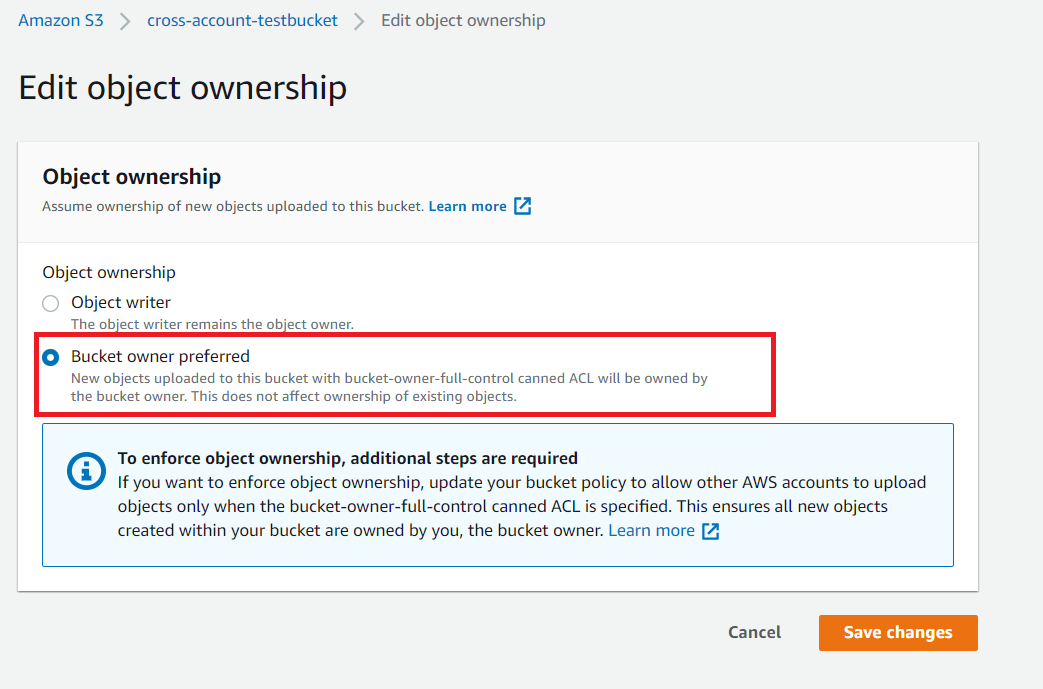
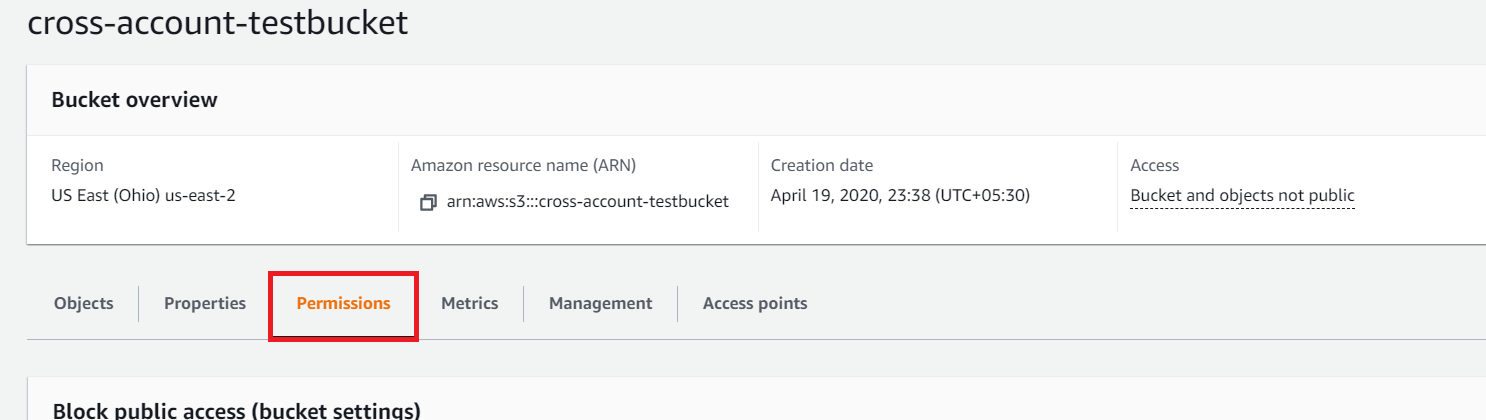
Click the Permissions tab to set bucket ownership of objects.
-
Scroll down and under the Object ownership section, click Edit.
-
Select Bucket owner preferred and click Save changes.