Configure Webhook
The next step after Configuring the Webhook Collector in Axon is to configure a Webhook in the third-party cloud platform so that the Webhook collector in Axon can begin collecting logs.
Depending on how the Webhook collector was configured within Axon, follow the steps for either Basic Authentication or Token-Based Authentication.
The Axon Webhook collector only supports responses received in JSON format.
Prerequisites
- Admin account credentials to a third-party cloud platform provider.
- Username and password (basic auth) OR Access token (token auth) obtained during the steps outlined in Configure the Webhook Collector in Axon.
Configure Webhook with Basic Authentication
The following sections outline the process of configuring Webhook API access within the third-party cloud platform using basic authentication.
Any third-party cloud platform provider that supports Webhook setup with basic authentication can be used. The steps and screenshots below are for the SparkPost platform.
Your steps may vary if using a different cloud platform. Simply create a Webhook as you normally would, using the basic auth credentials and target URL configured in the previous topic.
Basic Authentication Webhook Registration in the Cloud Platform
To register Webhook API access for LogRhythm Axon using basic authentication, perform the following steps:
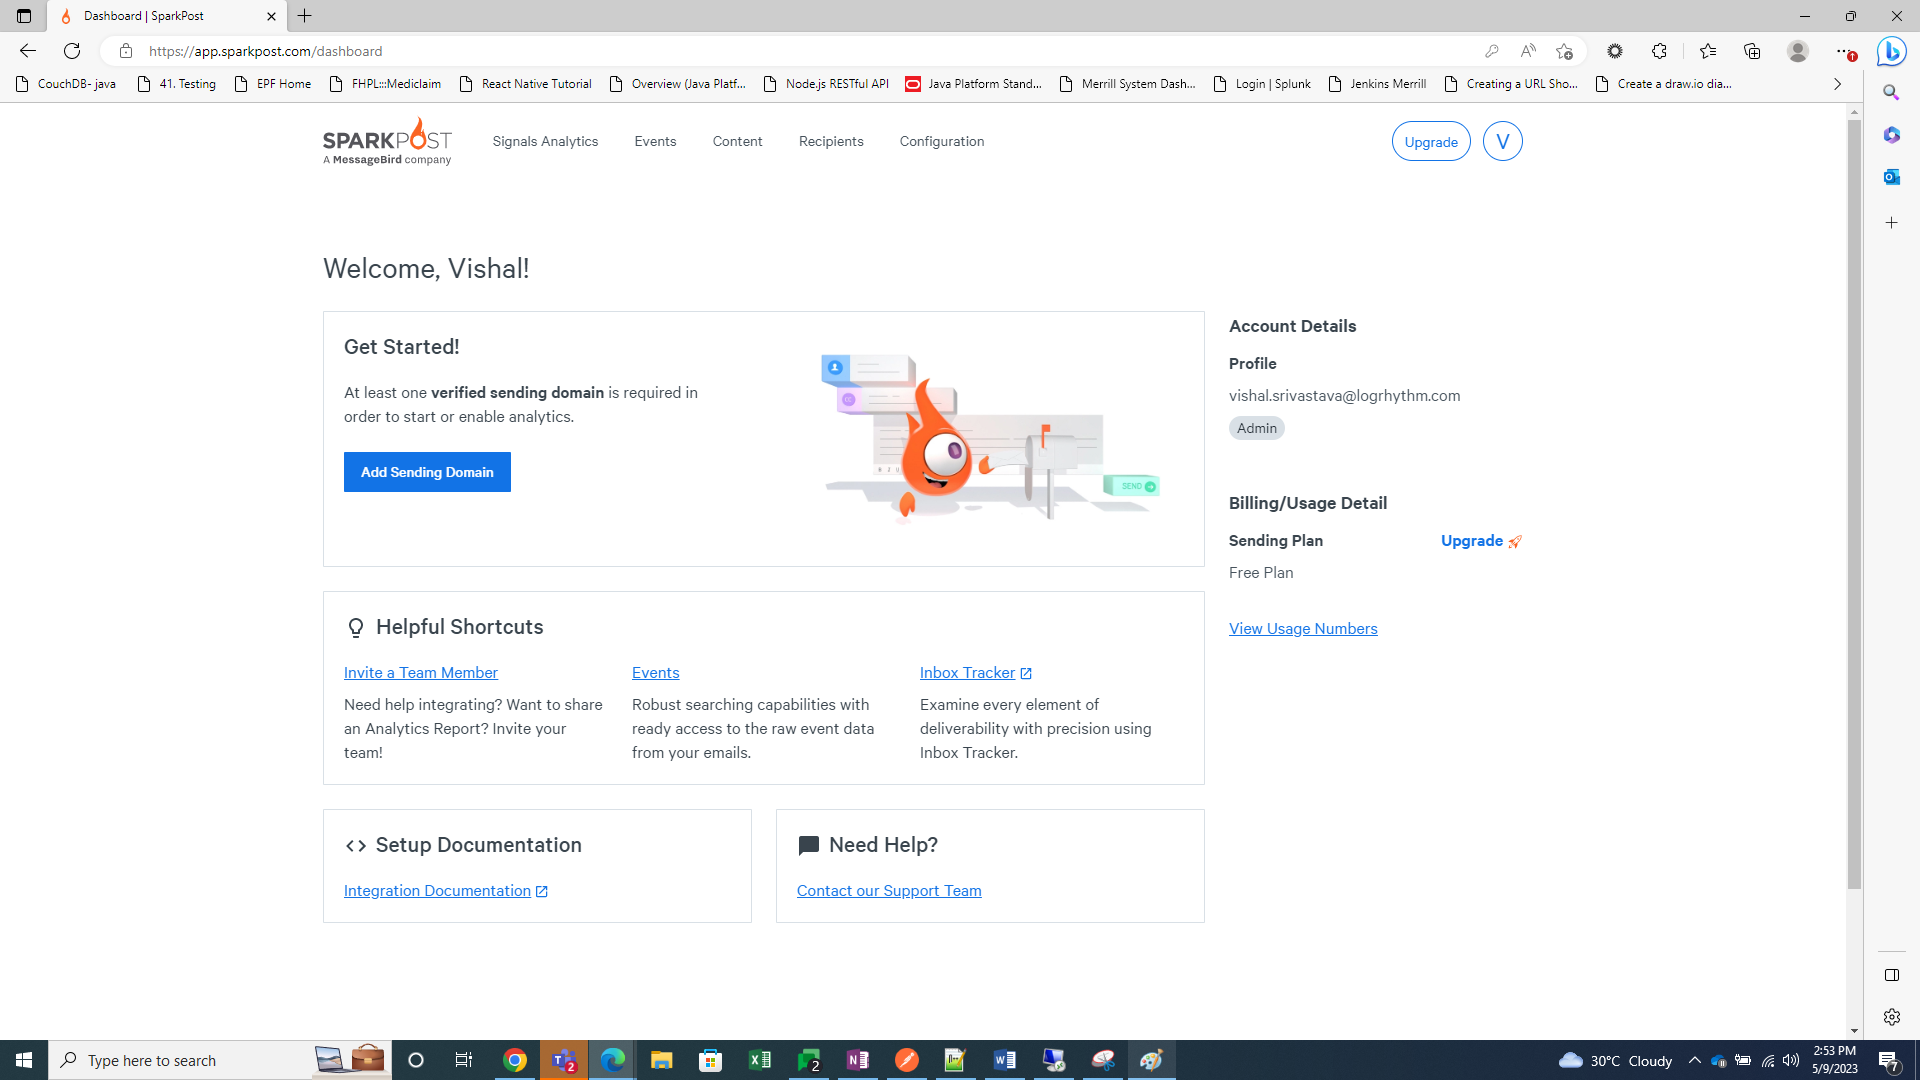
- Login to the SparkPost portal at app.sparkpost.com.
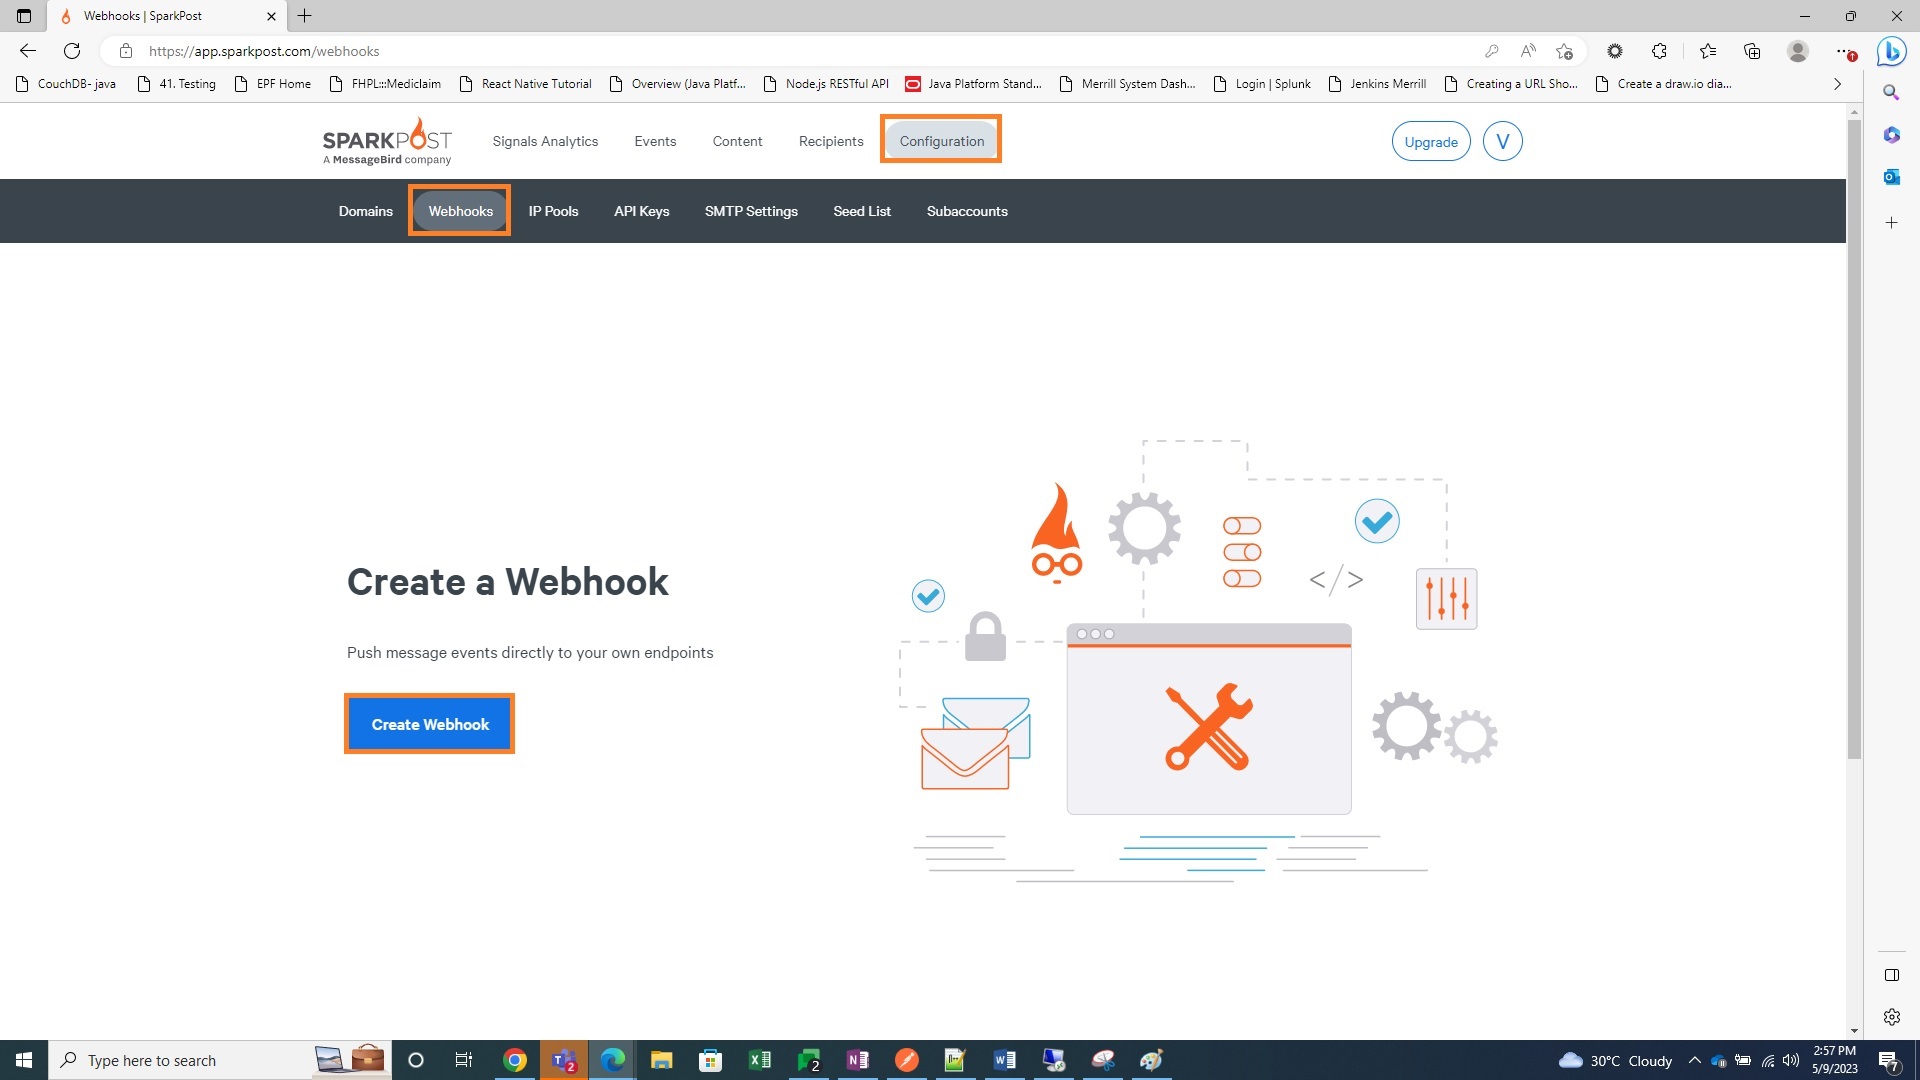
- Click the Configuration tab.
- Click Webhooks.
- Click Create Webhook.
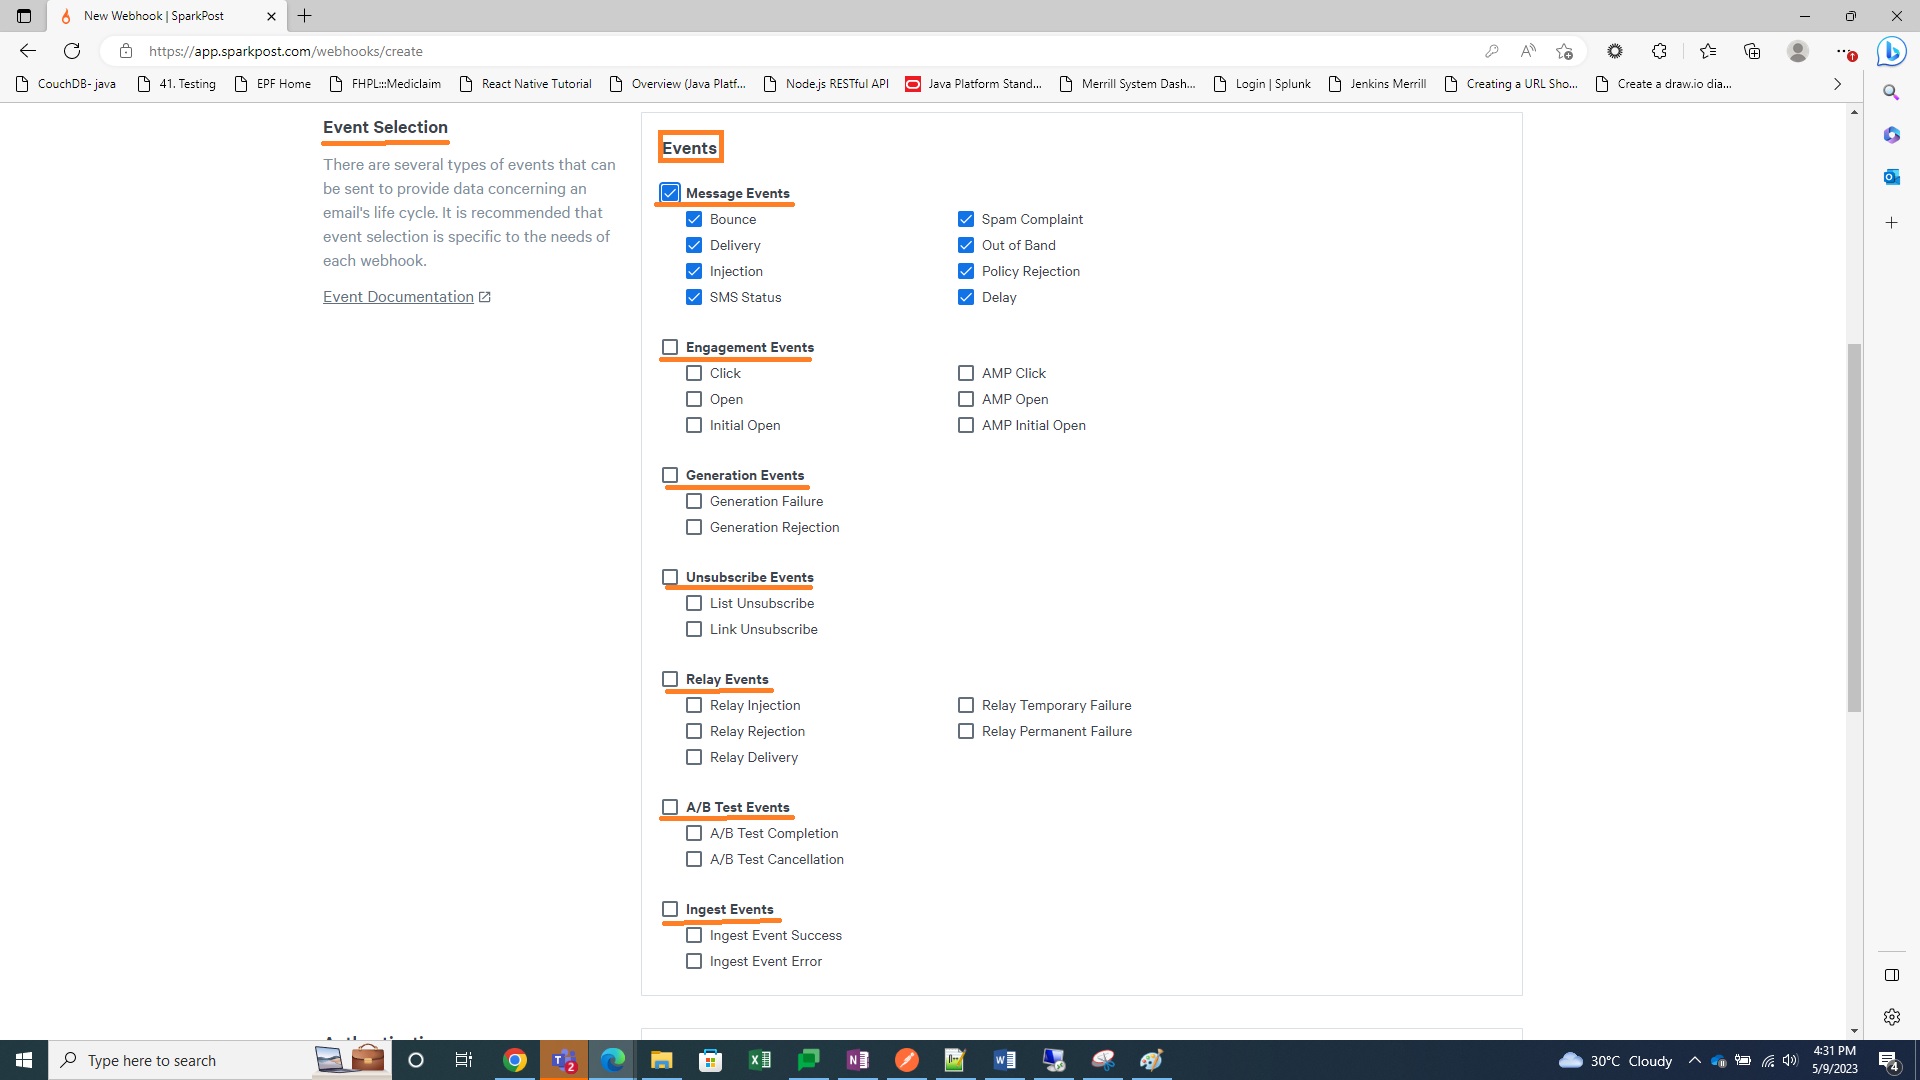
The Create Webhook page appears. - Enter a unique Webhook Name.
- Enter the Target URL obtained during the steps outlined in Configure the Webhook Collector in Axon.
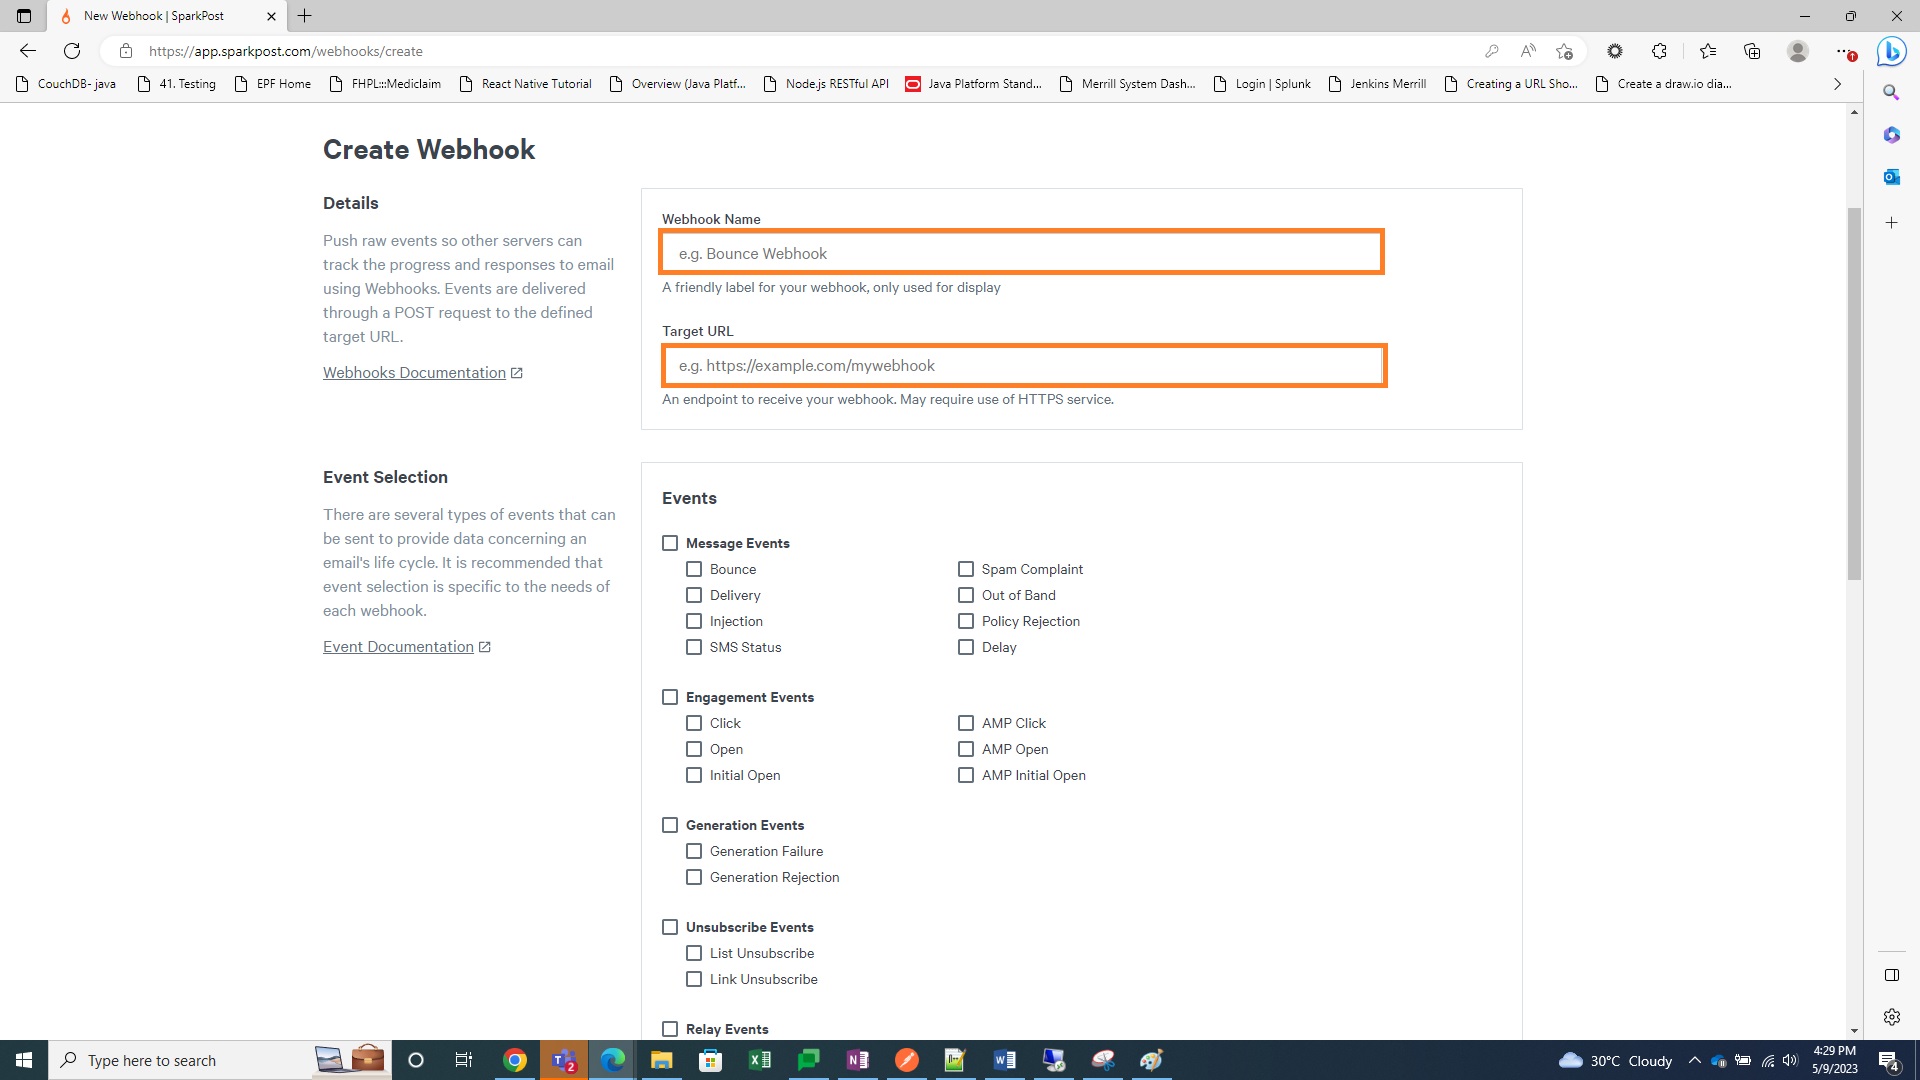
- Select any Events to be collected in Axon using the Webhook collector.
- Enter the Username and Password configured during the steps outlined in Configure the Webhook Collector in Axon.

- Click Create Webhook.
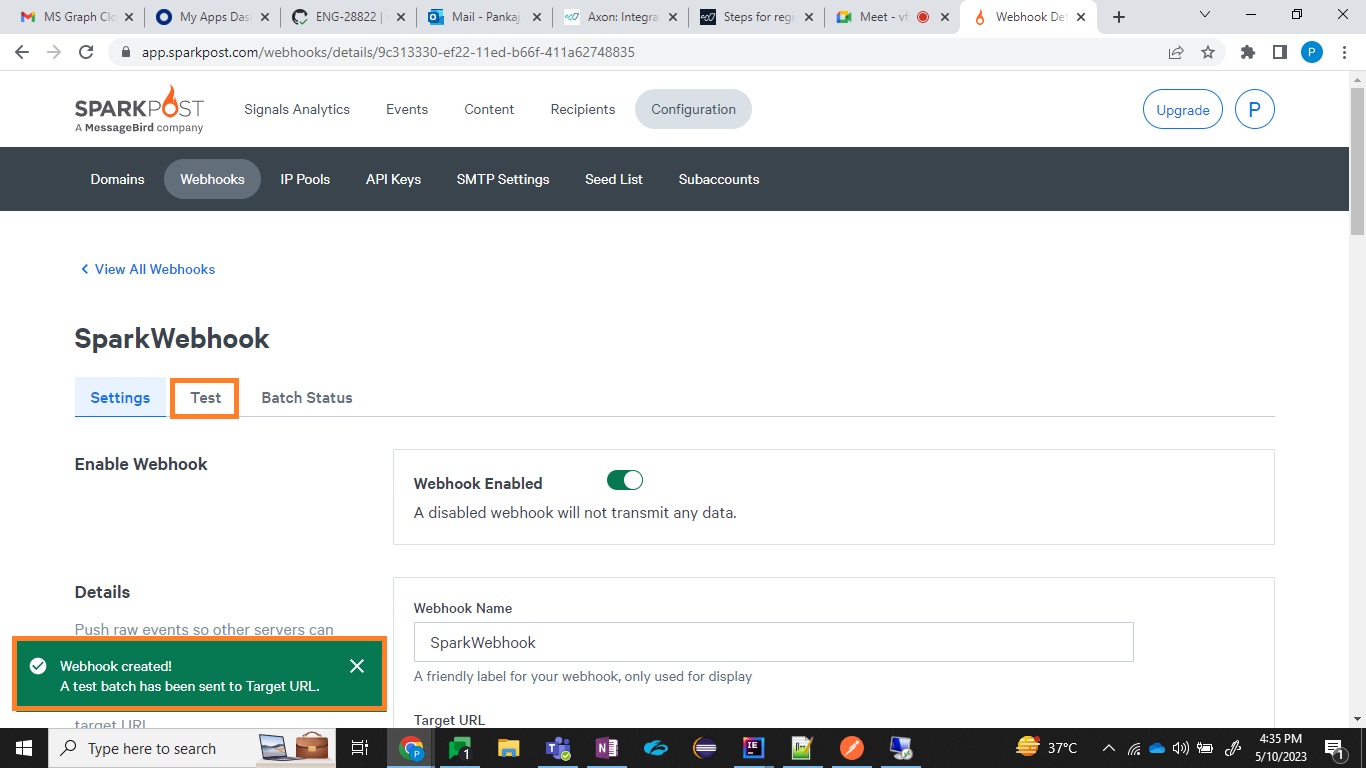
The Webhook is successfully created, and the Webhook Settings tab appears.
Test Webhook for Basic Authentication
The following steps are optional, but can be used to ensure that the newly created Webhook is functional.
To test the Webhook, from the Webhook Settings tab:
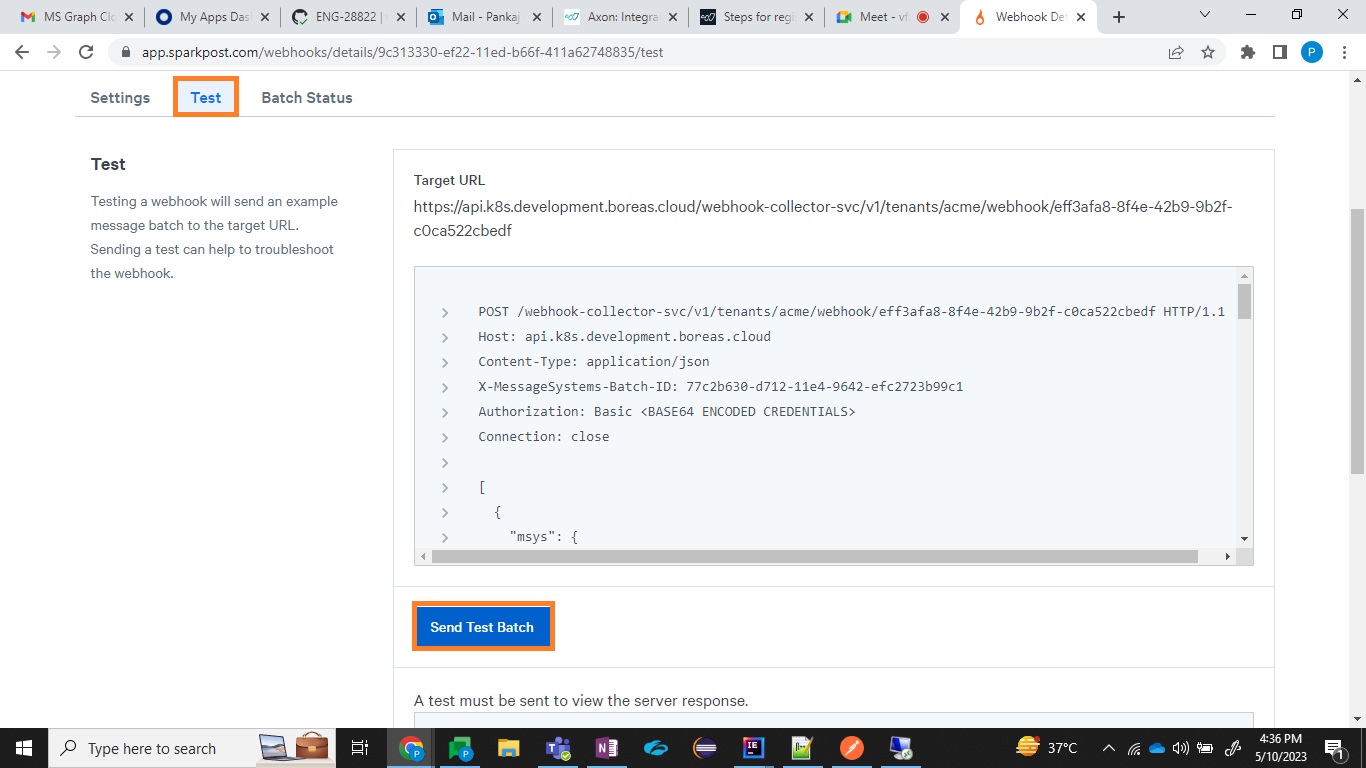
- Click the Test tab.
- Click Send Test Batch.
If the batch is sent to the Target URL without issues, "The test was successful!" appears at the bottom-left of the screen.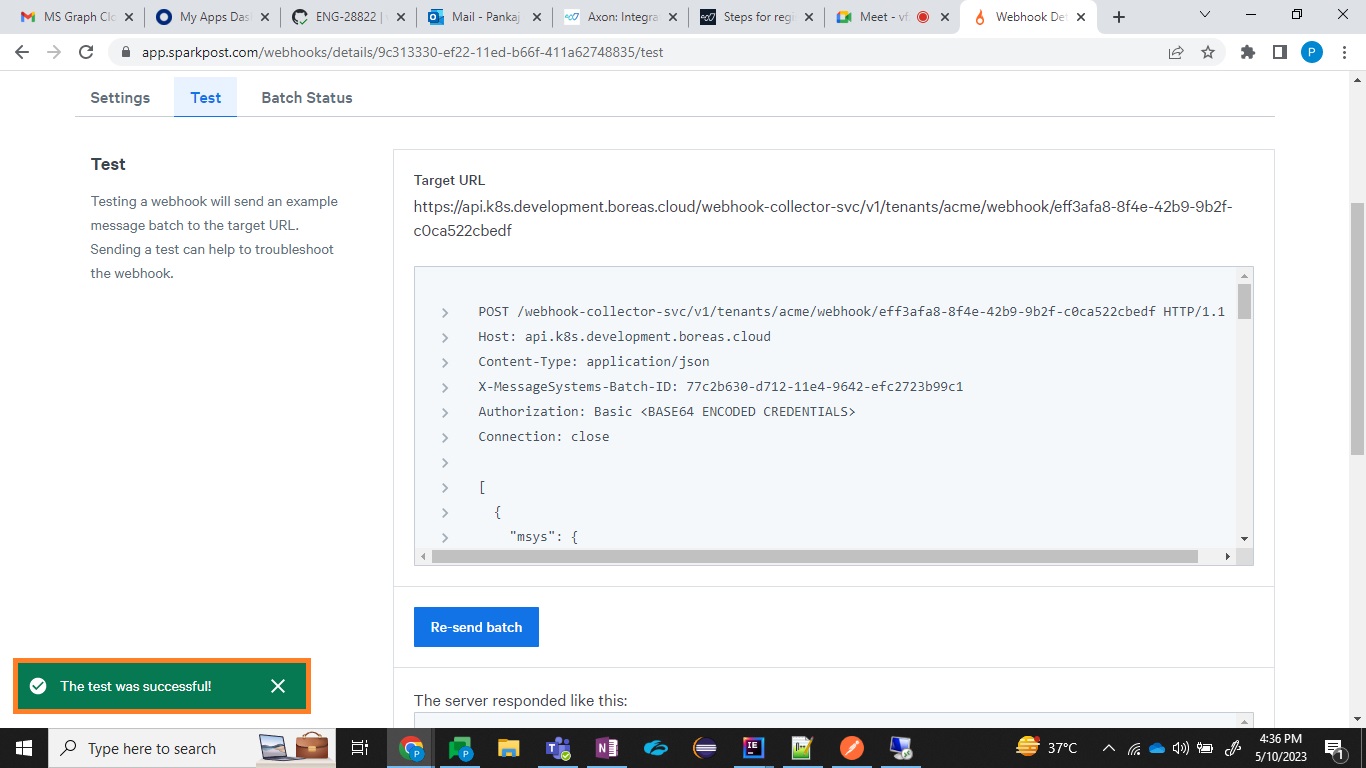
Configure Webhook with Token-Based Authentication
The following sections outline the process of configuring Webhook API access within the third-party cloud platform using token-based authentication.
Any third-party cloud platform provider that supports Webhook setup with token-based authentication can be used. The steps and screenshots below are for the GitLab platform.
Your steps may vary if using a different cloud platform. Simply create a Webhook as you normally would, using the token-based authentication credentials and target URL configured in the previous topic.
Token-Based Webhook Registration in the Cloud Platform
To register Webhook API access for LogRhythm Axon using token-based authentication, perform the following steps:
- Login to the GitLab portal at gitlab.com/users/sign_in.
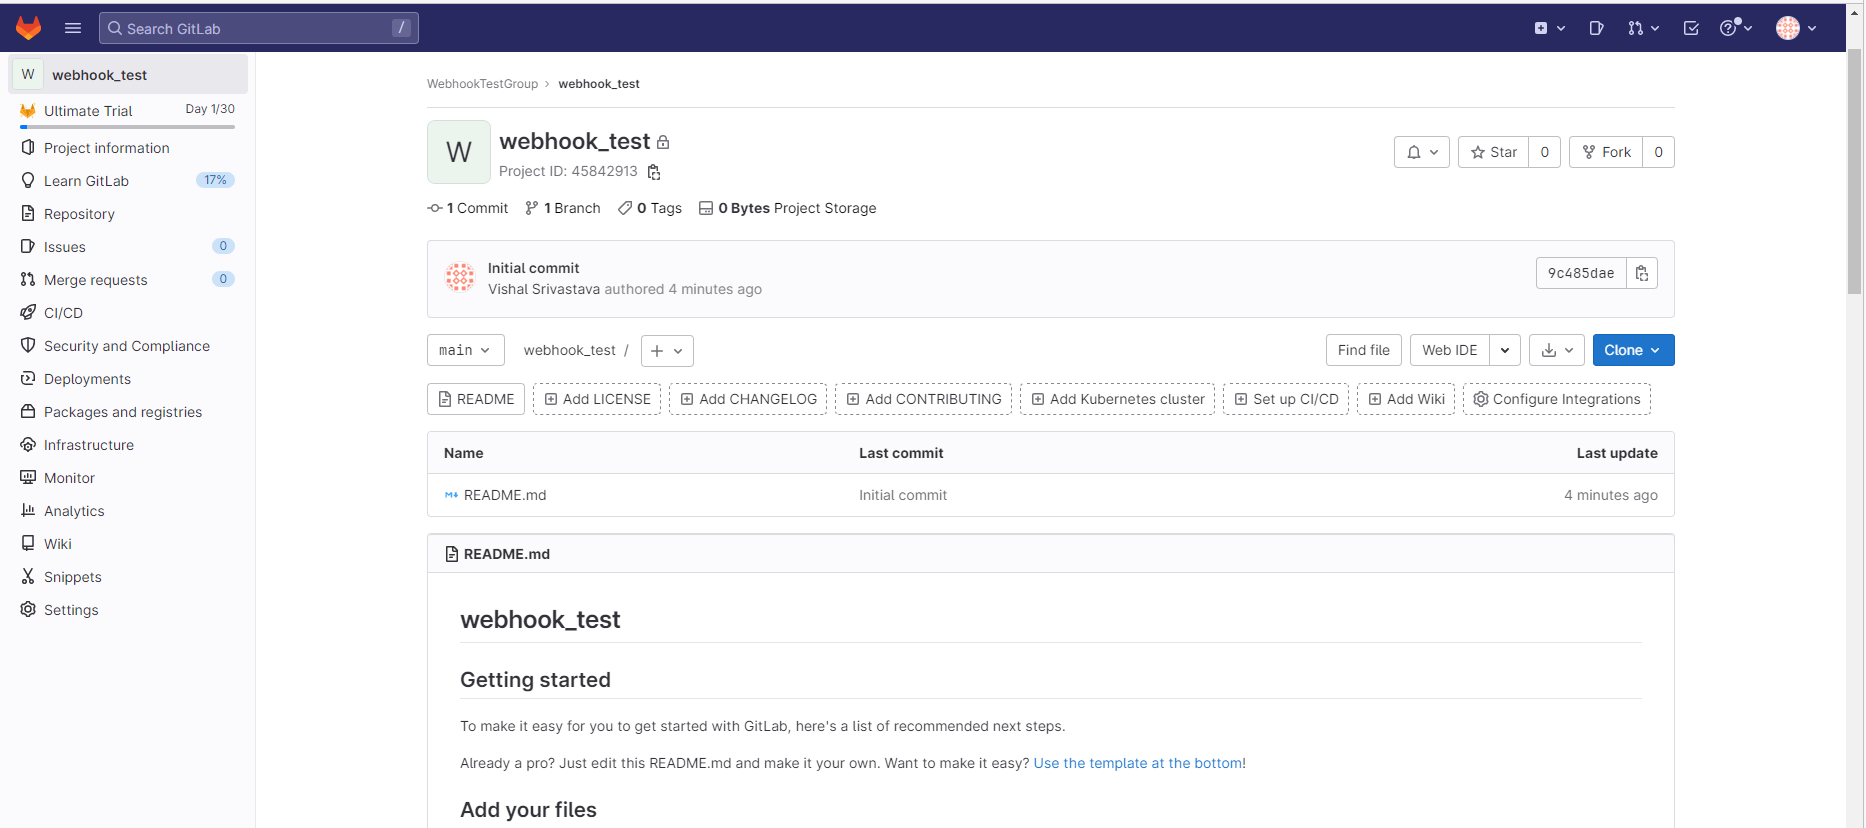
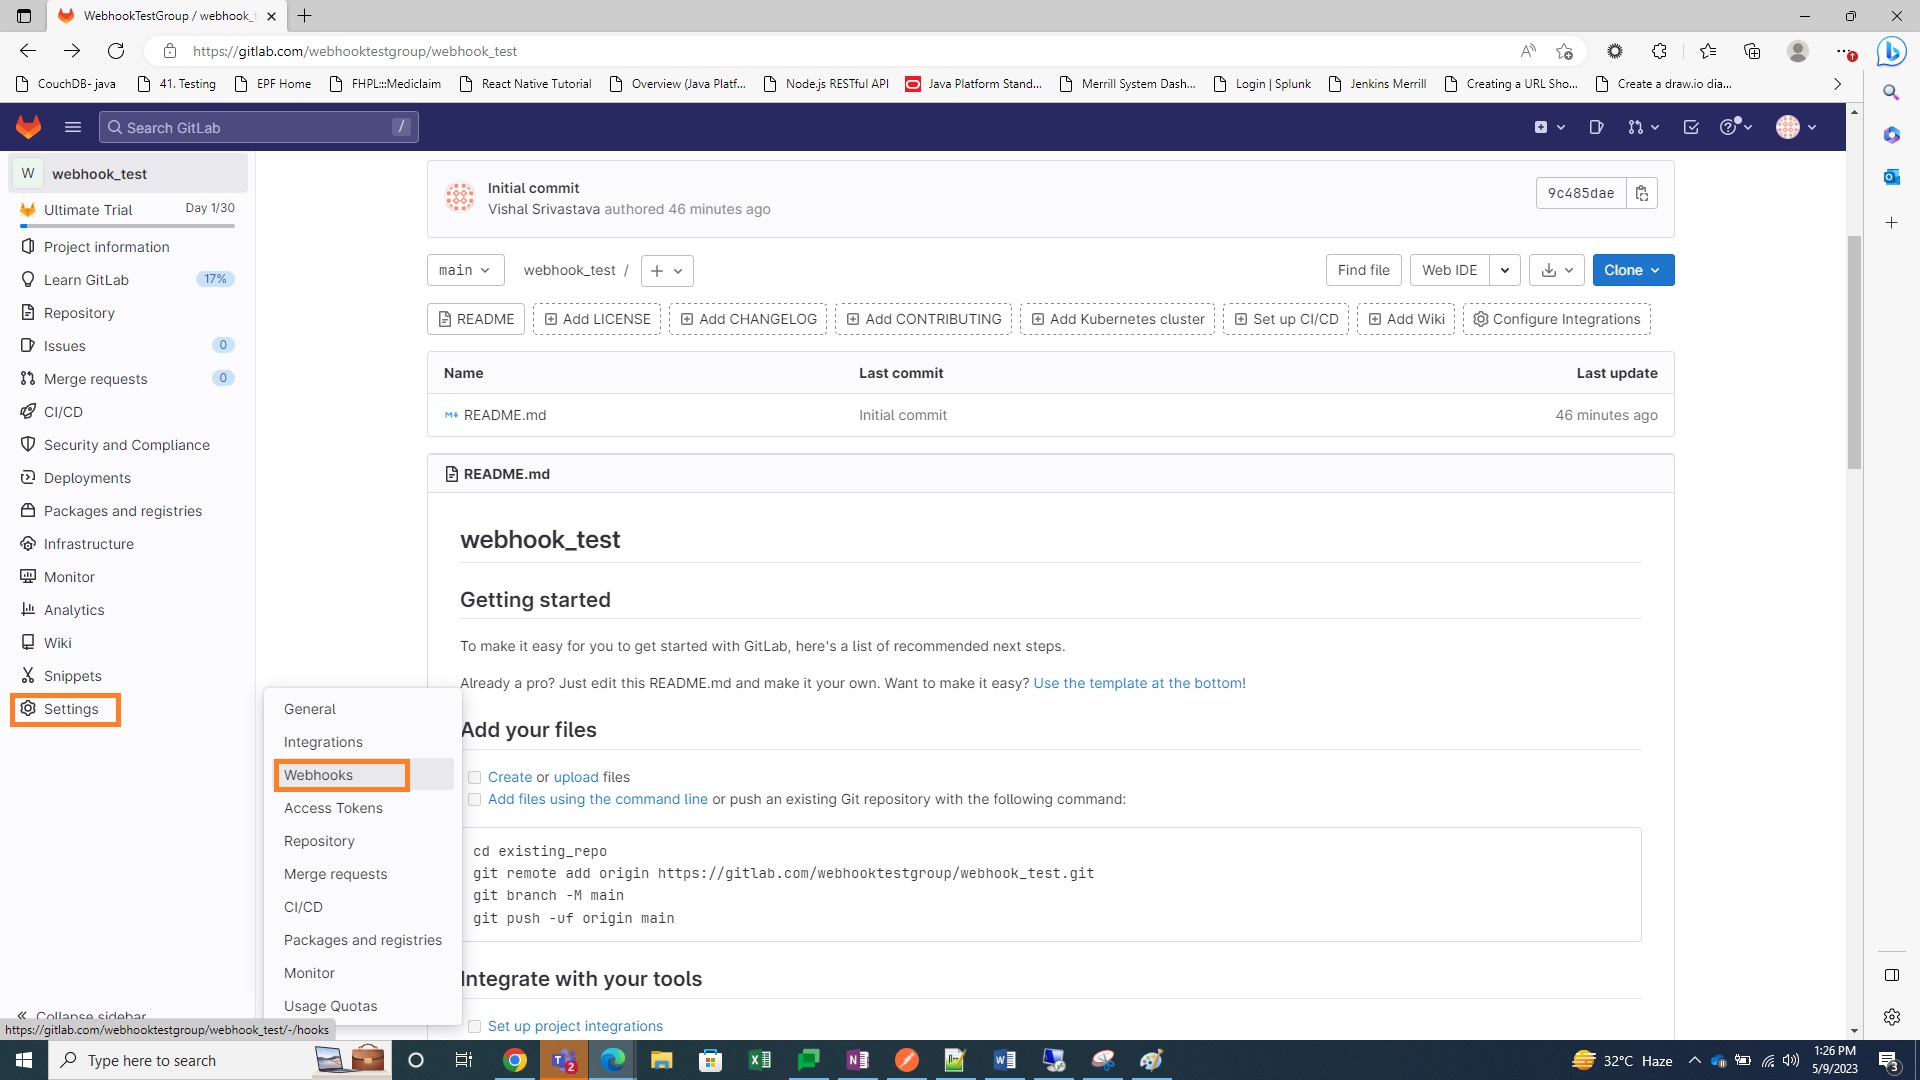
- On the left-hand side, open the Settings menu, and then select Webhooks.
- Enter the URL obtained during the steps outlined in Configure the Webhook Collector in Axon.
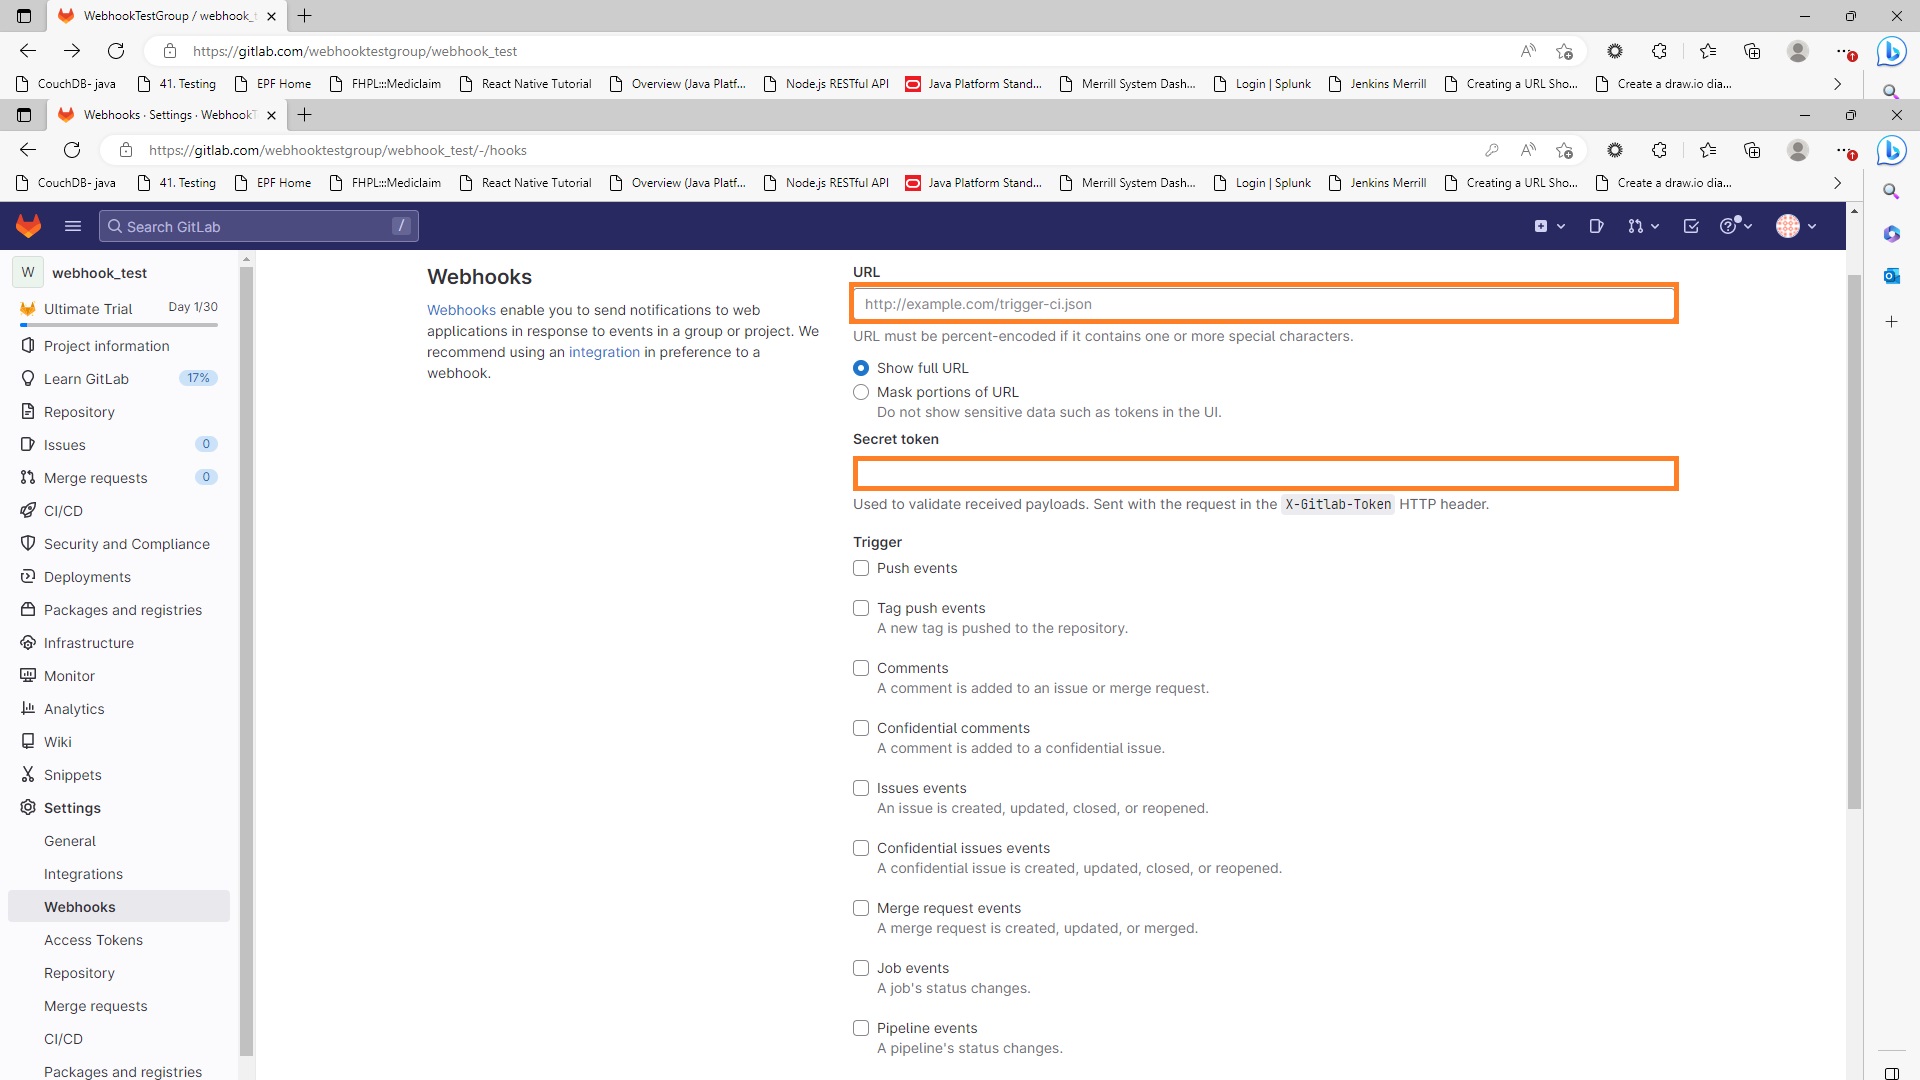
- In the Secret Token field, provide the Access Token that was created during the steps outlined in Configure the Webhook Collector in Axon.
- Select any Triggers to be collected in Axon using the Webhook collector.

- Leave the Enable SSL verification box checked.
- Click Add Webhook.

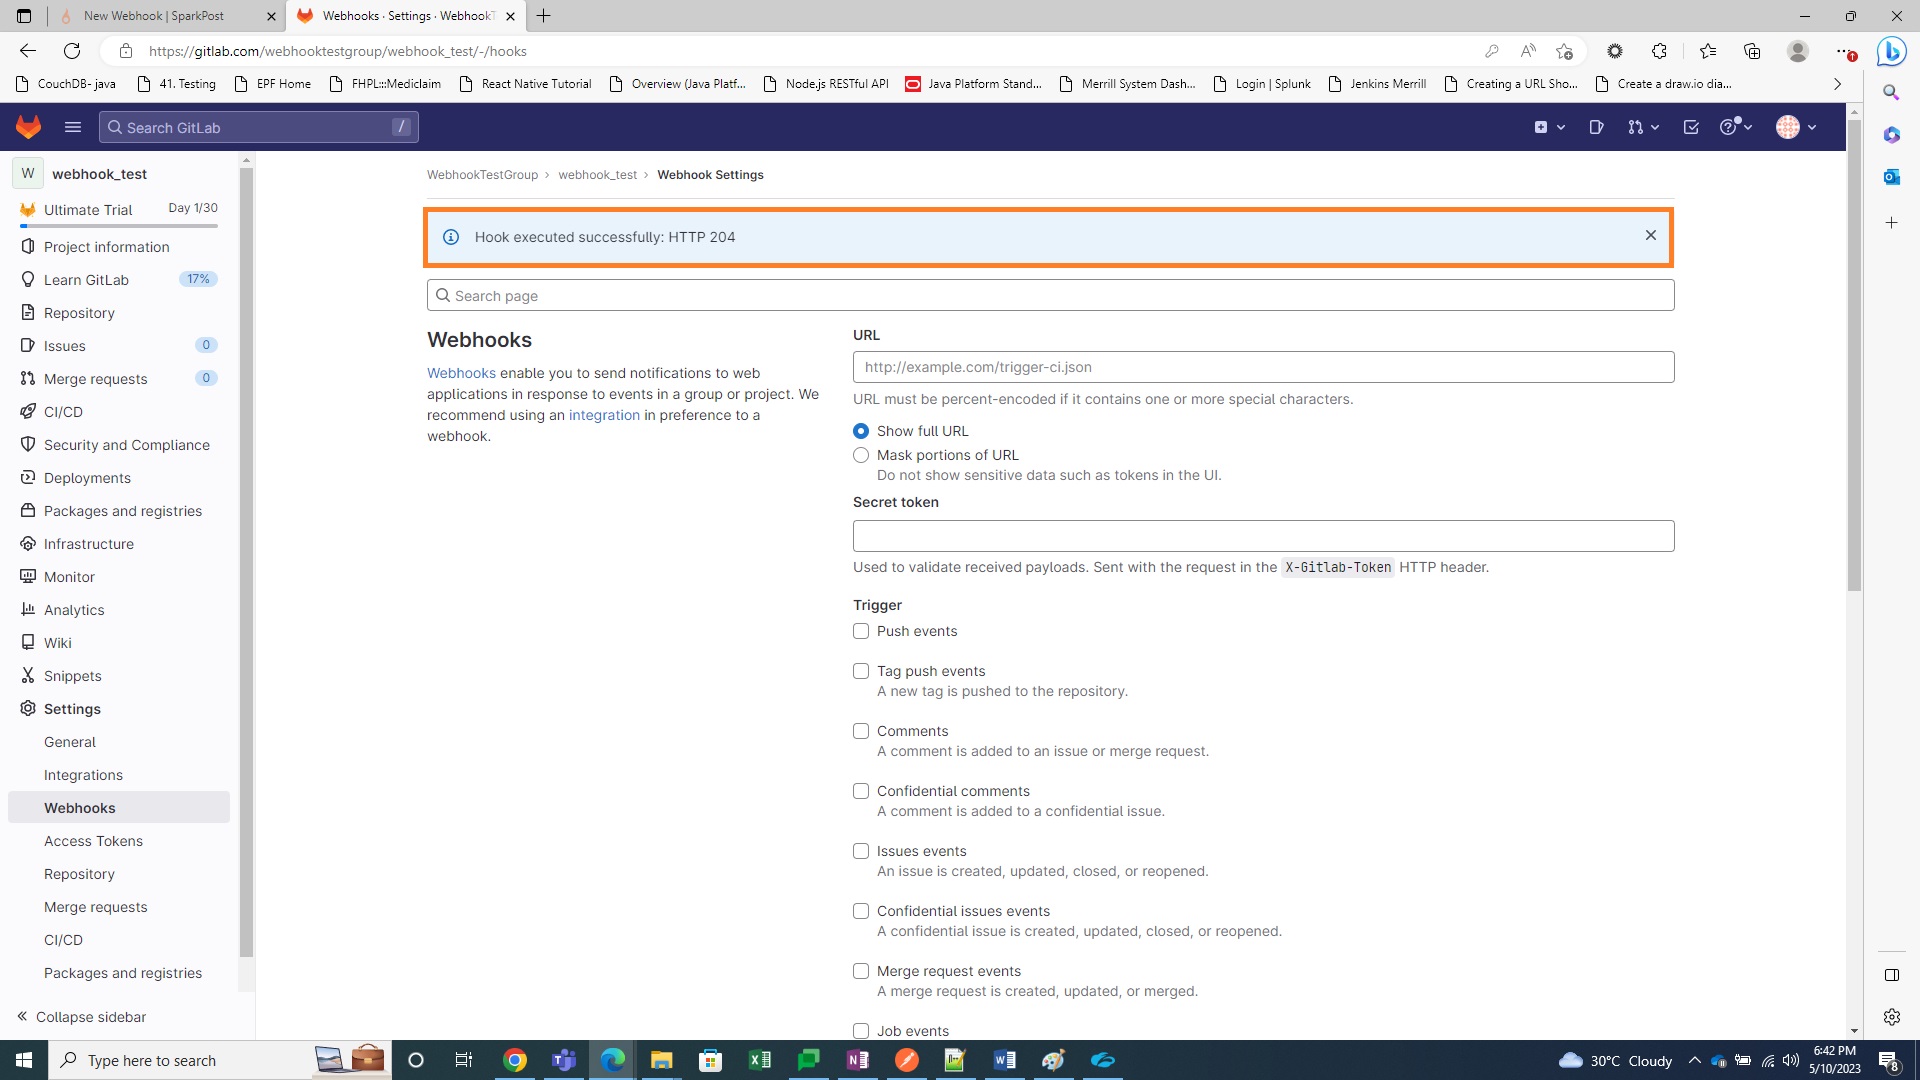
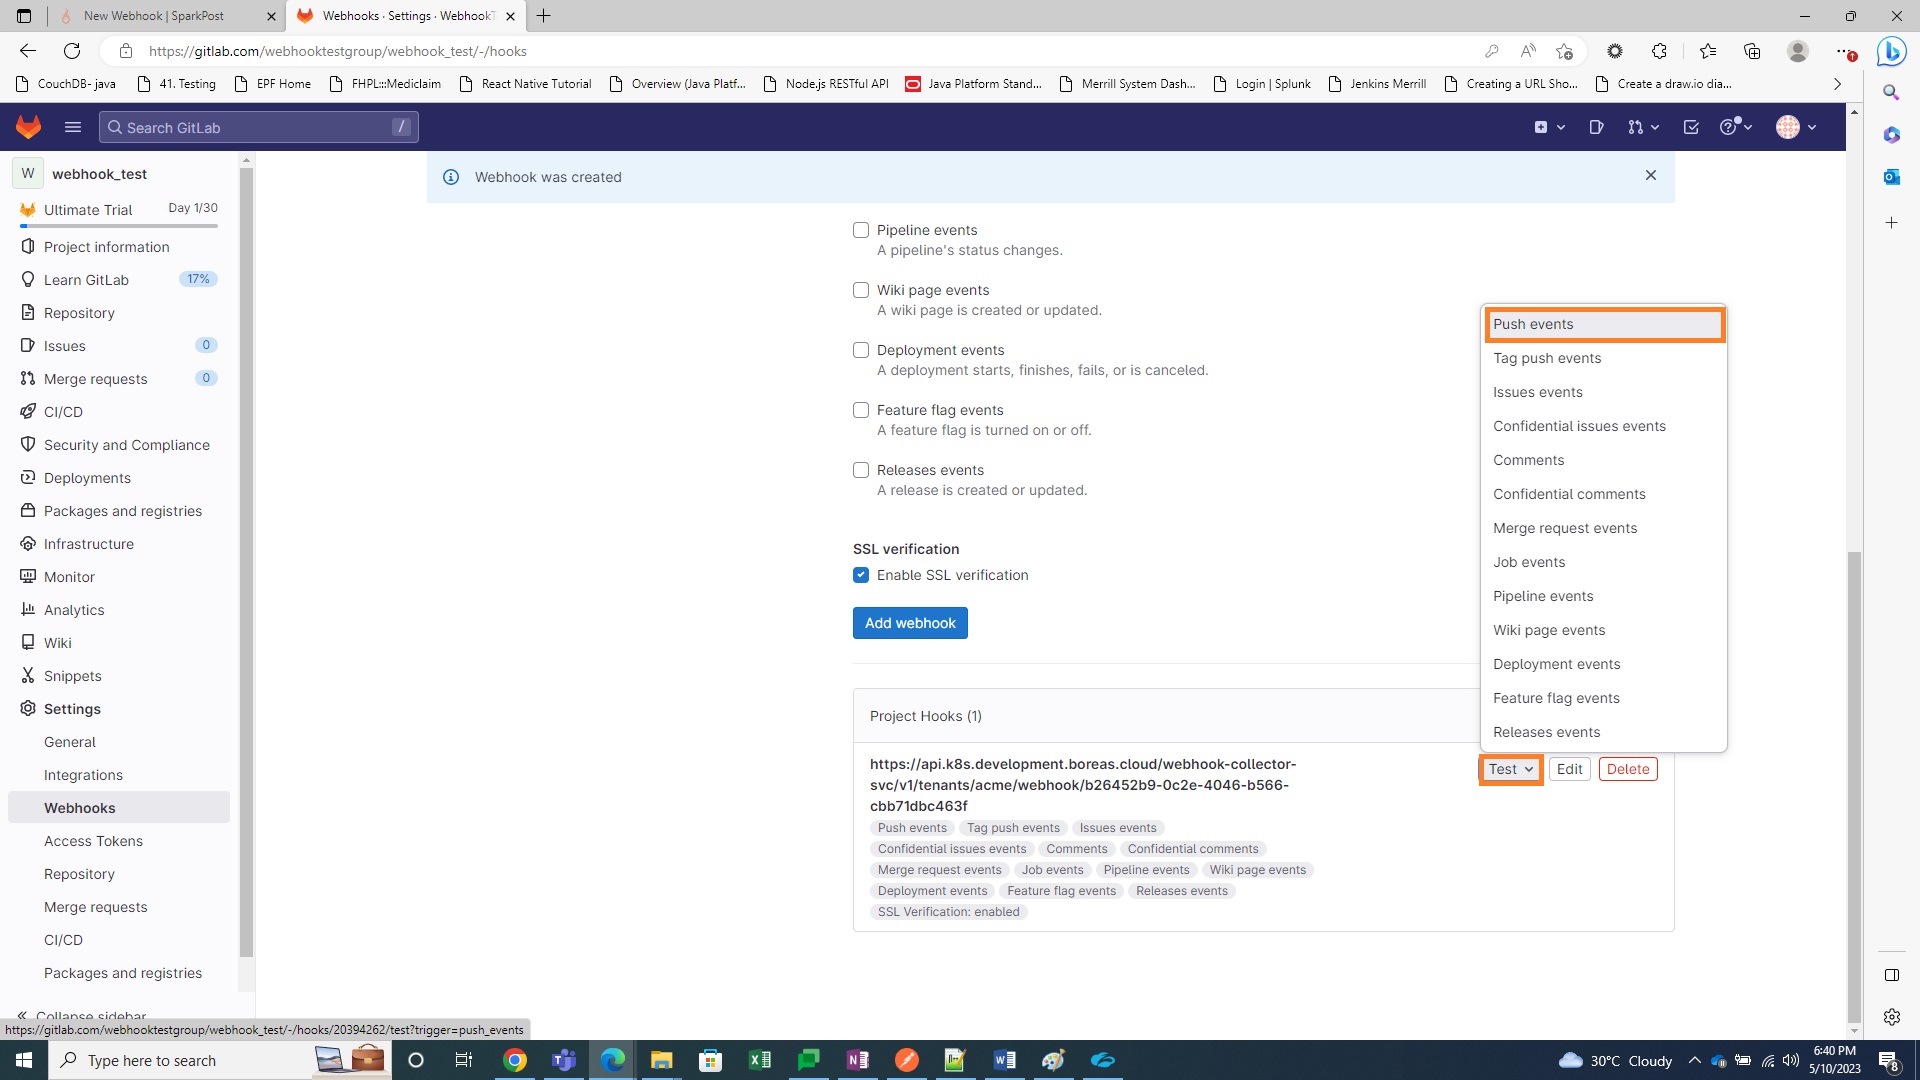
The Webhook is successfully added to the list in GitLab, and the Webhook Settings page displays.
Test Webhook for Token-Based Authentication
The following steps are optional, but can be used to ensure that the newly created Webhook is functional.
To test the Webhook, from the Webhook Settings page:
- In the Project Hooks section, next to the newly-created Webhook, expand the Test menu.
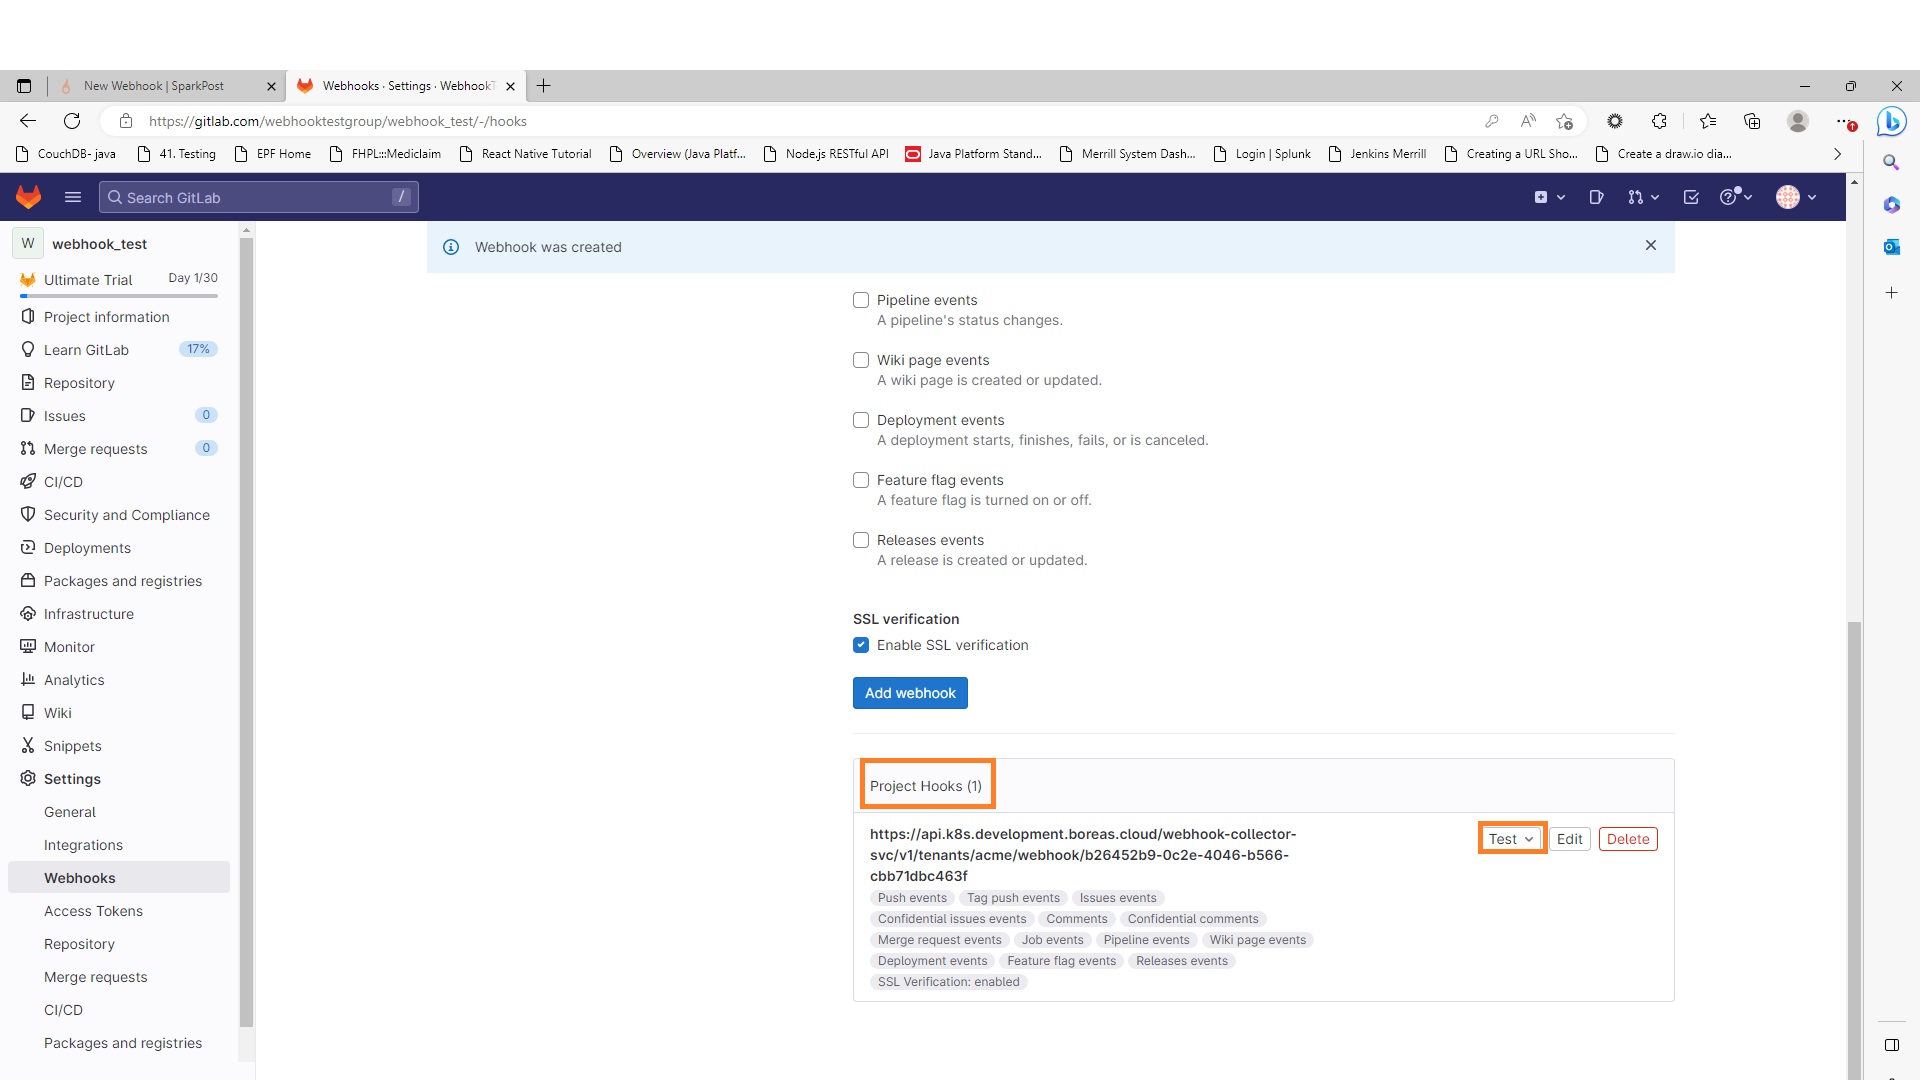
- Select the trigger type to be tested from the list, and then click the Test button.
If the push to the configured URL is successful, a "Hook executed successfully: HTTP 204" message appears at the top of the page.