Many of the steps shown in this section pertain to setting up a development environment. For a production environment, skip these steps and go directly to Okta API Tokens.
Create your Okta Organization
To start, you need an Okta developer edition organization. An org a private data space Okta provisions for you, to hold all the resources you create to handle user authentication. The free edition of an org handle authentication for up to 1,000 users. If you find you need more capacity, upgrade to a paid org.
Create an account on our website:
-
Fill out the form. You will need to supply:
-
email address
-
first name
-
last name
-
company
-
country
-
state/province
-
-
Click to agree to the terms.
-
Click Get Started.
You receive an email to activate your account. The email gives you a temporary password and provides your Okta domain. -
Record your Okta domain and your temporary password and then click Activate your account in the email.
Your Okta domain is important: It’s the base of the URL you use to access your organization. Authorization requests for users will be directed to an endpoint that has this as its base, and any Okta API endpoints you call will also have this URL as their base.
-
You will be prompted to sign in to your organization. Supply your email address and the temporary password that was provided in the email.
-
You will be prompted to change your password, choose a security question, and choose a security image. This security image is displayed whenever Okta prompts you to sign in, providing some assurance that it’s Okta asking.
The Developer Console
The Developer Console is the web UI that provides you with a window into your org, and allows you to configure and manage it. The URL to access your Developer Console consists of your Okta domain plus -admin, for example, https://dev-133337-admin.okta.com.
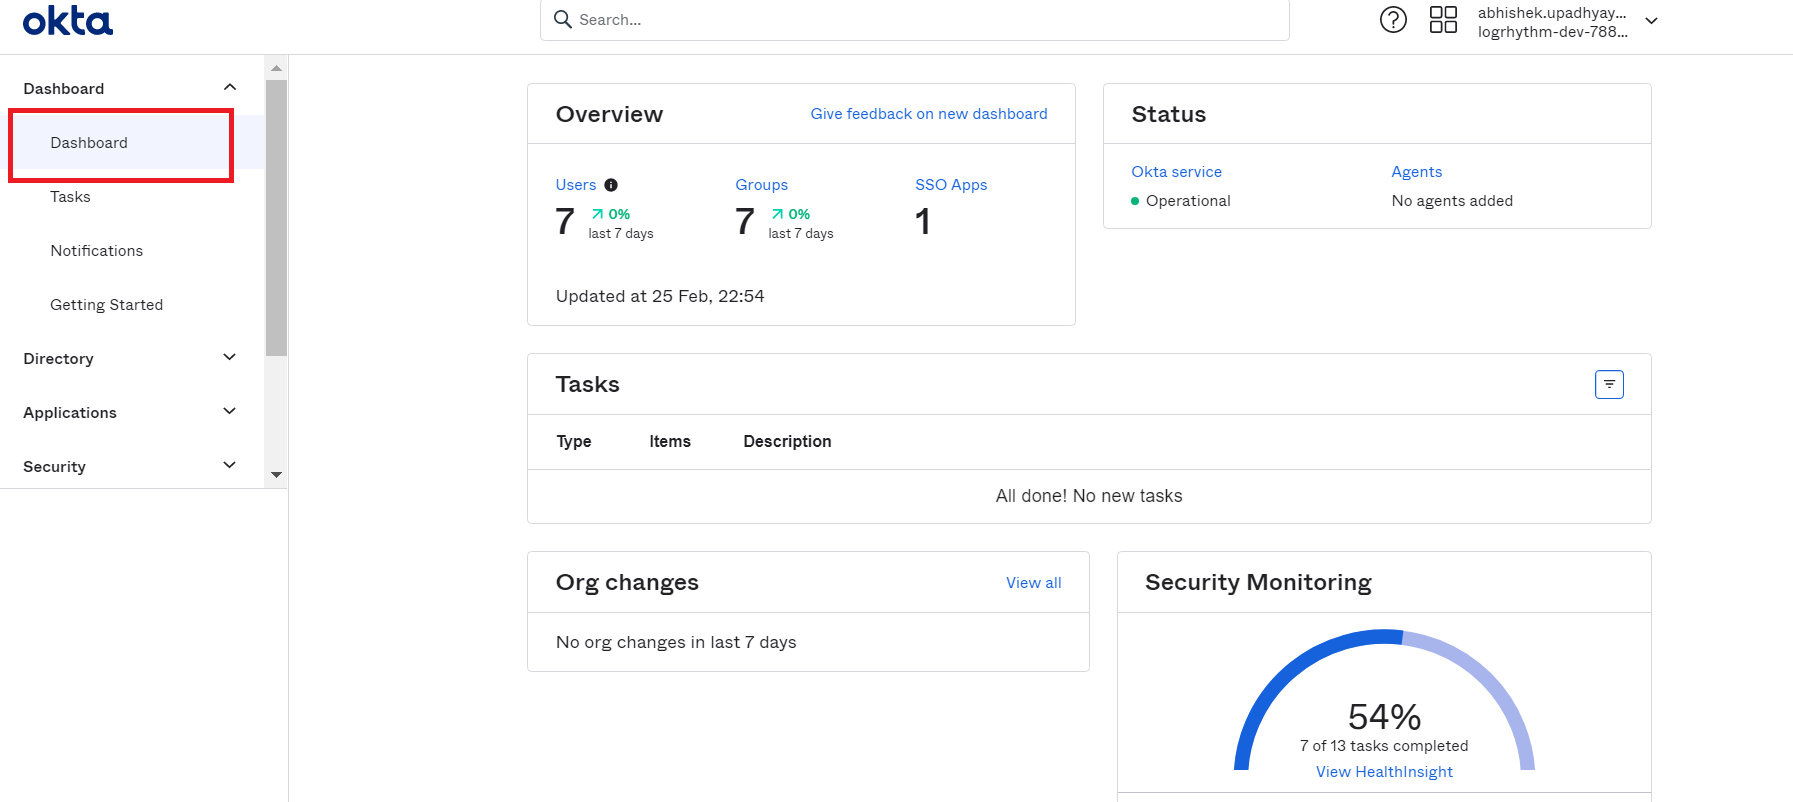
Dashboard
After logging on to the Developer Console, you see the Dashboard, a landing page that provides a summary of activity in your org.
The Dashboard shows statistics for:
-
Overview
-
Status
-
Tasks
-
Security Monitoring
Register Your Application
Skip this step if you have already registered your application in Okta. Here we have integrated DUO for illustration purpose. Integration steps depend on the application to which user want to integrate okta application .
To register an application:
-
Sign in to your Okta organization with your administrator account.
-
From the Admin Console, navigate to Applications > Applications.

-
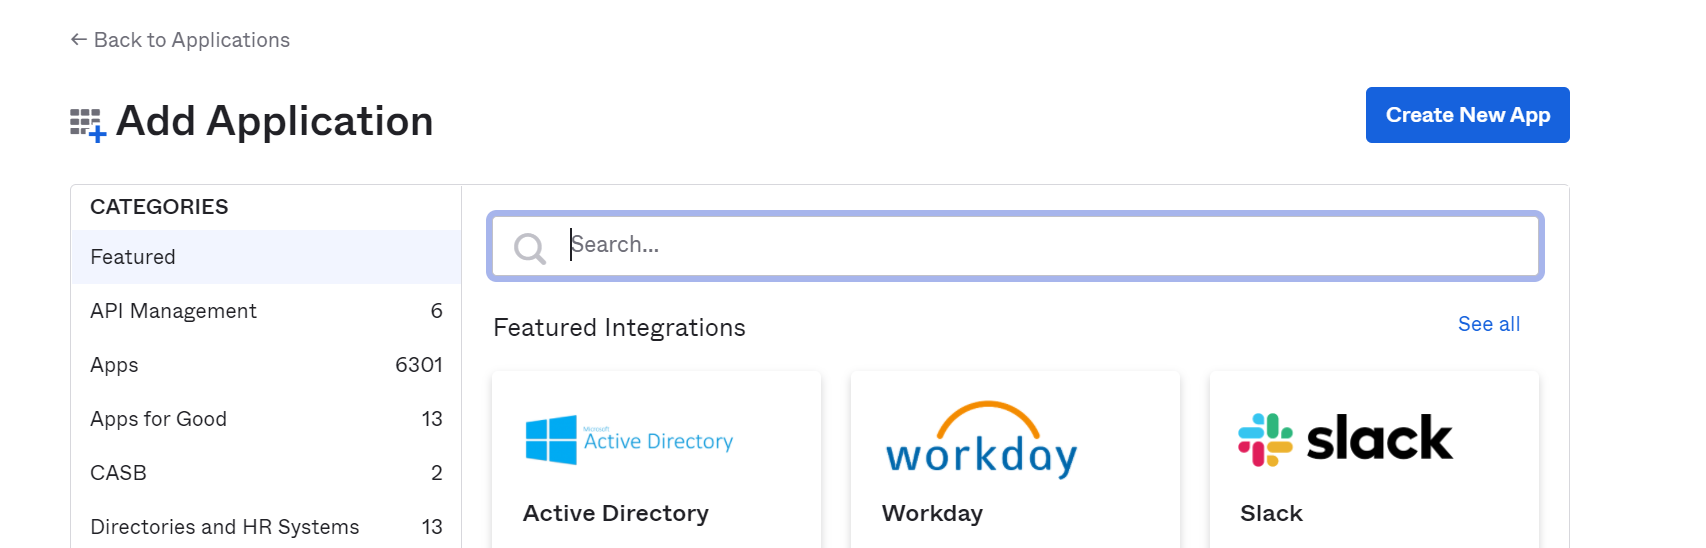
Click Add Application.
-
Use the search bar to find the application that you want to integrate with Okta. For more detail, refer to the Integrate Okta with the Duo Admin Panel section.
Integrate Okta with the Duo Admin Panel
-
Log on to your Duo Admin Panel instance.
-
Navigate to Administrators > Admin Login Settings.
-
Select Required in the Authentication with SAML box.
Administrators, except Owners, will be required to sign in with Okta.
-
Enter the Following:
In the SAML Identity Provider Settings section:
-
Identity provider: Select Okta.
-
Configuration method: Select Paste.
-
Metadata XML: Copy and paste the following:
<?xml version="1.0" encoding="UTF-8"?>
<md:EntityDescriptor entityID="http://www.okta.com/exk1c92iih0bo6TxC5d6"
    xmlns:md="urn:oasis:names:tc:SAML:2.0:metadata">
    <md:IDPSSODescriptor WantAuthnRequestsSigned="false" protocolSupportEnumeration="urn:oasis:names:tc:SAML:2.0:protocol">
        <md:KeyDescriptor use="signing">
            <ds:KeyInfo
                xmlns:ds="http://www.w3.org/2000/09/xmldsig#">
                <ds:X509Data>
                    <ds:X509Certificate>MIIDpjCCAo6gAwIBAgIGAXXU2h9hMA0GCSqGSIb3DQEBCwUAMIGTMQswCQYDVQQGEwJVUzETMBEG
A1UECAwKQ2FsaWZvcm5pYTEWMBQGA1UEBwwNU2FuIEZyYW5jaXNjbzENMAsGA1UECgwET2t0YTEU
MBIGA1UECwwLU1NPUHJvdmlkZXIxFDASBgNVBAMMC2Rldi03ODg3ODA2MRwwGgYJKoZIhvcNAQkB
Fg1pbmZvQG9rdGEuY29tMB4XDTIwMTExNzA2MTY0NloXDTMwMTExNzA2MTc0NlowgZMxCzAJBgNV
BAYTAlVTMRMwEQYDVQQIDApDYWxpZm9ybmlhMRYwFAYDVQQHDA1TYW4gRnJhbmNpc2NvMQ0wCwYD
VQQKDARPa3RhMRQwEgYDVQQLDAtTU09Qcm92aWRlcjEUMBIGA1UEAwwLZGV2LTc4ODc4MDYxHDAa
BgkqhkiG9w0BCQEWDWluZm9Ab2t0YS5jb20wggEiMA0GCSqGSIb3DQEBAQUAA4IBDwAwggEKAoIB
AQDCzq0IwDrJKTQeBOEx5AeyWFybawCxWxswiffJd4TQfkrWDC6e06qrYpbLyt5hlOD+Md2F/rqE
QO70TcsZn8uMNpOfo/kgYcndprRMC6rs6D7eqLNdi3AKz6OZFQjS2nW45VKthgT3epVe0h8WLMQR
ThKssWIs6bRbxL7wL7OUBhNyl5MBlEY1JwQMpJ2rY0Uv7hDKw50ThD5tMdYytvjiSAUvQ3dHYifx
/eQnajSdFF44gyTpx6dBSBINz0mRt0n4Cq3kVvLg9kJOCtxhN2a8vJHUeaZ/UDx+6ov0L5wEeJTC
RsVSlgJbvuj7KTfFYGwYJDpngbs6DzDN6m95goeHAgMBAAEwDQYJKoZIhvcNAQELBQADggEBAC3+
UdZnkQUdEIBOOV5F7OW8RerRzZx5x28V+ITk783cD8/2W1obA2DpTmCcM6Q5yUpkgFcF8rGZPYeD
8Q858xO3hdYbsMawPY+EUth8j7dwffBD139q9bNSdOGY0/Kry2fVqoJAvyWlpV6Q76rYfWfHvave
1ck8noeQMOx0+zF7hH9+bdsxUHDT0o0jmQKhTdL/ohU5BkuZ5irrfTiF4FncjrLXNtBArW9umdkf
fwTAW6+fKsoxhitQbrE78hulQhOom/QWAmW1rRRsyj6ygNZELA8zKNiWpHYuBUVlrNS8BckKN+Vp
K4Gy8UB/rY64PY+vWU3hBc6fGFVzdWongzw=</ds:X509Certificate>
                </ds:X509Data>
            </ds:KeyInfo>
        </md:KeyDescriptor>
        <md:NameIDFormat>urn:oasis:names:tc:SAML:1.1:nameid-format:unspecified</md:NameIDFormat>
        <md:NameIDFormat>urn:oasis:names:tc:SAML:1.1:nameid-format:emailAddress</md:NameIDFormat>
        <md:SingleSignOnService Binding="urn:oasis:names:tc:SAML:2.0:bindings:HTTP-POST" Location="https://dev-7887806.okta.com/app/duoadminpanel/exk1c92iih0bo6TxC5d6/sso/saml"/>
        <md:SingleSignOnService Binding="urn:oasis:names:tc:SAML:2.0:bindings:HTTP-Redirect" Location="https://dev-7887806.okta.com/app/duoadminpanel/exk1c92iih0bo6TxC5d6/sso/saml"/>
    </md:IDPSSODescriptor>
</md:EntityDescriptor>
In the Metadata for Configuring with Okta section, copy the SAML URL value.
This value will be used in Step 7.
-
-
Click Save.
-
In Okta, select the Sign On tab for the Duo Admin Panel SAML app, and click Edit.
-
Scroll down to ADVANCED SIGN-ON SETTINGS and enter your SAML URL value (from step 4).
-
Click Save.
Okta API Tokens
Overview
Okta API tokens are used to authenticate requests made to Okta APIs.
When calling an Okta API endpoint, you must supply a valid API token in the HTTP Authorization header, with a valid token specified as the header value. The value must be prefixed with the identifier SSWS, which specifies the proprietary authentication scheme Okta uses. For example:
Authorization: SSWS 00QCjAl4MlV-WPXM...0HmjFx-vbGua
Privilege level
Different Okta API operations require different admin privilege levels. API tokens inherit the privilege level of the admin account used to create them. It is therefore good practice to create a service account to use when you create API tokens, so that you can assign the token the specific privilege level needed. See Administrators for admin account types and the specific privileges of each.
Create the token
To create an API token:
-
Sign in to your Okta organization as a user with administrator privileges.
API tokens have the same permissions as the user who created them, and if the user permissions change, the API token permissions also change. See Privilege level, regarding the use of a service account when creating an API token, to specifically control the privilege level associated with the token.
If you don't have an Okta organization, you can create one for free.
-
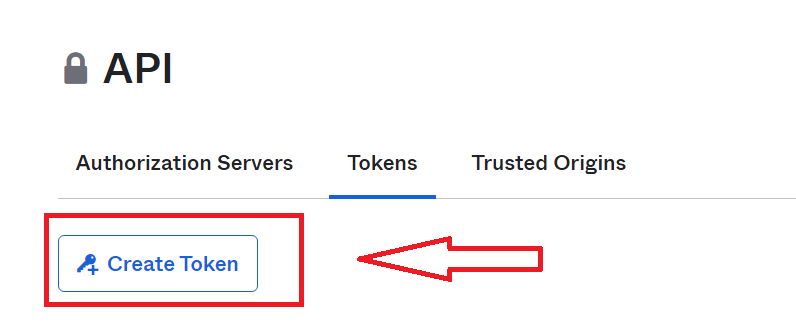
To access the API page, select API from the menu.
-
-
Click Create Token.
-
Name your token and click Create Token.
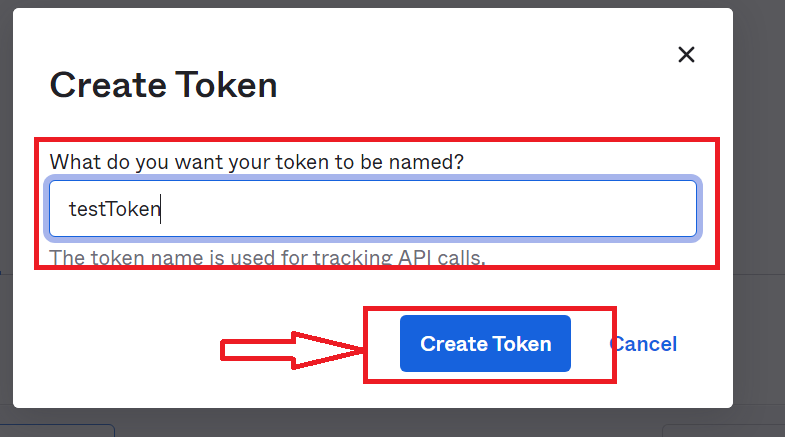
-
Record the token value. This is the only opportunity to see and record it.

Token expiration and deactivation
Tokens expire automatically after a certain period, but can also be manually deactivated at any time.
Token expiration
Tokens are valid for 30 days from creation or last use, so that the 30 day expiration automatically refreshes with each API call.
Tokens that aren't used for 30 days expire.
The 30-day period is currently fixed and cannot be changed for your organization.
Token deactivation
If a user account is deactivated in Okta, any API tokens created by that user account are deactivated at the same time.