This guide contains instructions for configuring the Cloudflare Logpush integration to push logs to the AWS S3 beat.
Configure LogPush
-
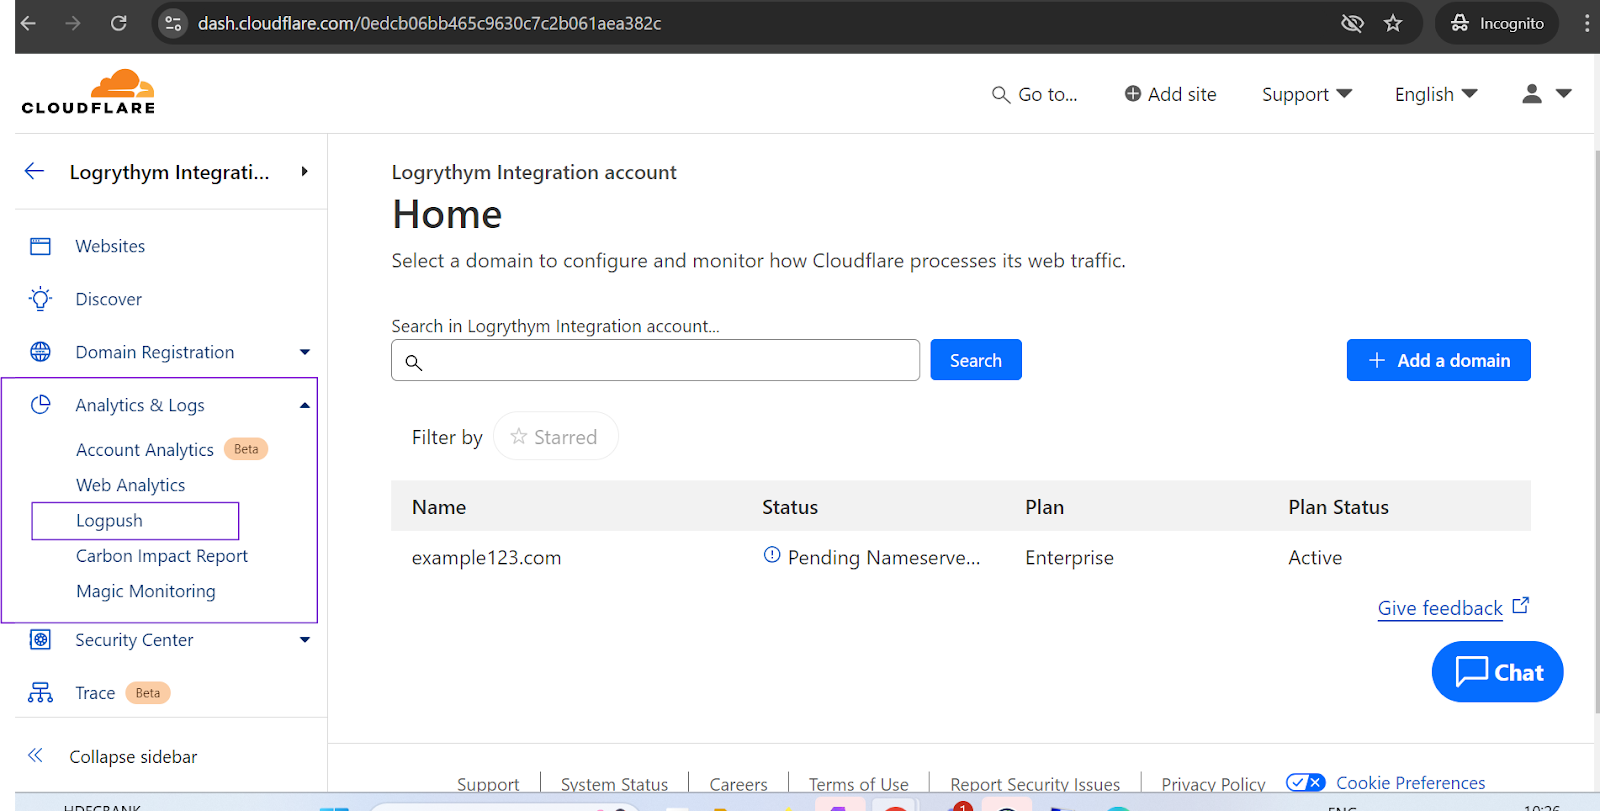
Login to your Cloudflare account.
-
From the homepage, click on the Logpush option under Analytics & Logs.
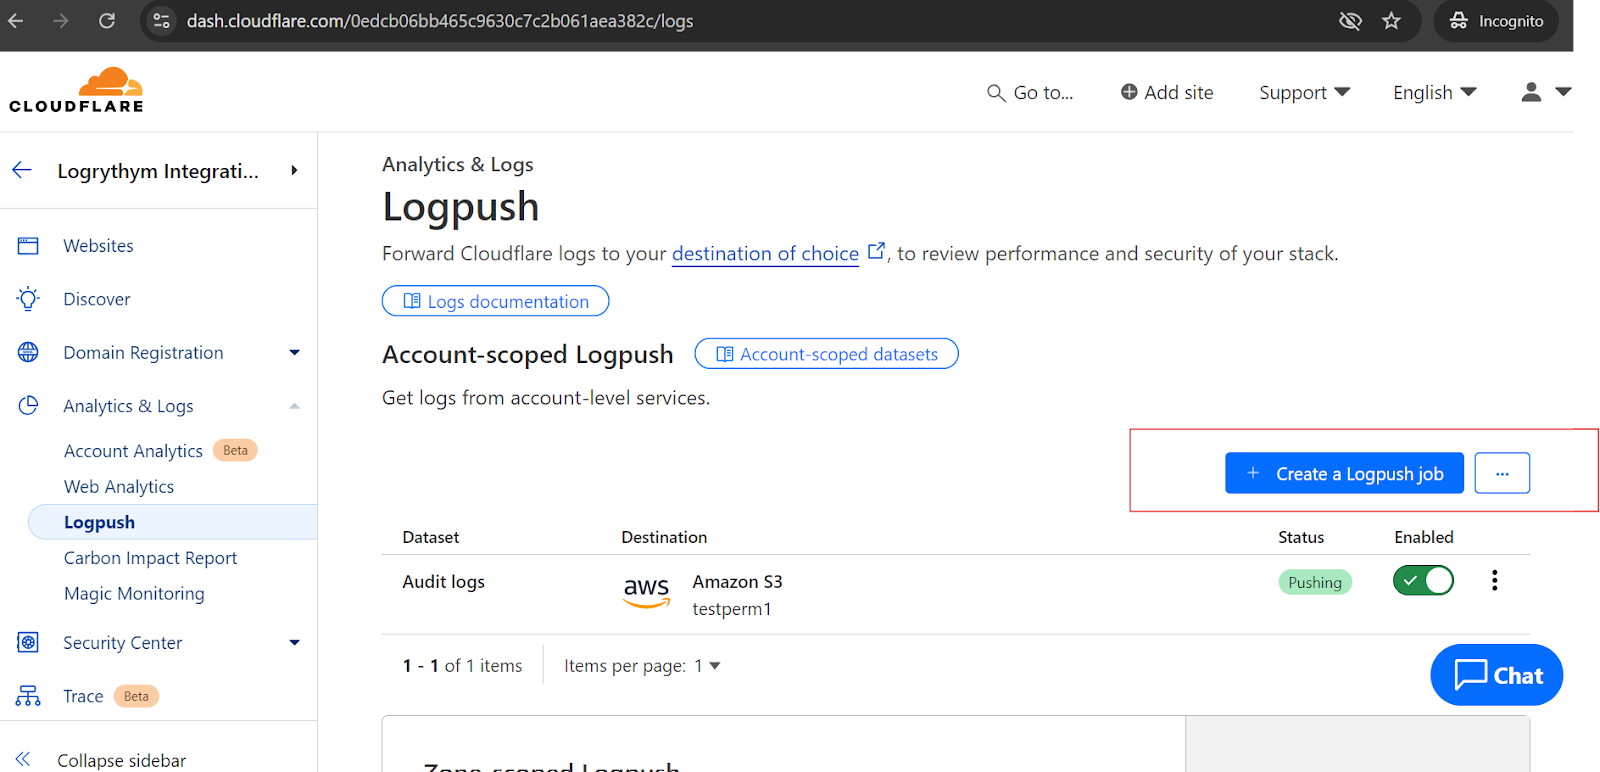
The Logpush window appears.
-
Click Create a Logpush Job.
-
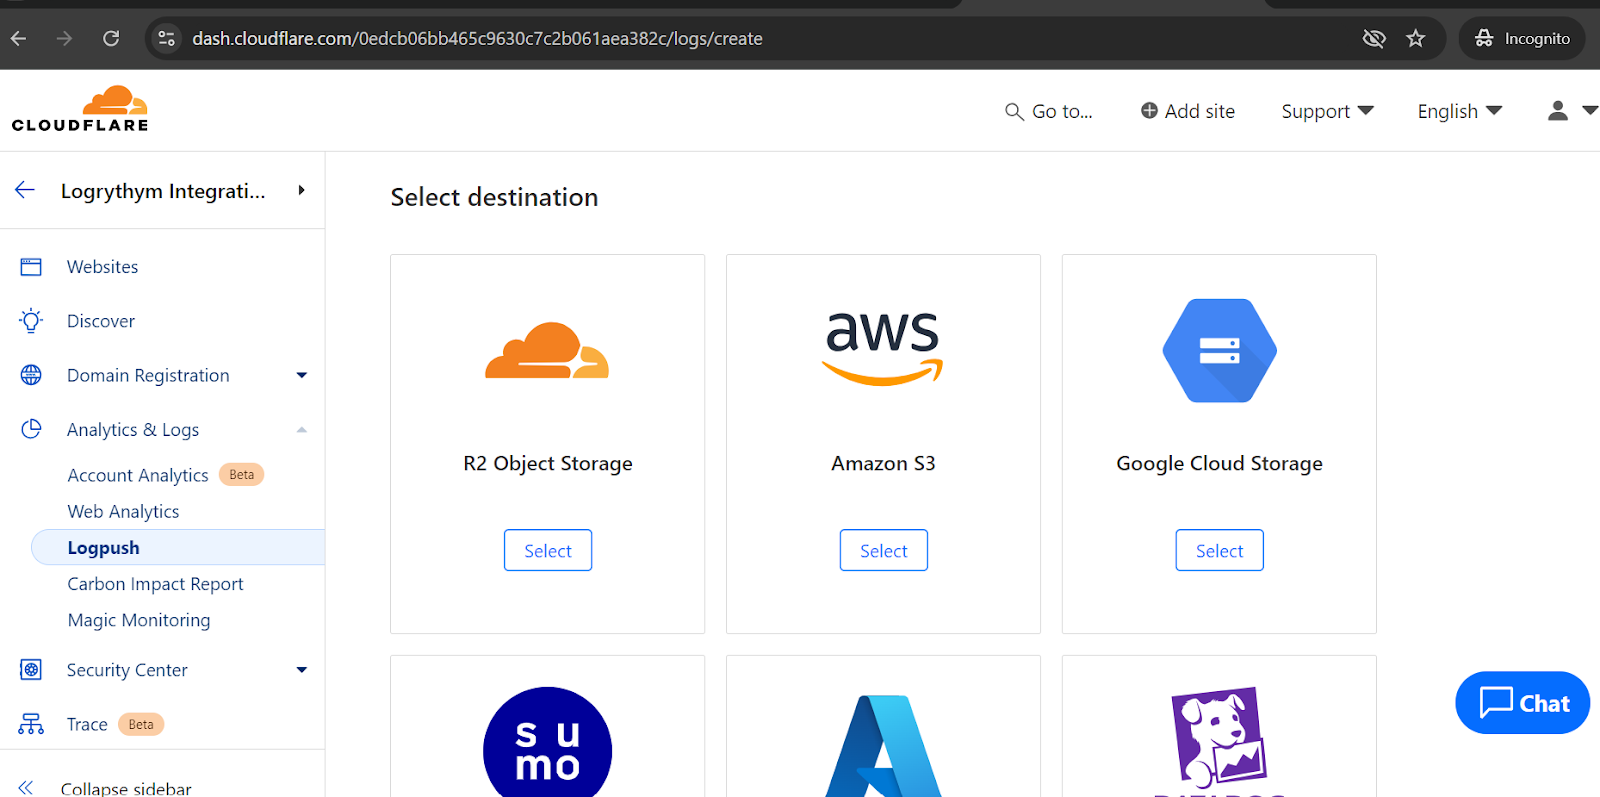
Select Amazon S3.
-
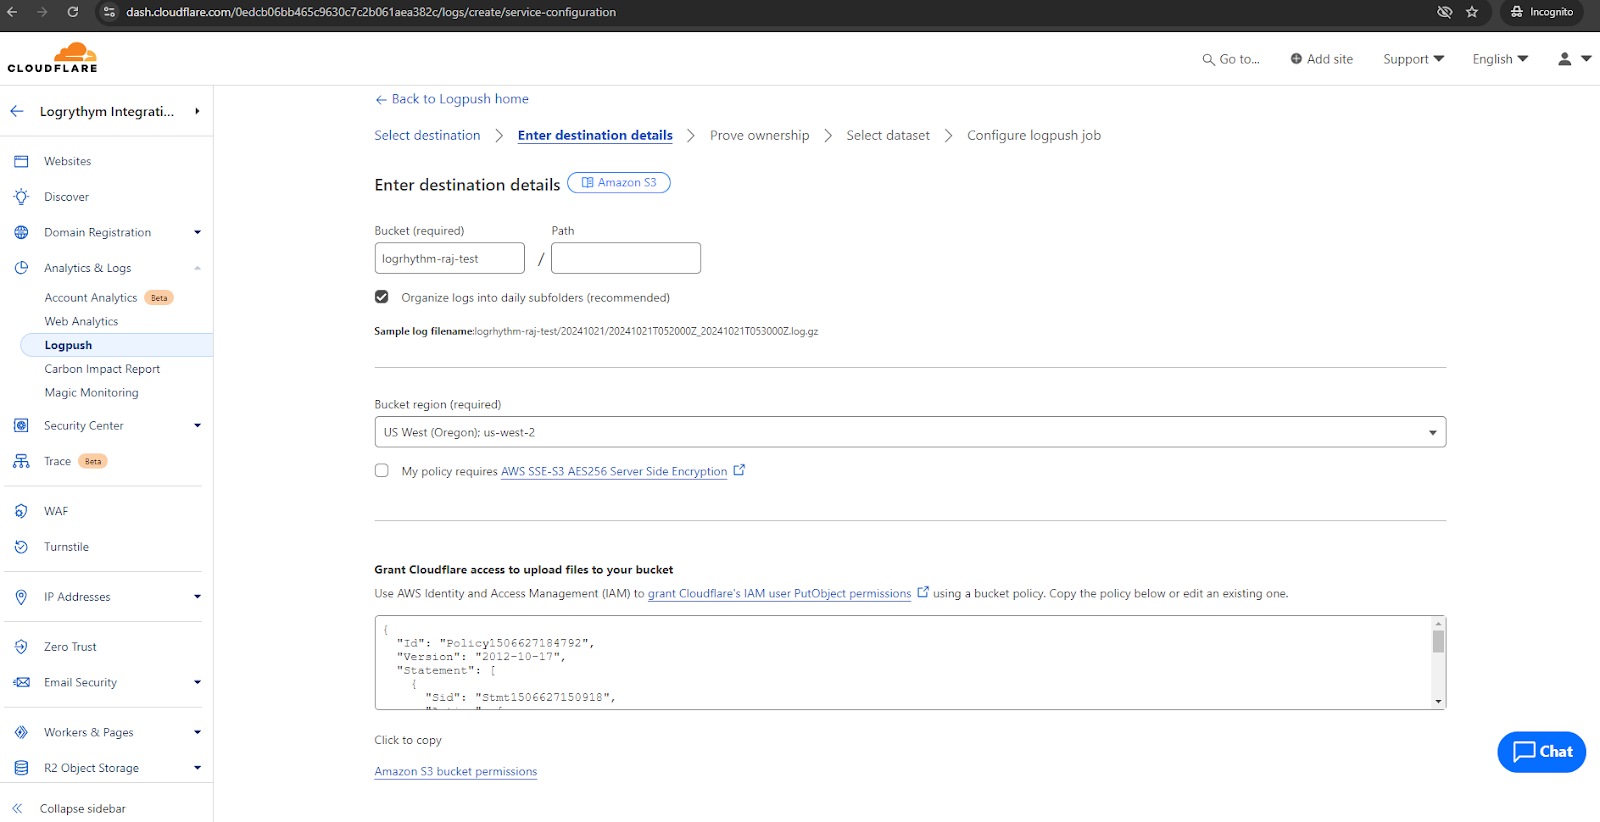
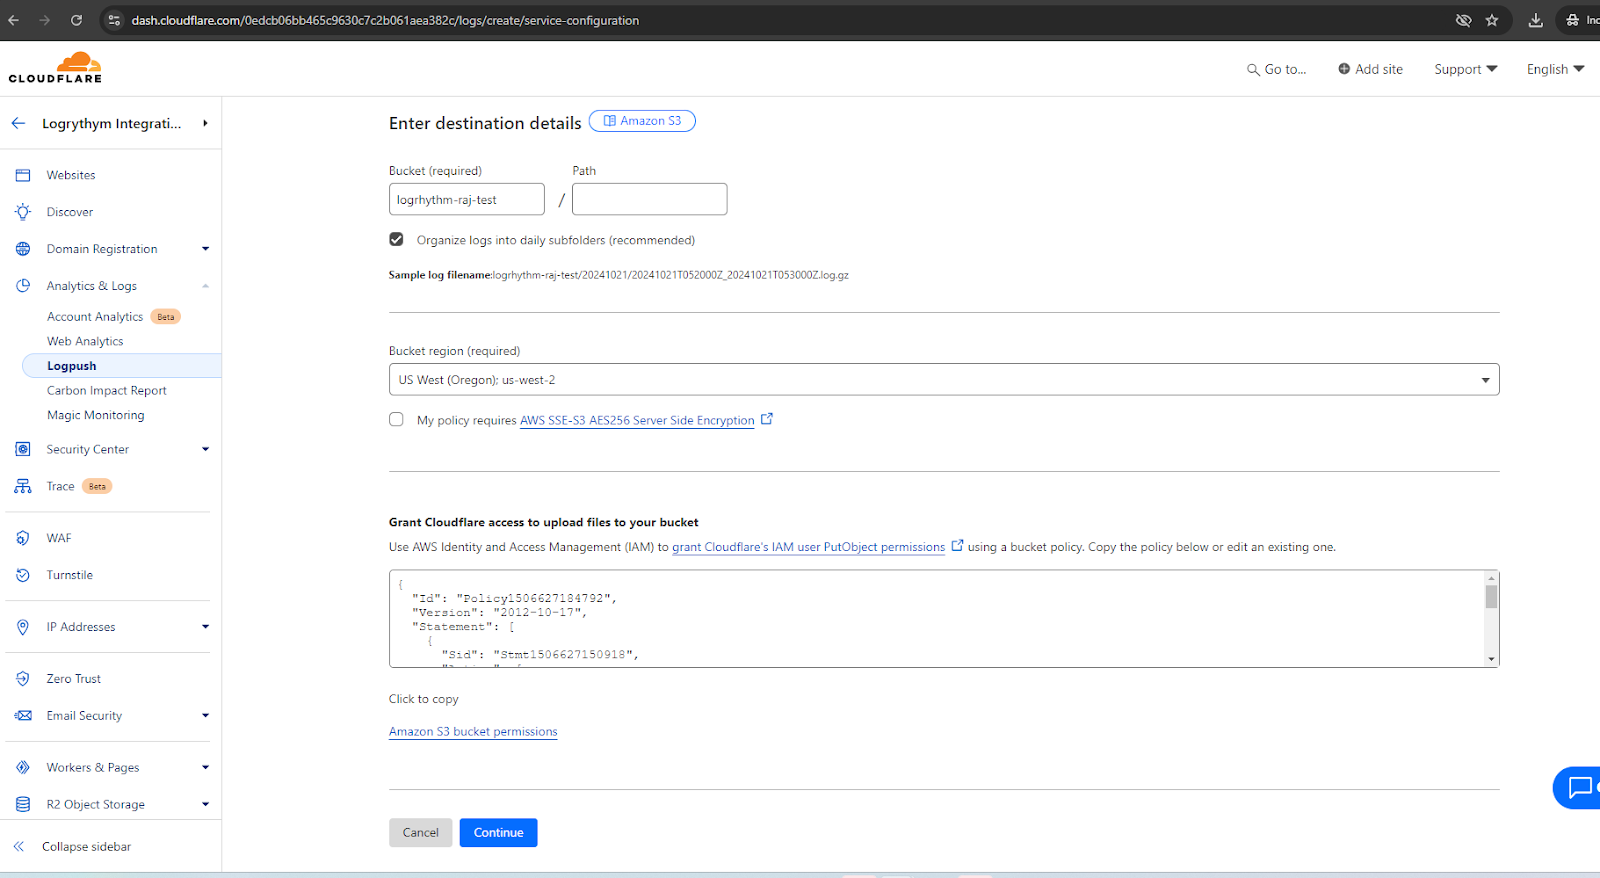
Configure the Destination Location (bucket name and region).
Refer to Configure AWS S3 for bucket naming guidance.
The JSON policy is self-populated after the bucket name and region are configured.
-
Copy the self-generated JSON policy into the required Bucket policy for the S3 bucket.
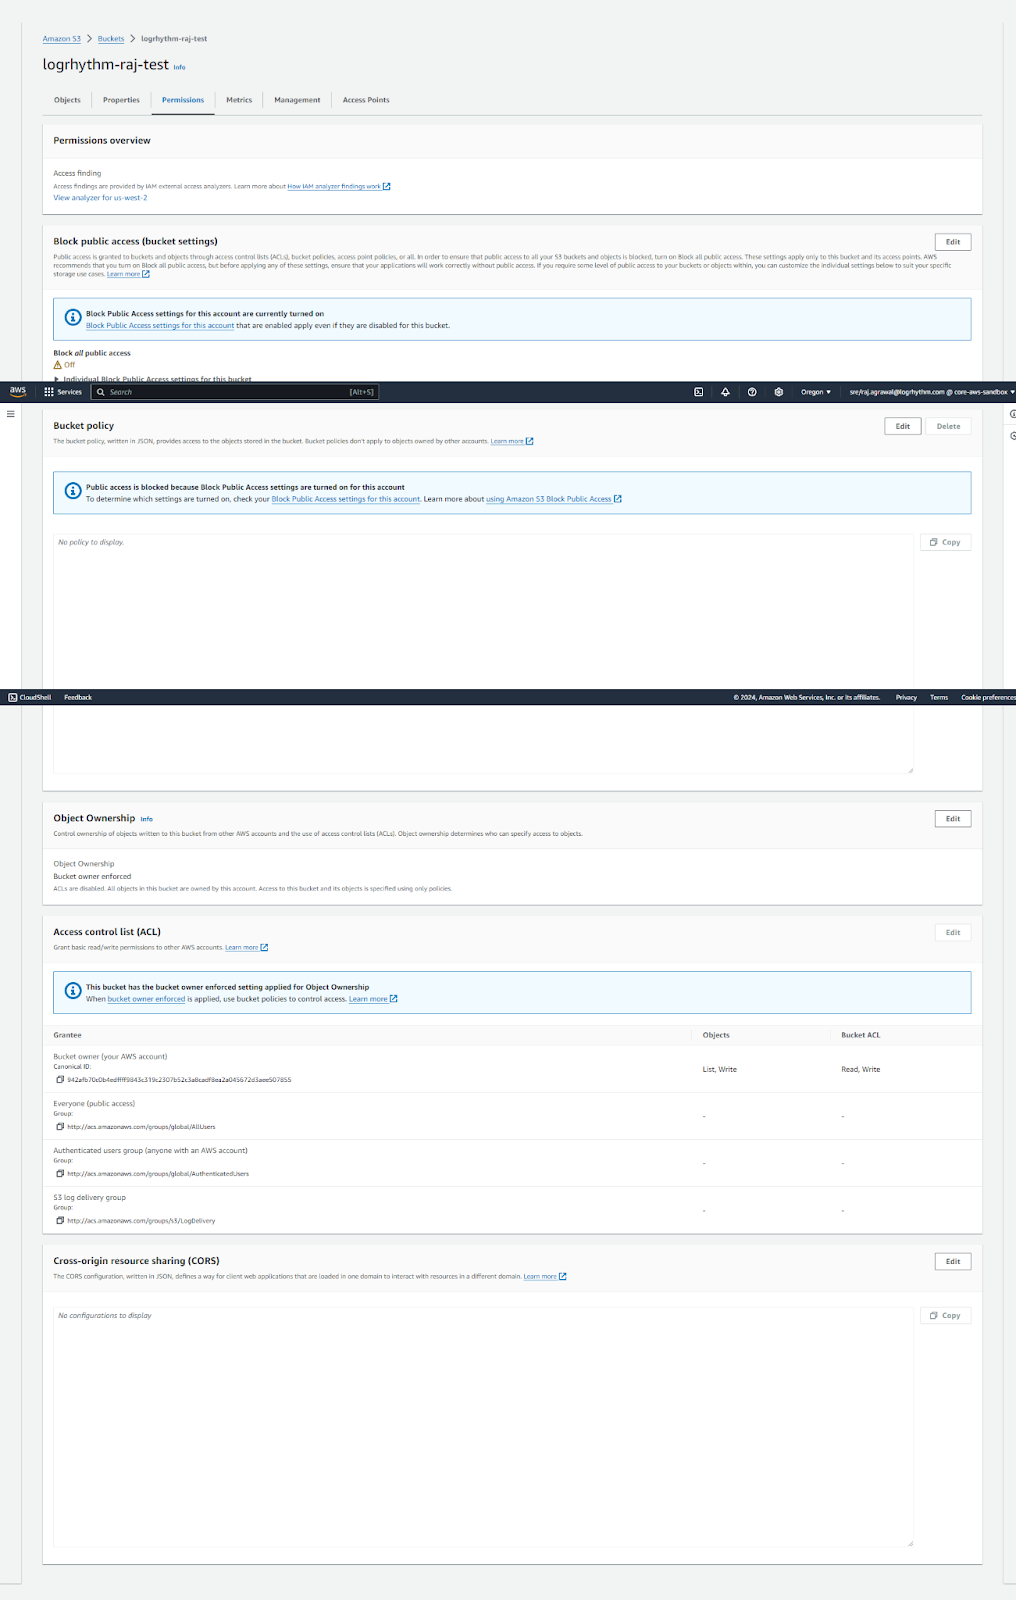
-
Add the required JSON policy for the given Bucket and click Save Changes.

-
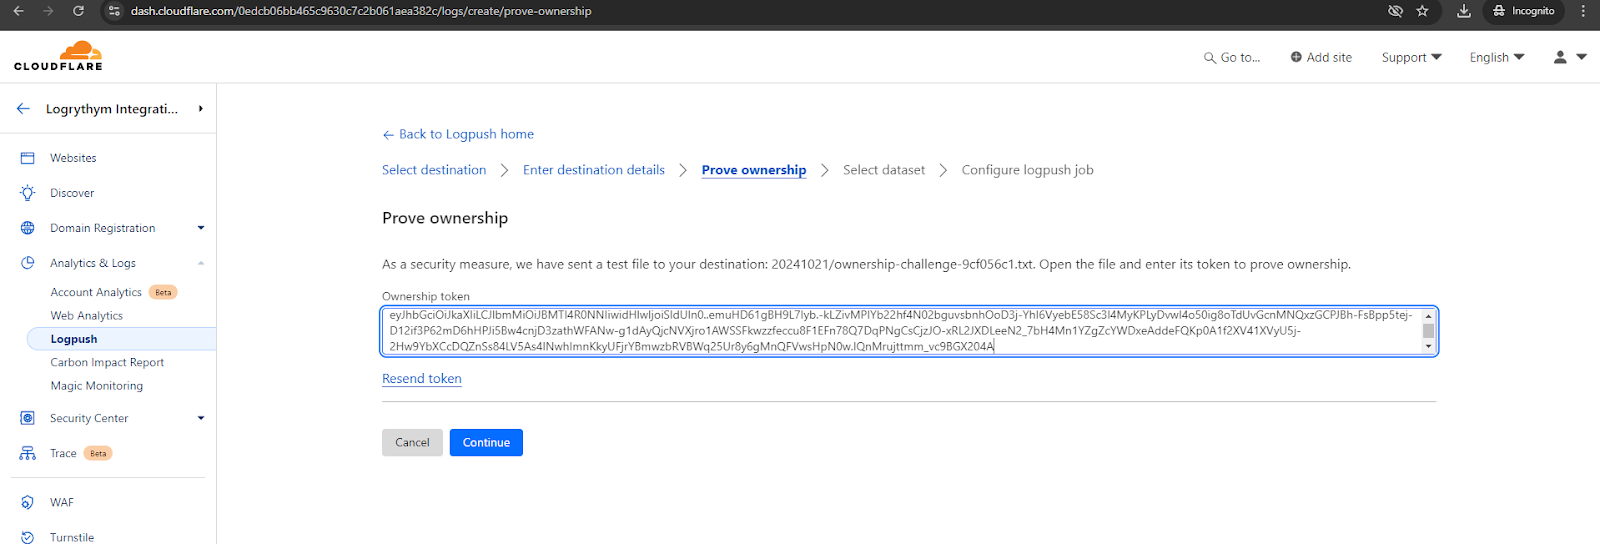
Return to the Cloudflare Logpush page and click Continue.
Cloudflare sends a test file containing a token to the S3 bucket confirm the ownership.
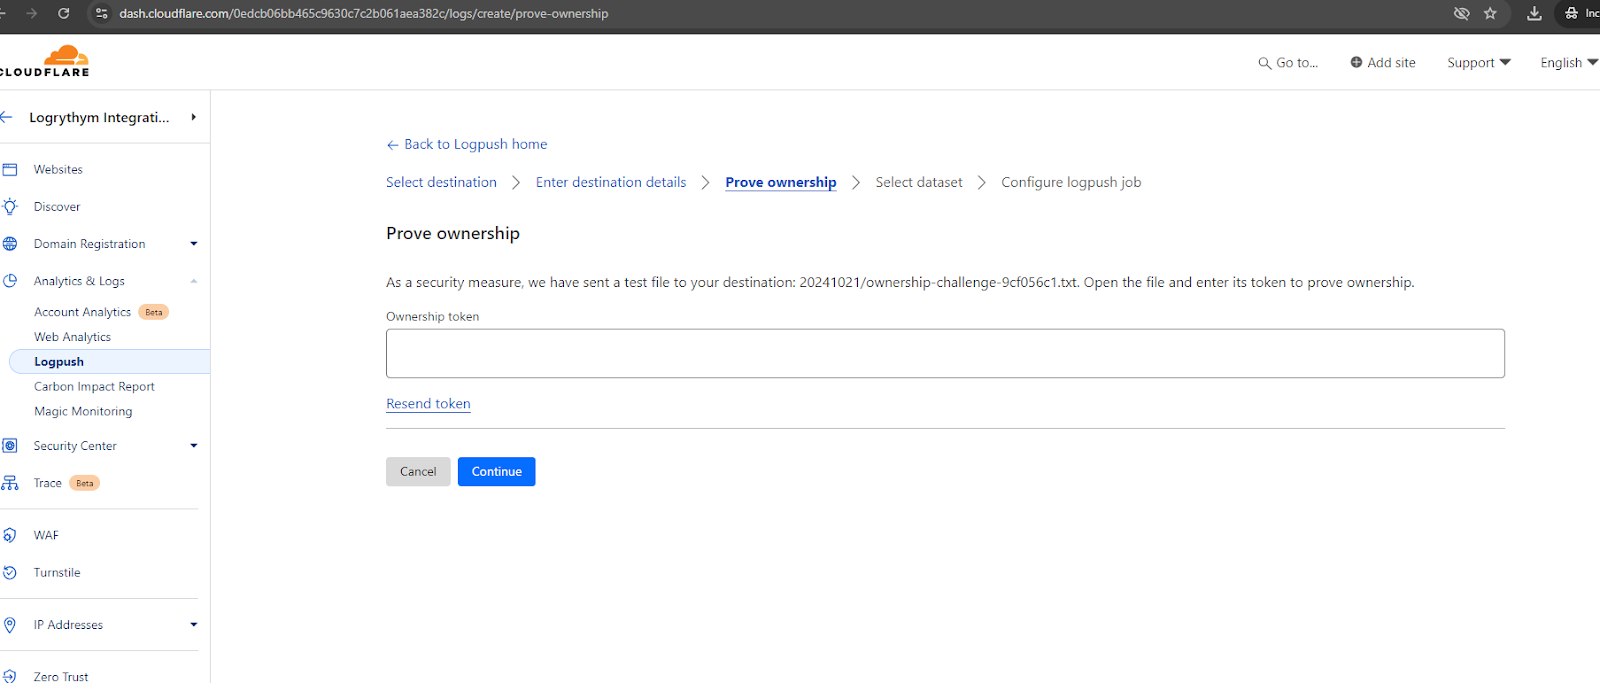
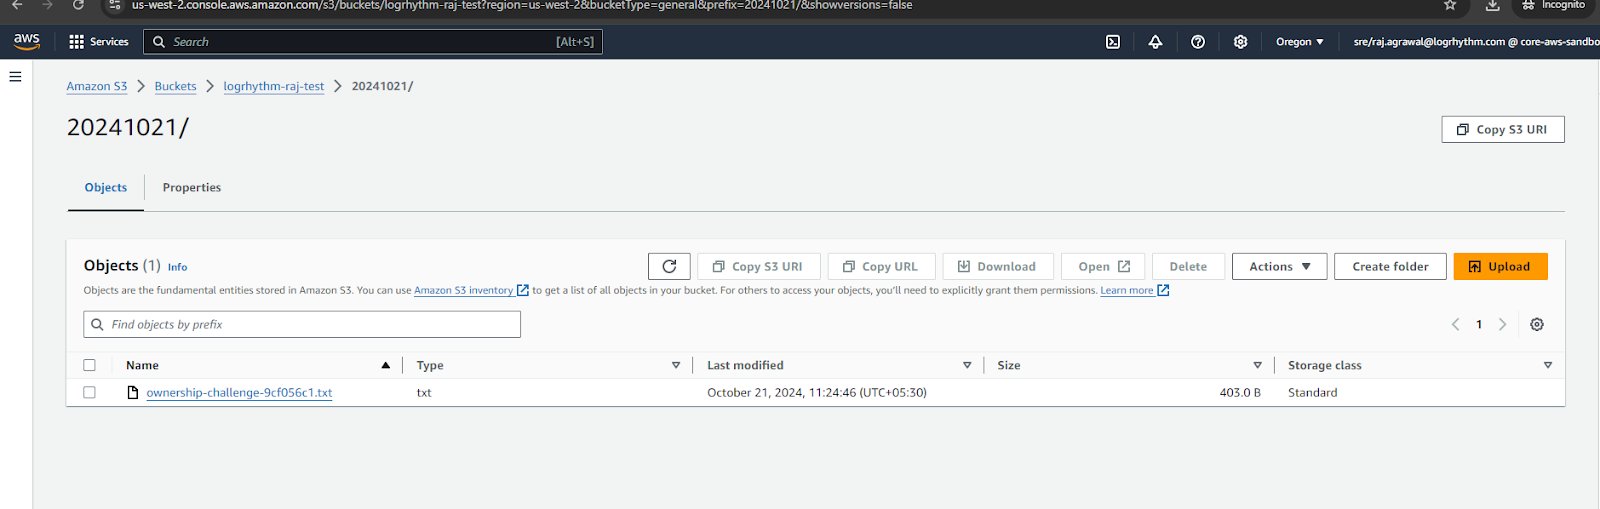
-
Copy the contents of the “ownership-challenge” file and paste it into the Cloudflare configuration page.
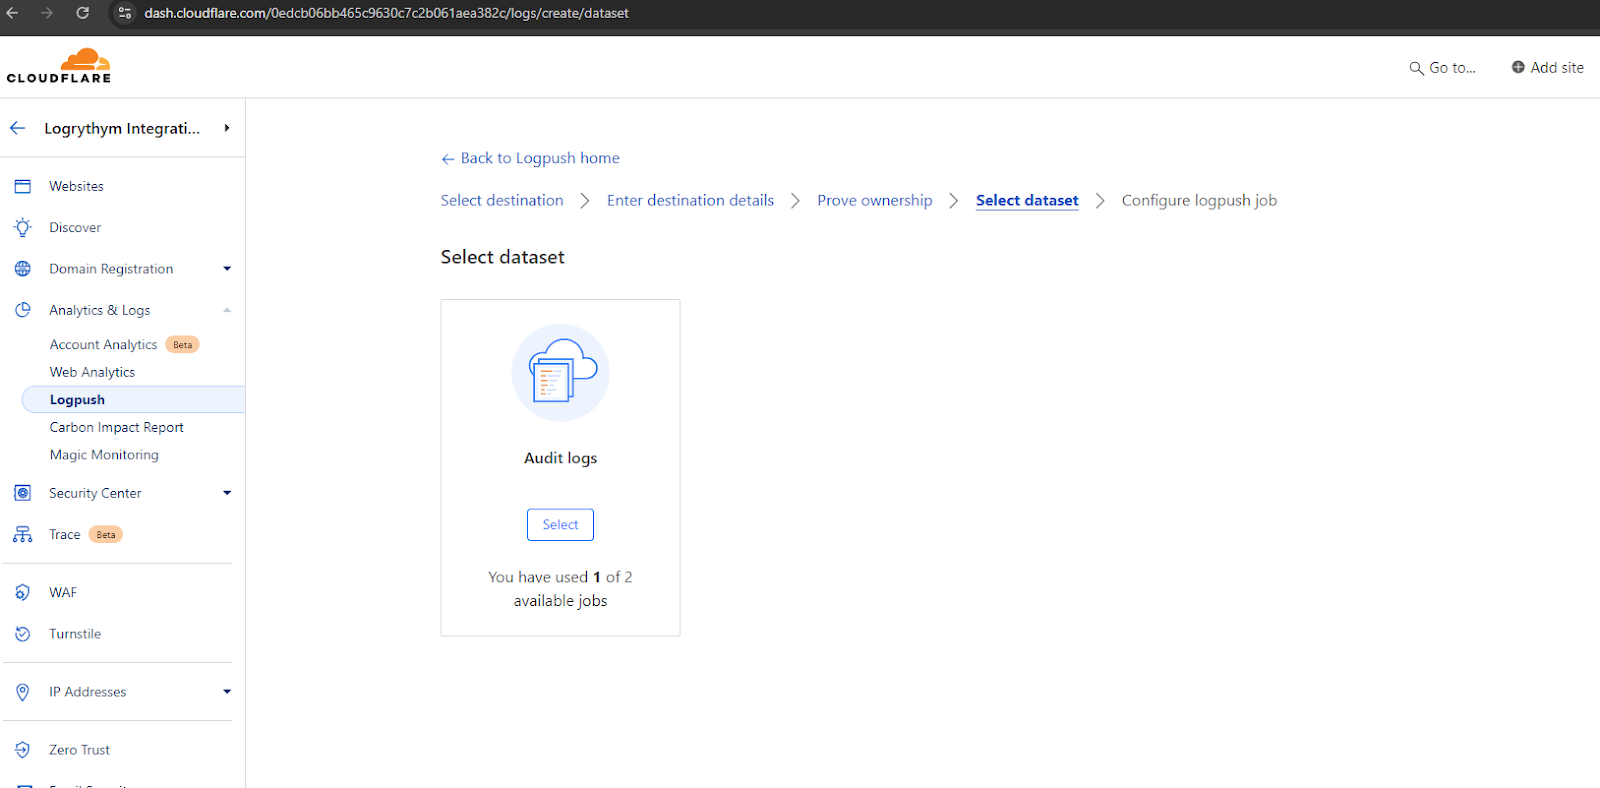
-
Once the ownership is confirmed, choose the required dataset. In this instance, select Audit logs.
-
After selecting Audit logs, configure the job now by entering the required information.
The configuration requires the Job name, whether all the jobs are required or any filtering, which data field, date format, etc.
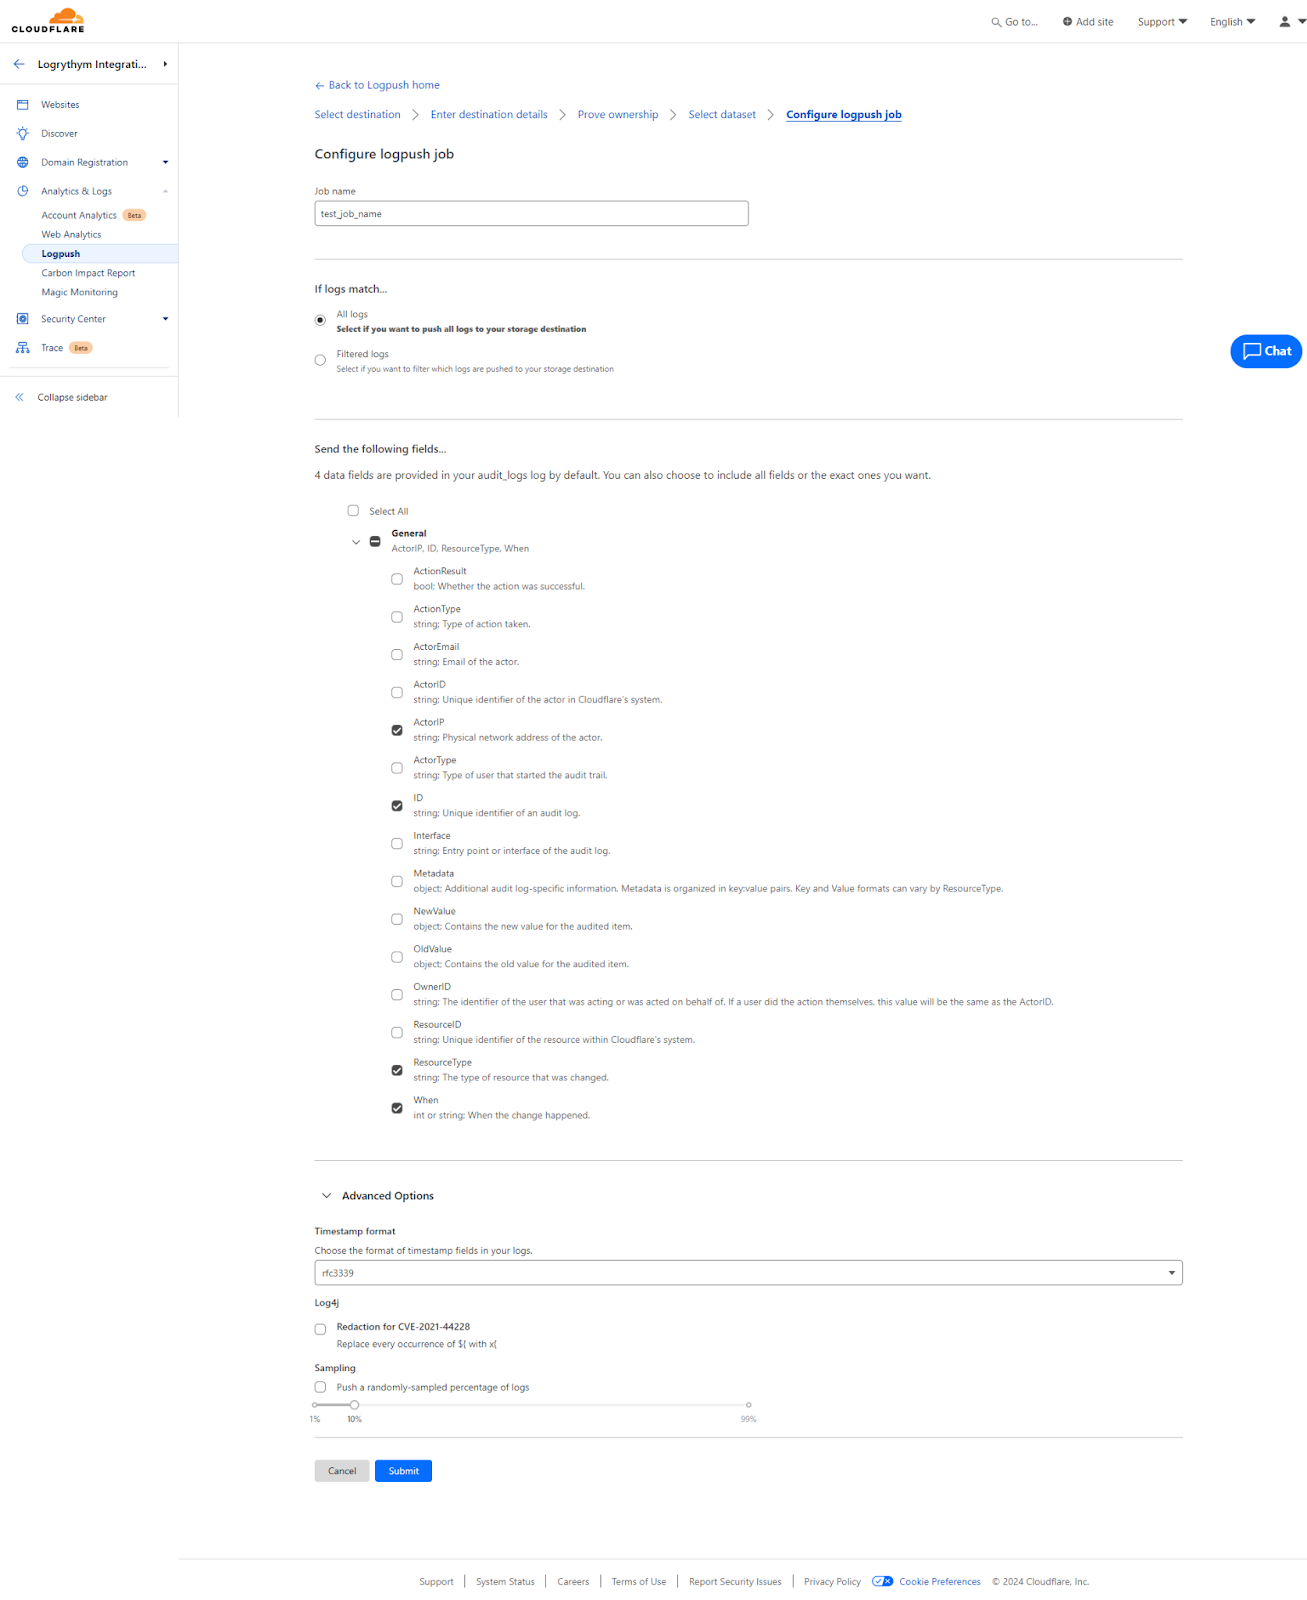
-
When finished, click Submit.
The Logpush job is added to the list of jobs.
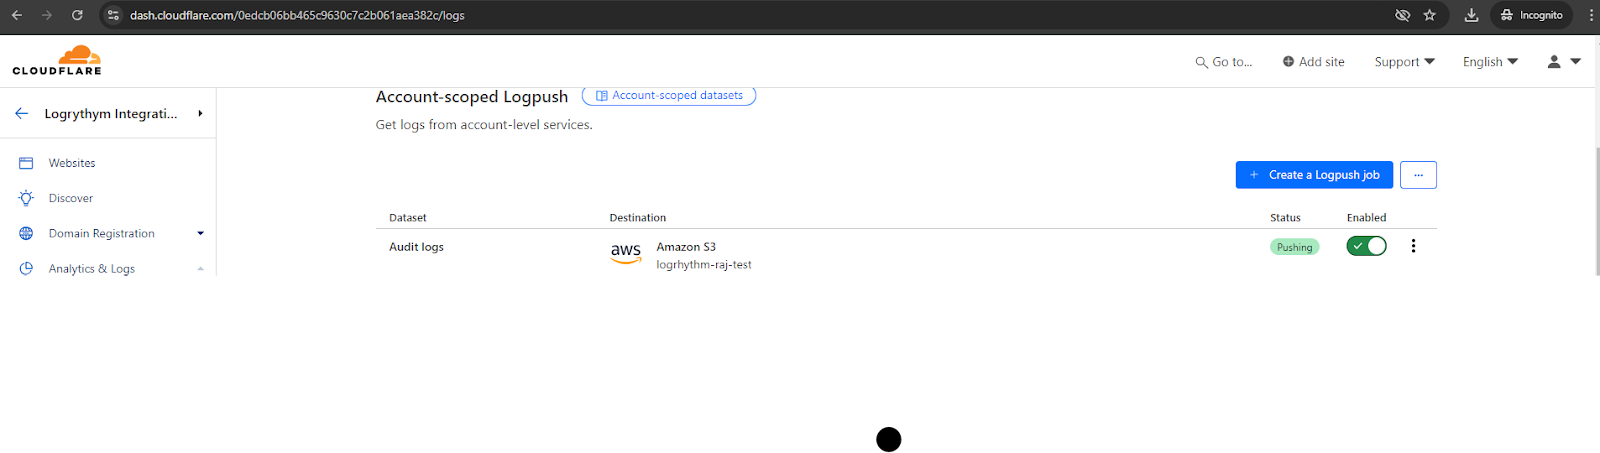
-
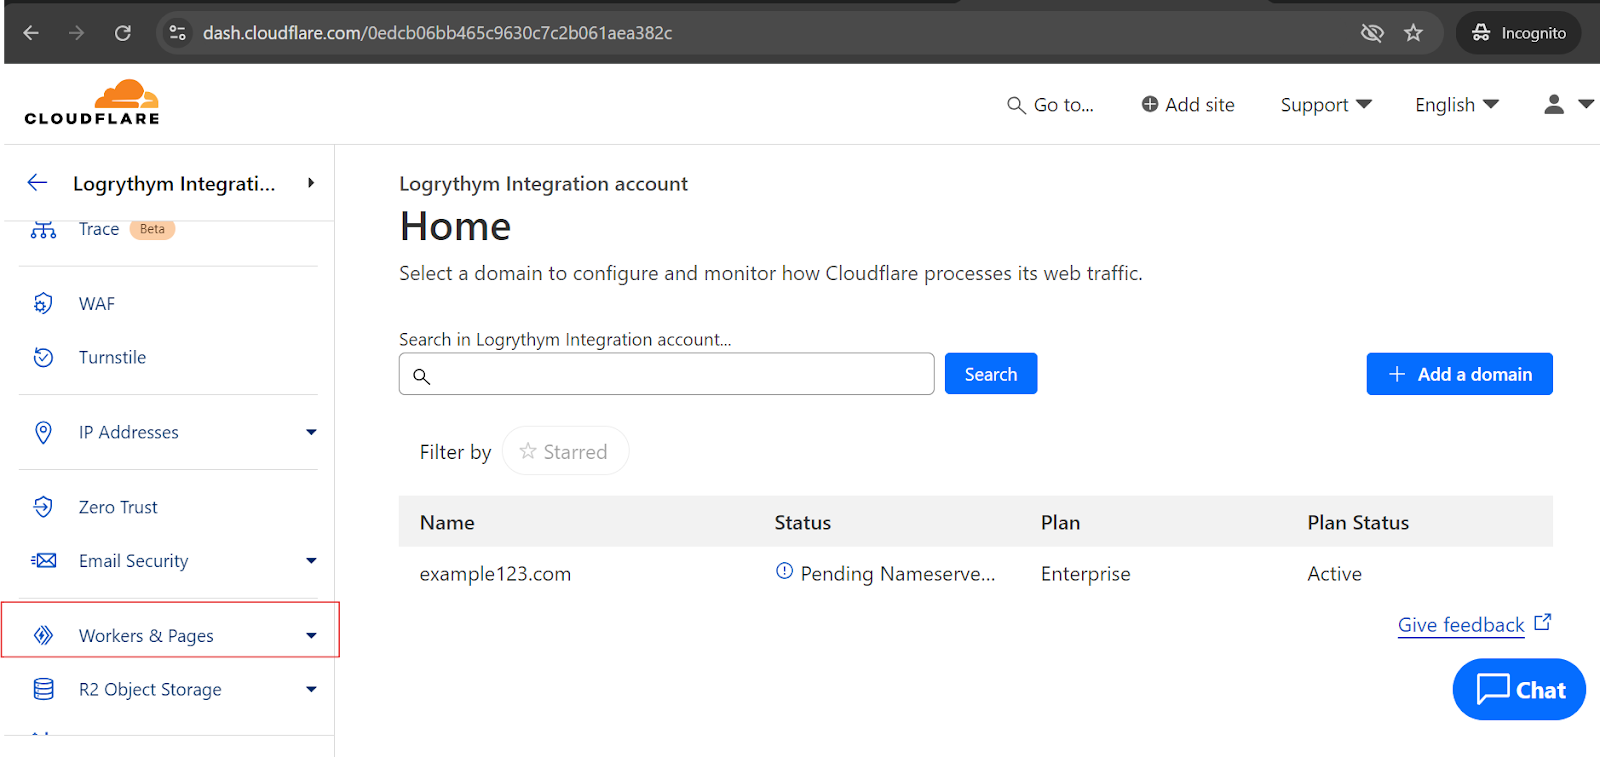
In order to validate whether the logs are being sent to the S3 bucket, we can generate any Account-scoped event.
For example, create a worker (serverless function in Cloudflare terminology) by selecting the Workers & Pages option on the left-side menu.
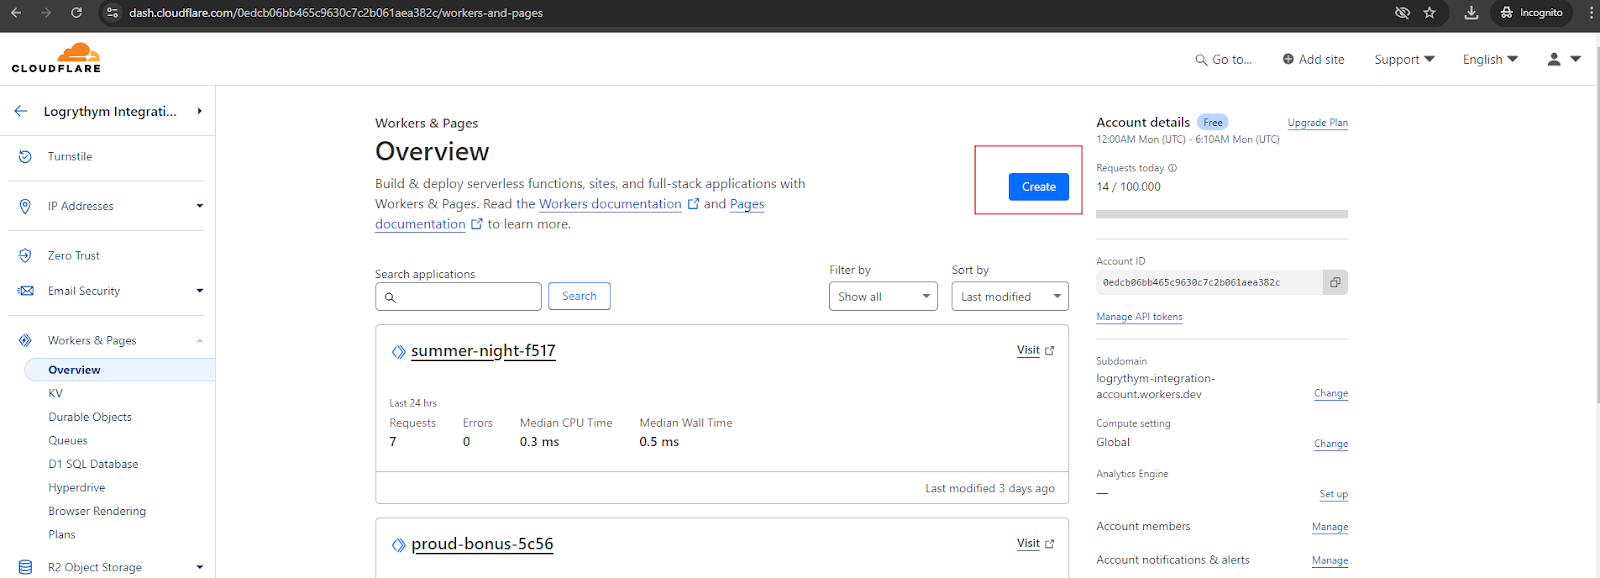
The Workers & Pages window opens.
-
Click Create.
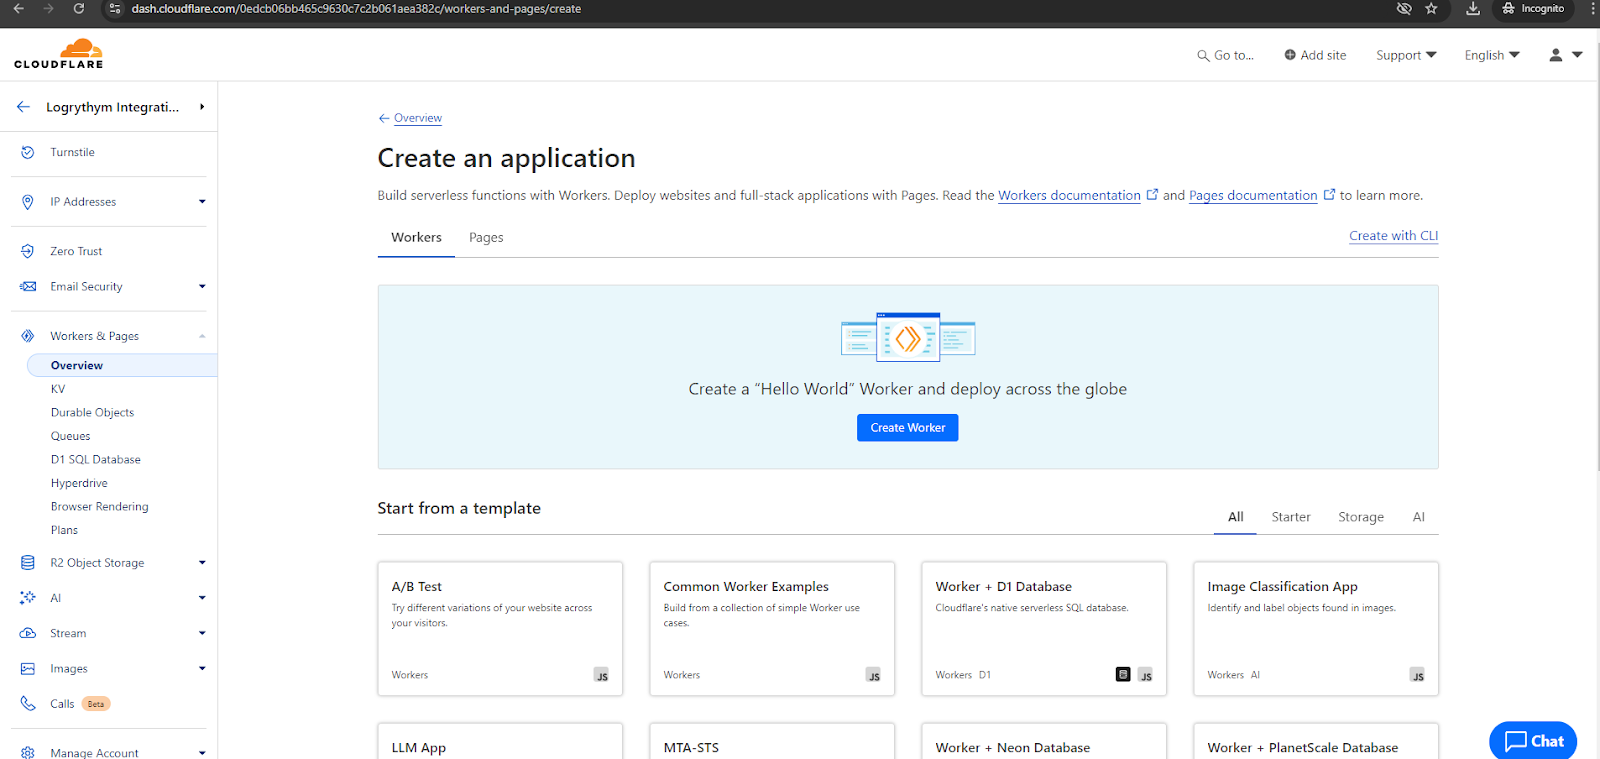
-
Click Create Worker.
-
Click Deploy.
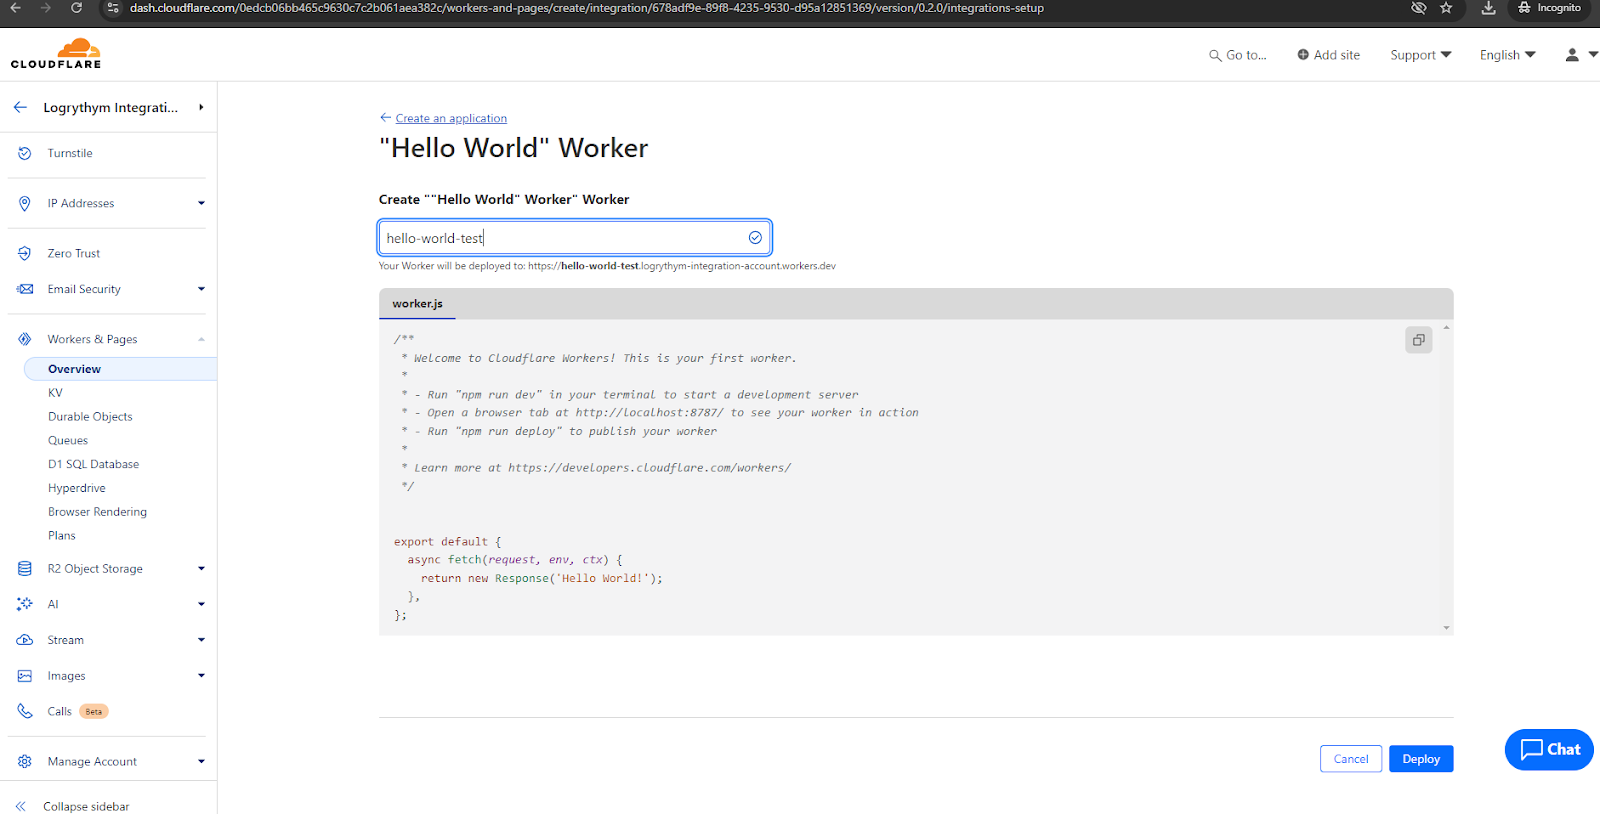
-
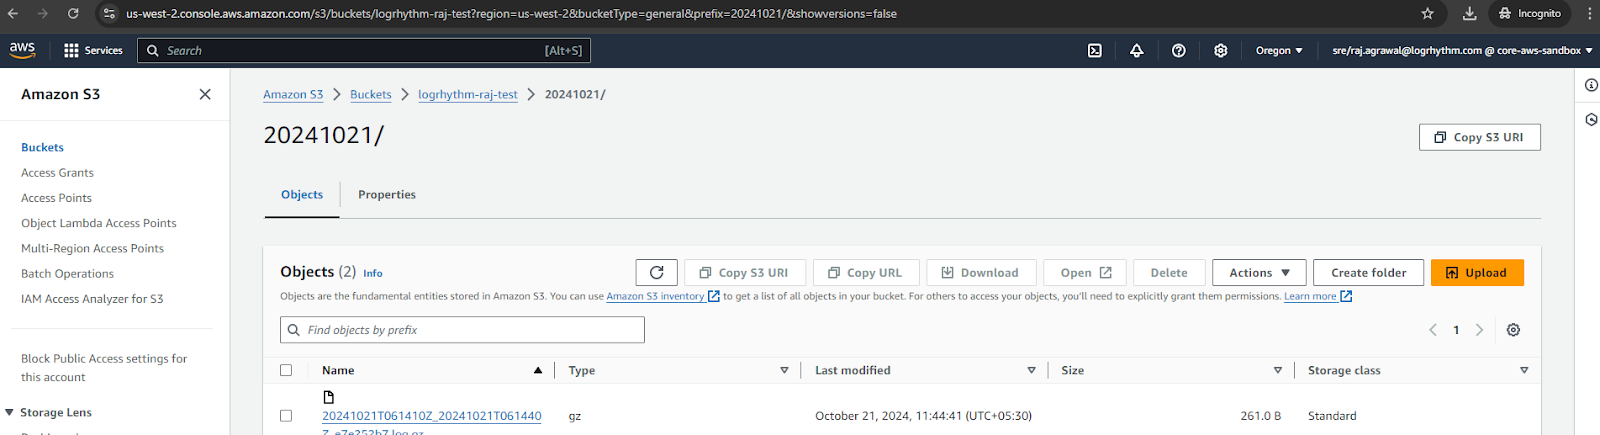
Once deployed, logs are being generated in the S3 bucket.
-
After validating the logs are being generated, follow the Configure AWS S3 steps to onboard the Cloudflare beat.