This guide contains the steps required to configure Elastic Load Balancing (ELB) in order to push logs to an AWS S3 bucket for beat collection.
For more information on the Elastic Load Balancing process, refer to the AWS Elastic Load Balancing documentation.
This guide assumes that an Application Load Balancer is already setup within AWS.
If you need help creating a bucket and setting up an Application Load Balancer, refer to the link above.
Configure Application ELB
-
From the AWS homepage, in the Load Balancing section on the left, click Load Balancers.
-
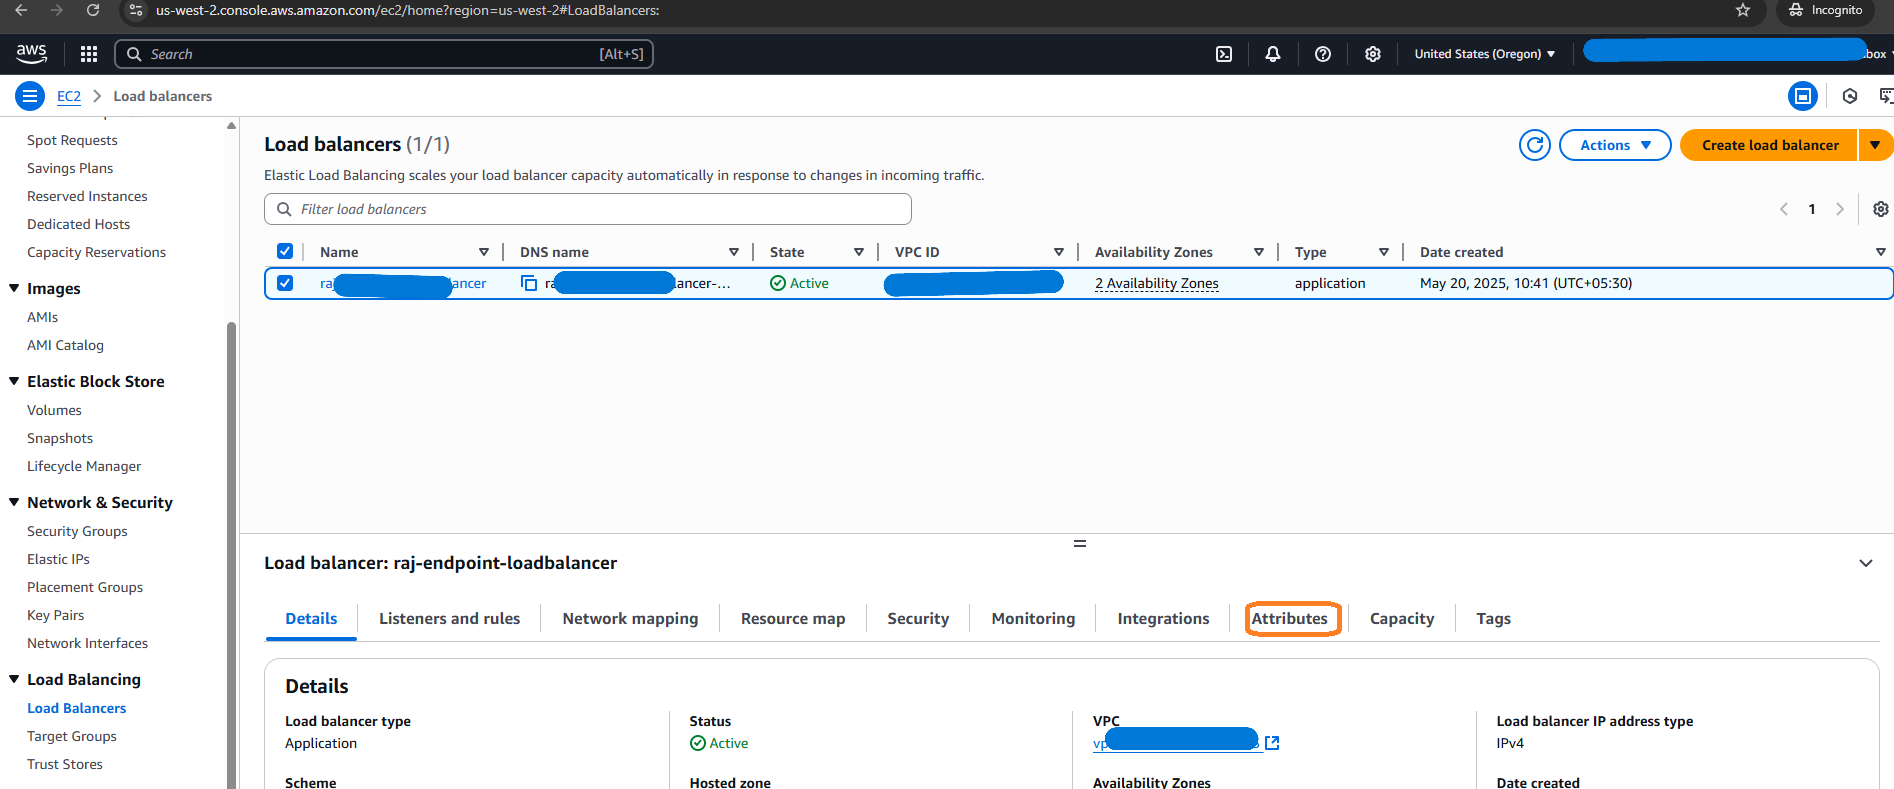
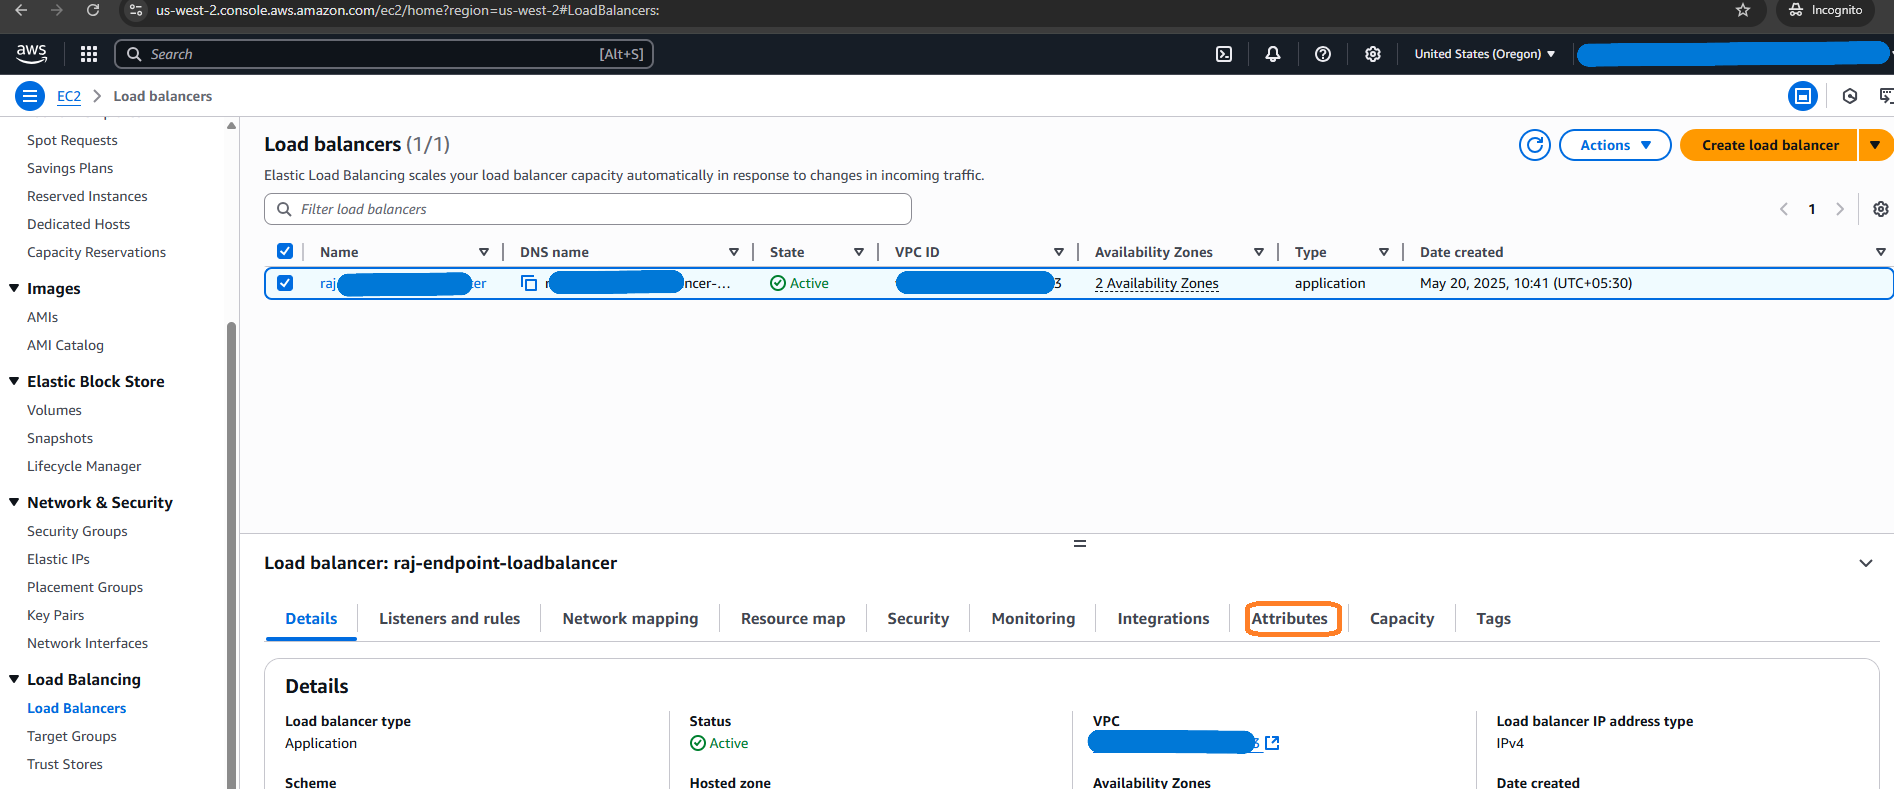
Select the desired Load Balancer from the list and then click the Attributes tab.
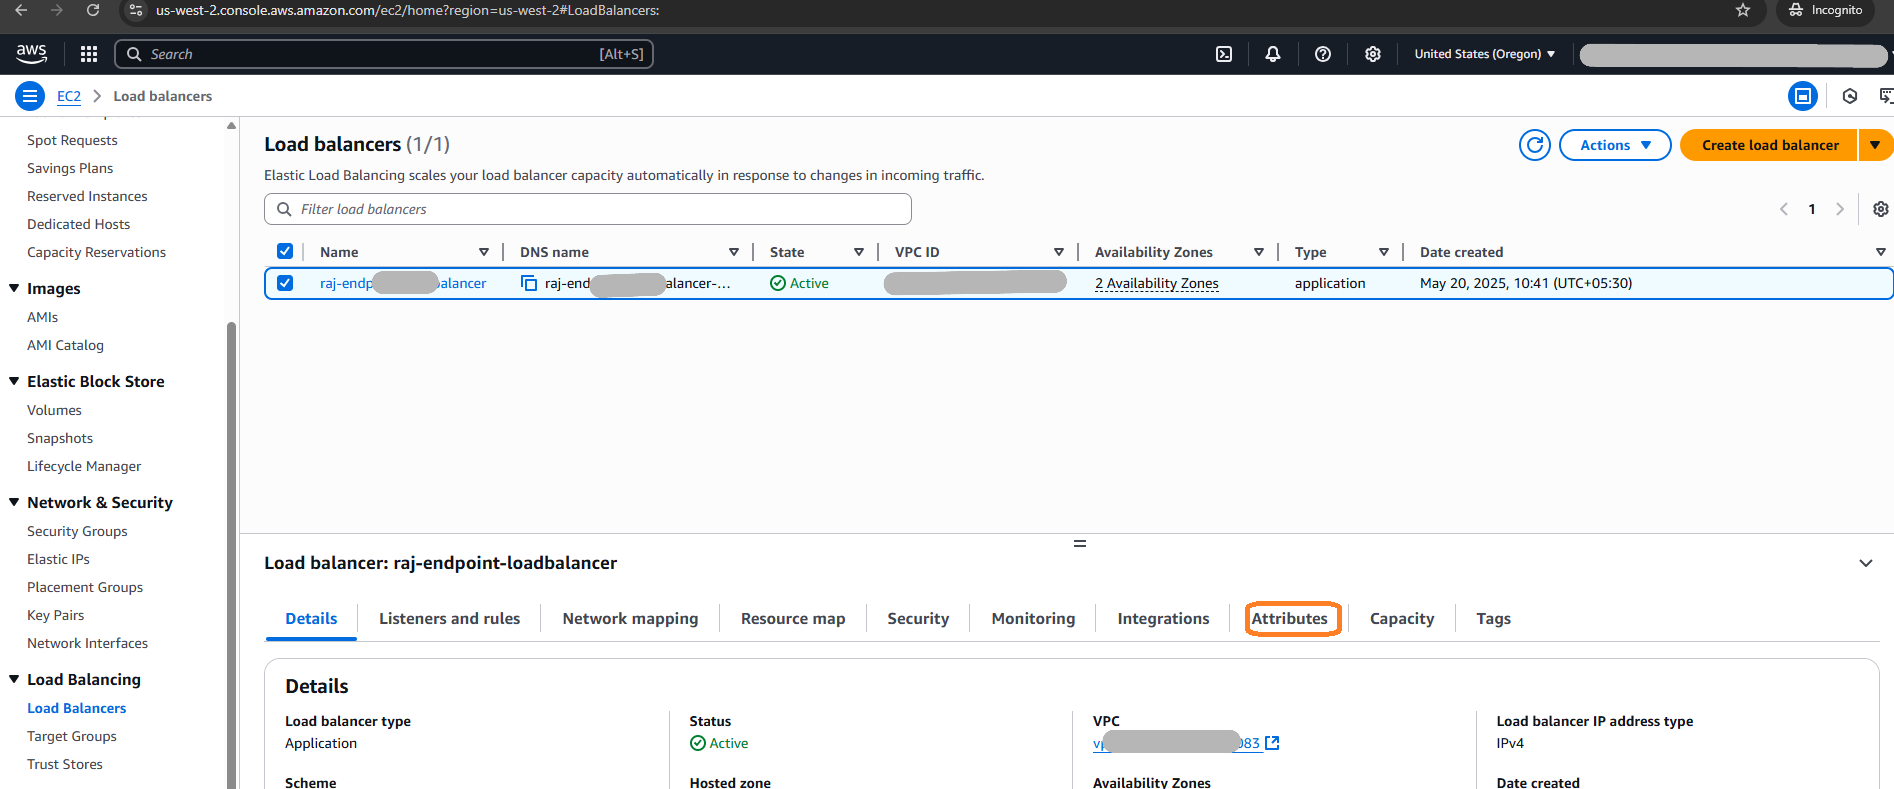
-
Click the Edit button of Attributes section.
-
Near the bottom of the page under the Monitoring section, enable Access Logs.
-
Choose the required bucket where logs needs to be stored/transmitted.
The bucket should have been created first, with the required policy/permission attached to it in order to accept logs from ELB.
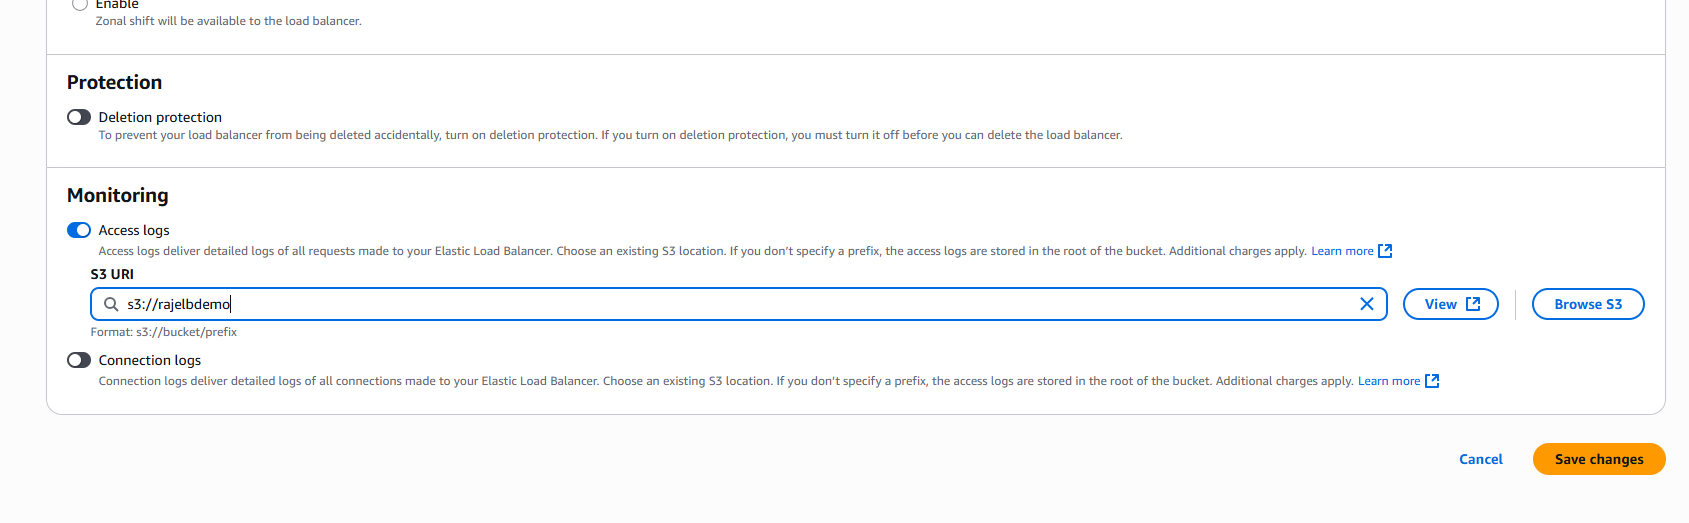
-
Click Save Changes.
If the bucket’s related policy/configuration is correct then it will save successfully. -
Once the changes are saved, check if the ELB was configured properly by going to the mentioned S3 bucket and looking for test file named
ELBAccessLogTestFile.
The path of S3 bucket will be:
<Bucket Name>/<optional_prefix>/AWSLogs/<accountId>/ELBAccessLogTestFile
The bucket should be in the same region as the application elastic load balancer.
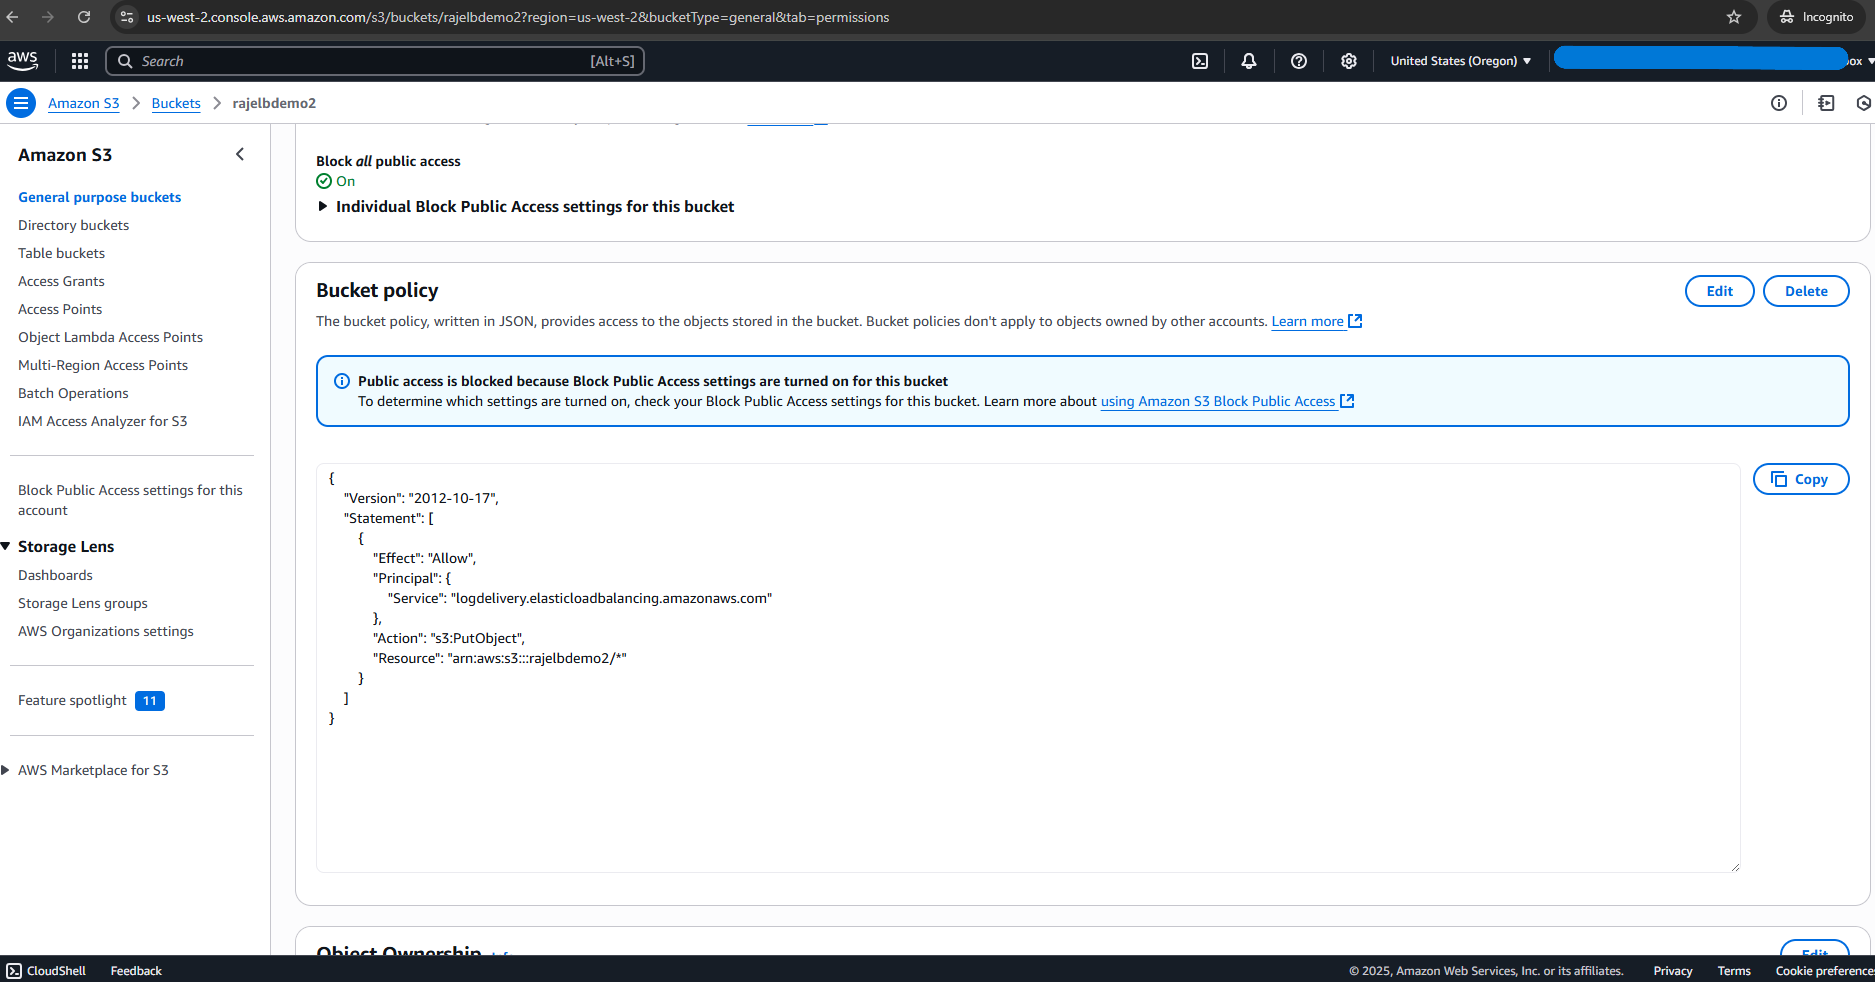
Be sure to enable/attach the required policy on the S3 bucket that enables the loadbalancer to push logs to S3 bucket.
The policy attached to the S3 bucket should be similar to this one:
{
    "Version": "2012-10-17",
    "Statement": [
        {
            "Effect": "Allow",
            "Principal": {
                "Service": "logdelivery.elasticloadbalancing.amazonaws.com"
            },
            "Action": "s3:PutObject",
            "Resource": "arn:aws:s3:::<s3bucket_name>/*"
        }
    ]
}
-
Once the bucket is created and ELB is configured, the AWS SQS queue must be configured to receive messages from the S3 bucket. For more information on this process, refer to the Configure AWS S3 topic, under the section titled Create a Simple Queue Service (SQS) in AWS (Role-Based Authentication.
Apply the Log Source Virtualization Template for AWS S3 Application ELB Log Messages
Use the log source virtualization template included in the KB to create a log source specifically for AWS S3 logs.
-
Double-click the newly accepted Open Collector Log Source.
The Log Message Source Properties window appears. -
Click the Log Source Virtualization tab.
-
Select the Enable Virtualization check box.
-
Click Create Virtual Log Sources.
The Create Virtual Log Sources dialog box appears. -
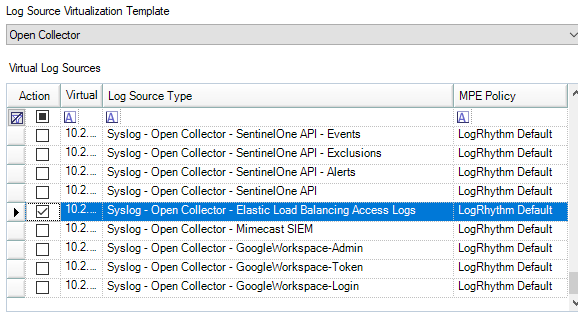
In the Log Source Virtualization Template drop-down menu, right-click and select Uncheck All.
-
Select Open Collector - Elastic Load Balancing Access Logs.
This should be the only template checked.
-
Click Save.
The confirmation prompt appears. -
Click OK.
New Log Sources appear in the grid as children of your parent log source.