This section explains you how to use a role to delegate access to resources that are in different AWS accounts that you own (Production and Development). For more information about Assume Role, see https://docs.aws.amazon.com/STS/latest/APIReference/API_AssumeRole.html.
Instructions in this section contain the following designations:
-
Account A refers to the AWS Production account
-
Account B refers to the AWS Development account
Prerequisites
-
Two separate AWS accounts that you can use, one to represent the Production account (Account A), and one to represent the Development account (Account B).
-
An Amazon S3 bucket created in Account A.
-
You do not need to have any users or groups created in Account A.
-
An IAM user in Account B the you want to allow access to the resources of Account A. To know more https://docs.aws.amazon.com/IAM/latest/UserGuide/id_users_create.html#id_users_create_console
-
The Account Id of Account B. For more information on how to obtain the Account Id, see https://docs.aws.amazon.com/general/latest/gr/acct-identifiers.html.
AWS Console Configuration
The following instructions explain how to give IAM users in Account B temporary and limited access to Account A via the AWS console.
Create an IAM role in Account A
Before starting this task, you must have the account ID for Account B.
-
Log on to Account A as a user with administrator privileges.
-
On the top menu bar, click Services.
-
Click IAM Console.
-
On the left-side menu, click Roles, and then click Create role.
-
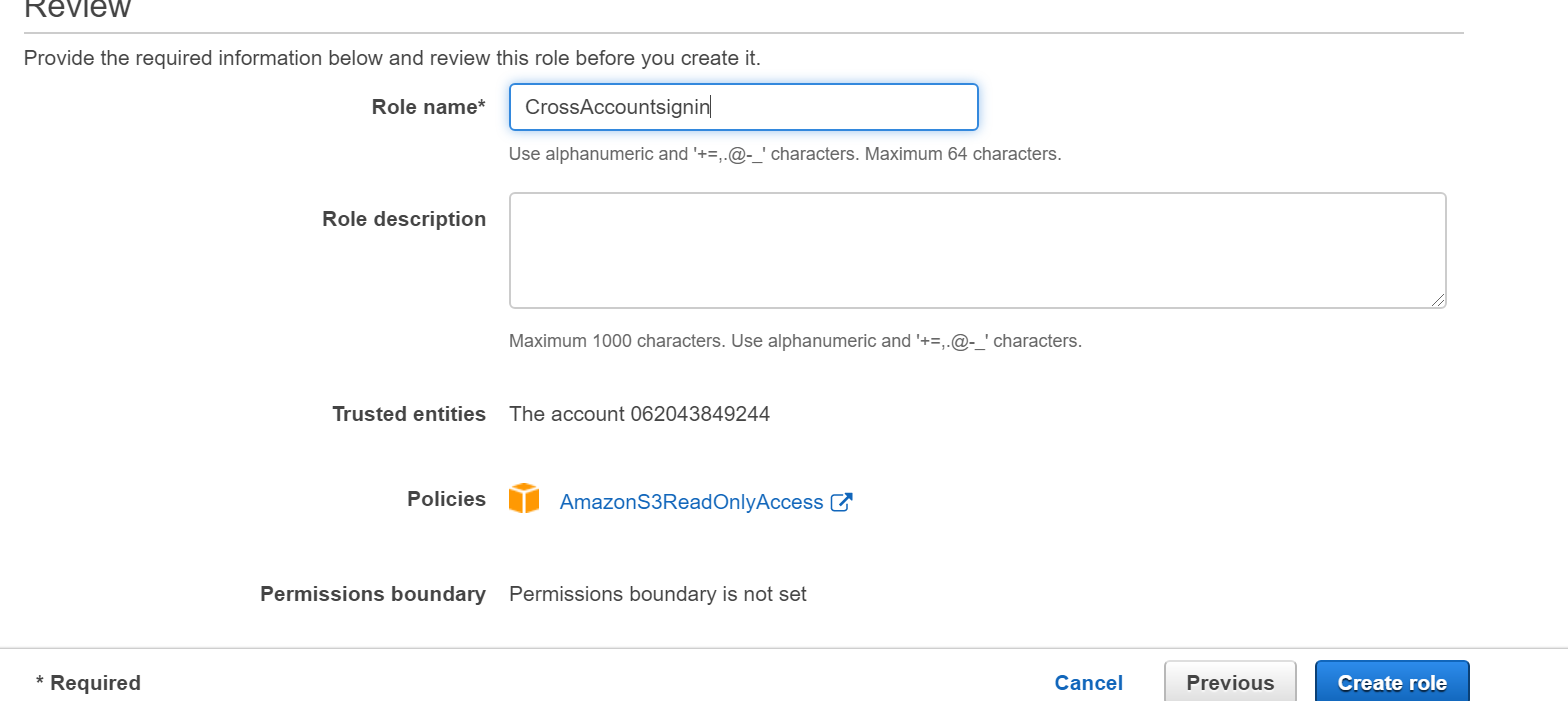
Create a new role and name it CrossAccountSignin.
-
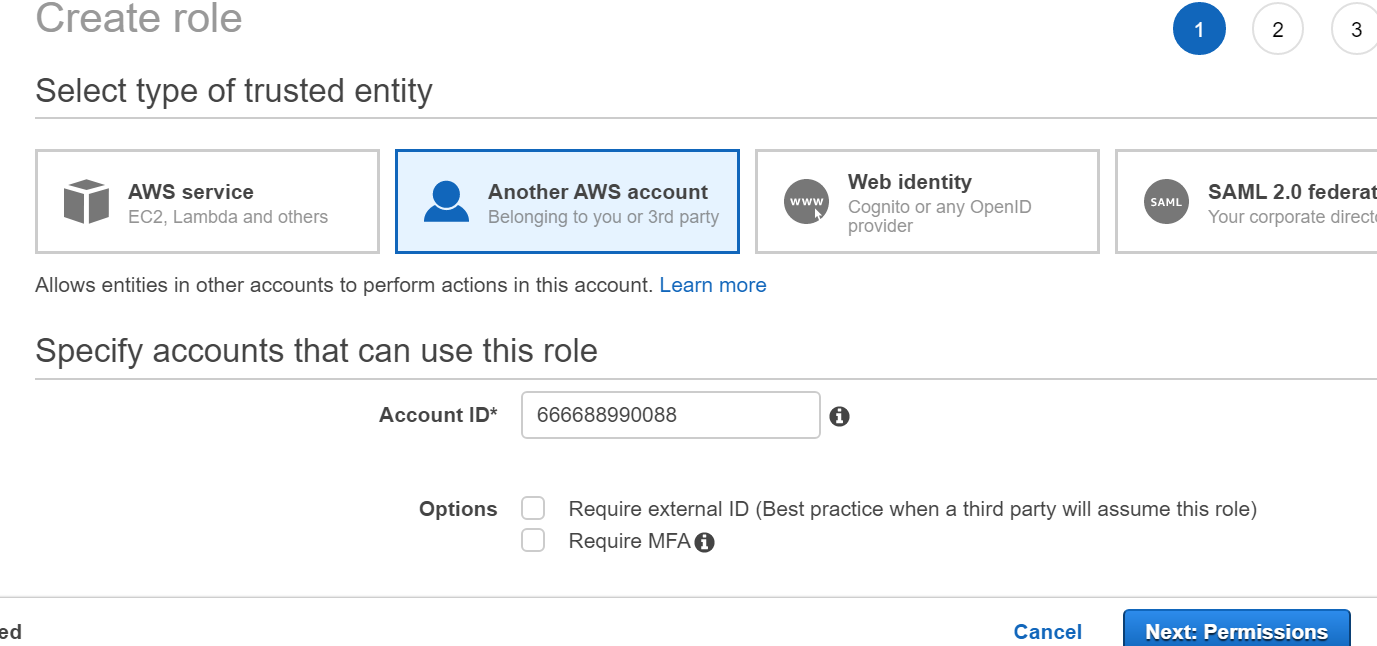
In the Select type of the trusted entity section, click Another AWS account. For more information, see Creating a Role for Cross-Account Access.
-
In the Account ID field, enter the account ID of Account B (the account where the users are defined).
-
In the Attach permissions policies section, select AmazonS3ReadOnlyAccess. This allows users from Account B to access the s3 buckets of Account A (in read only mode).
.png?cb=13d0a3b96cbfa84532977c3e4a2fd7a4)
-
In the lower-right corner, click Next: Tags.
-
In the Role name field, enter the role name CrossAccountSignin.
-
In the lower-right corner, click Create role.
You have created the role with name CrossAccountSignin. -
When you are finished, take note of the Amazon Resource Name (ARN), which is displayed in this format: arn:aws:iam::Account-A-ID:role/CrossAccountSignin.
The following steps are not required for AWS S3 Beat configuration. They are provided to help you verify the Assume Role set up.
(Optional) Give users in the Account B permission to assume the role in the Account A
The CrossAccountSignin role you created in Account A grants access to Account B, but the owner of Account B must grant access to individual users in Account B before they can access Account A. The following steps explain how to edit the permissions for a user (or group of users) and grant them sts:AssumeRole permissions.
In the instructions below, the Account B user that is being granted sts:AssumeRole permissions to Account A is designated as devTest user.
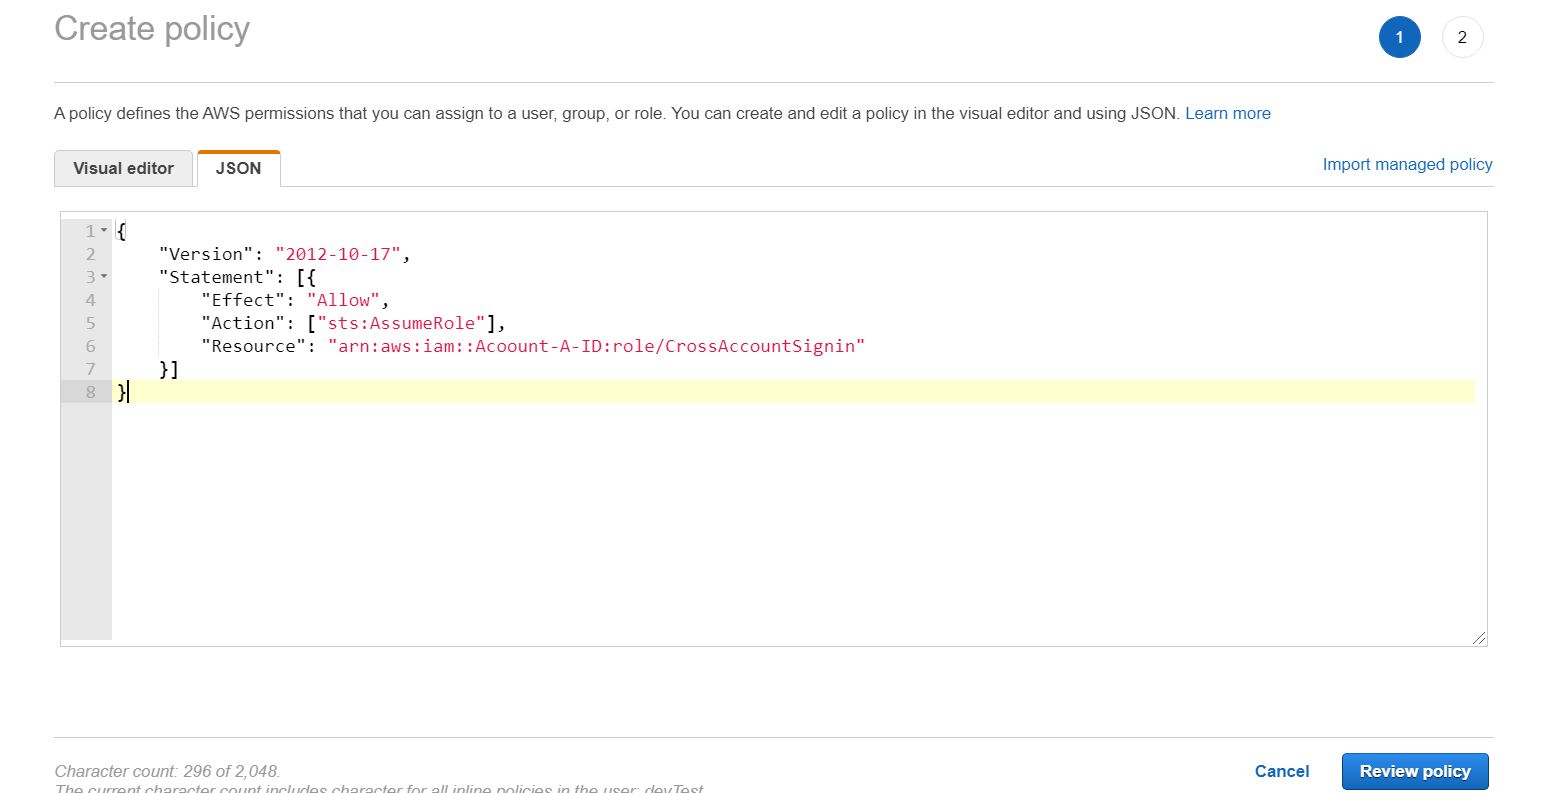
As a resource for the action, you will need the ARN of the CrossAccountSignin role you created earlier. Below is an example of a policy that you can attach to a user or a group (Replace Account-A-ID with the actual account ID for Account A).
{
	"Version": "2012-10-17",
	"Statement": [{
		"Effect": "Allow",
		"Action": ["sts:AssumeRole"],
		"Resource": "arn:aws:iam::Account-A-ID:role/CrossAccountSignin"
	}]
}
-
Log on to Account B as a user with administrator privileges.
-
On the top menu bar, click Services.
-
Click IAM.
-
On the left-side menu, click Users.
-
Select the user (devTest) you want to have access to Account A resources.
-
Click Add Inline Policy.
-
Click the JSON tab, and paste the policy specified above in the JSON text box (Replace Account-A-ID with the actual account ID for Account A).
-
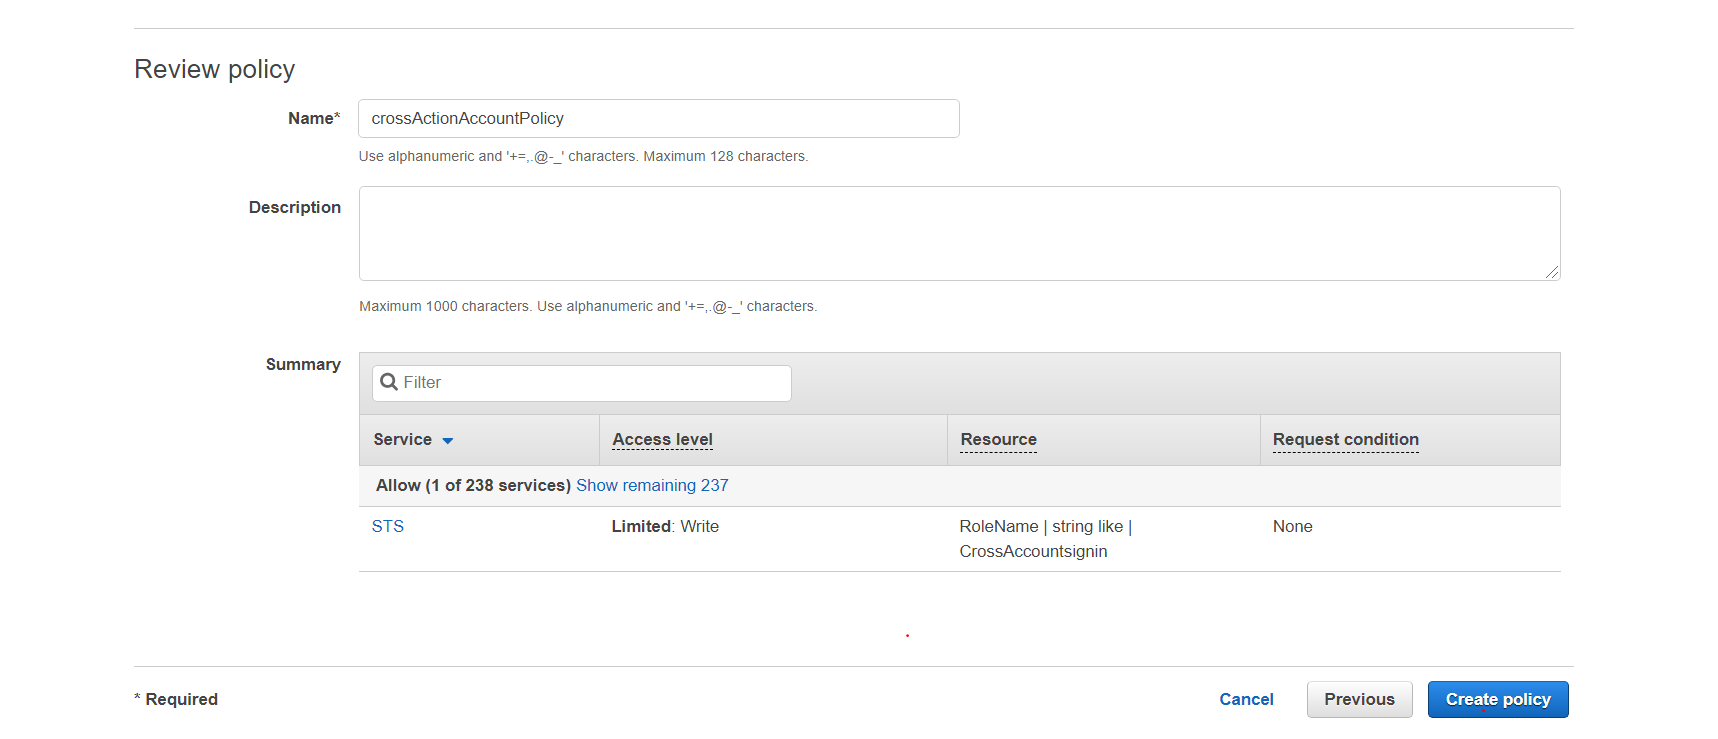
In the lower-left corner, click Review policy.
-
In the Name field, enter a relevant name for the policy (for example, crossActionAccountPolicy).
-
In the lower-left corner, click Create policy.
-
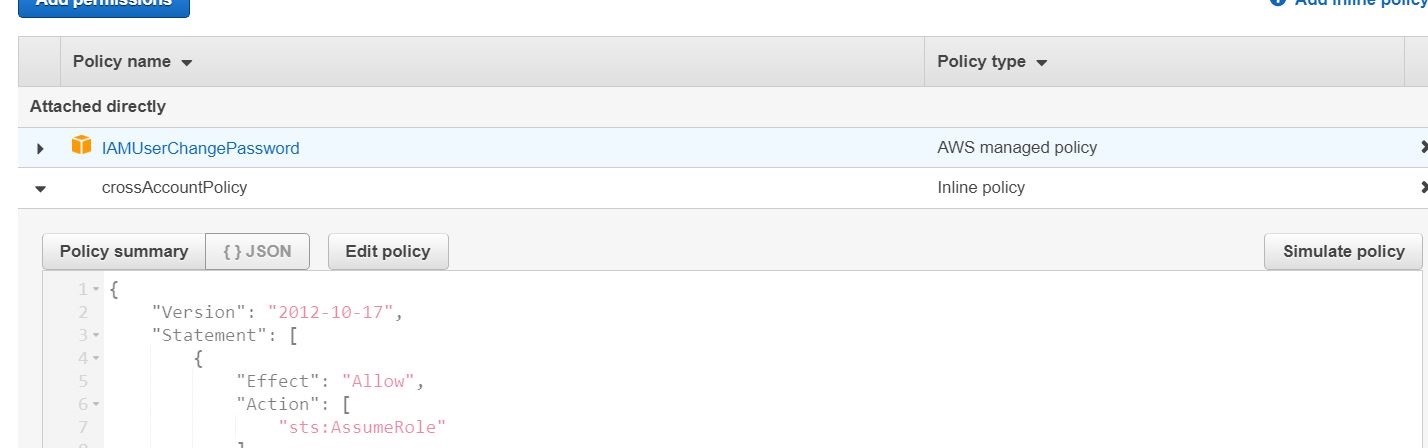
Check the inline policy in the policy list for that user (devTest user).
-
If the user or group already has a policy attached, you can attach this example as an additional policy.
(Optional) Test Access By Switching Roles (Console)
-
Log on as devTest user.
-
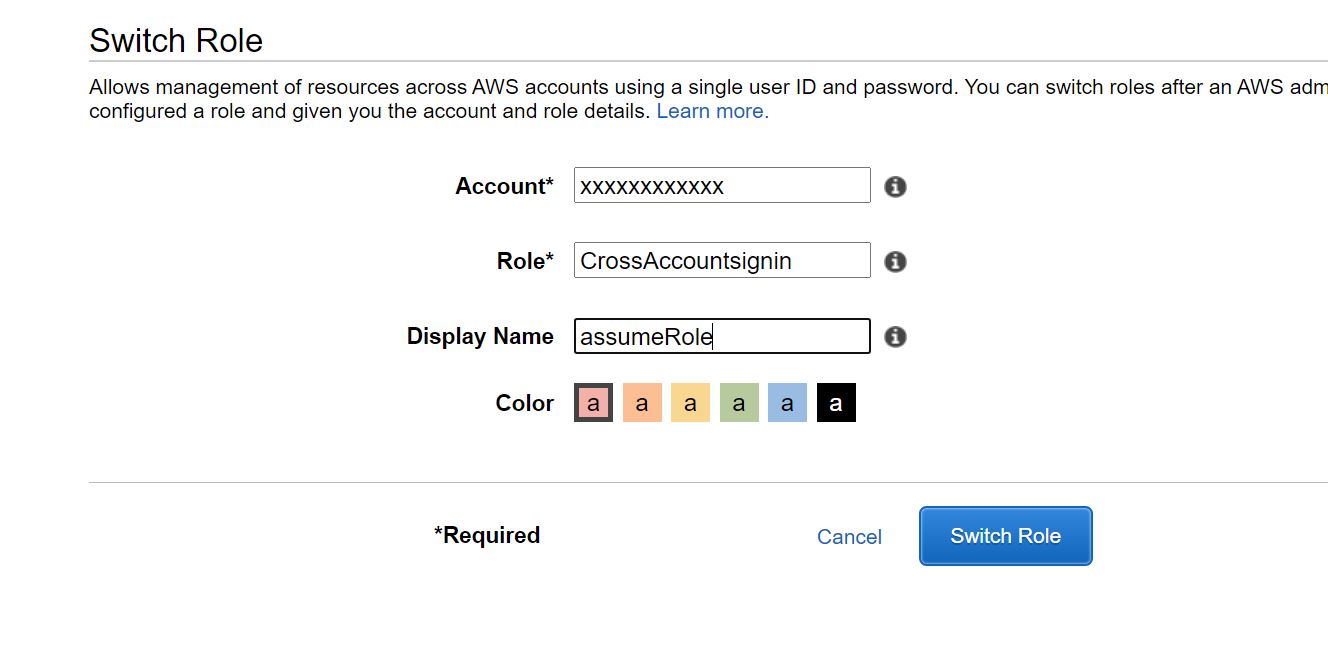
In the top-right corner, click on the user name (devTest), and select Switch Role.
In the Account field, enter the Account A account ID.
In the Role field, enter CrossAccountSignin. (You can also enter the role ARN.)
-
Click Switch Role.
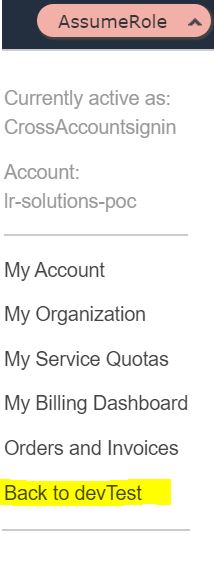
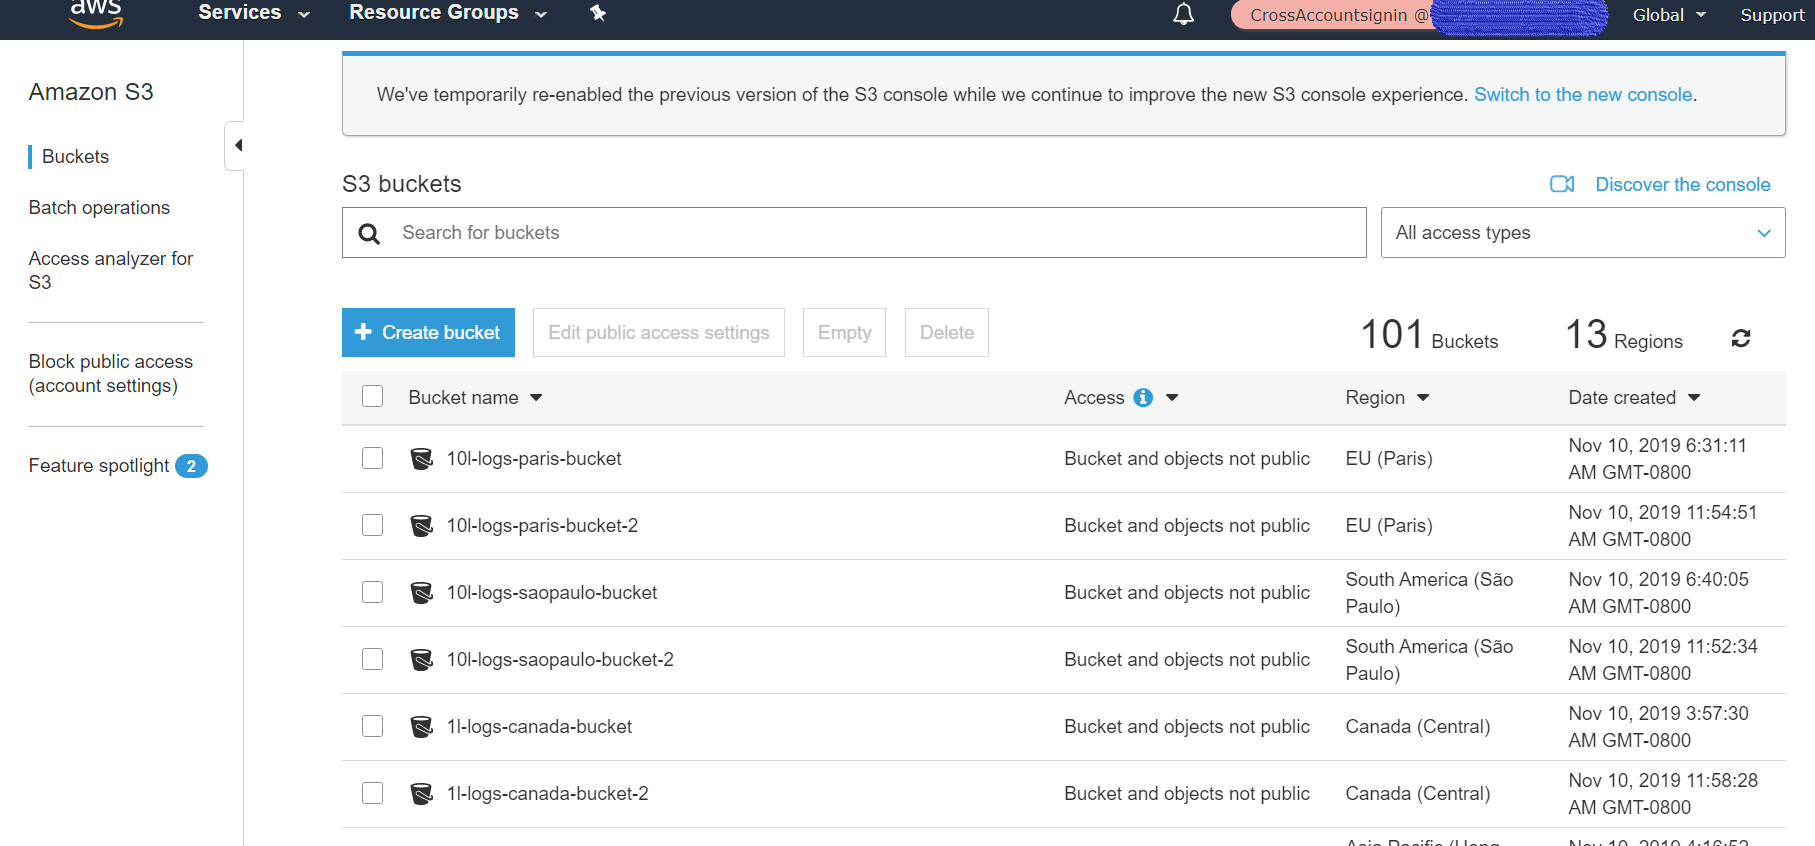
Upon a successful login, you should see the new Assume Role at the top right of the main menu (instead of devTest). -
On the menu bar at the top, click Services, and then click s3.
-
Verify that the s3 buckets of Account A are accessible.
-
To revert back the devTest user, click on AssumeRole in the menu bar at the top, and then click Back to devTest.