Install Libreswan
Before beginning, make sure packet forwarding is enabled on the Linux distribution.
-
Run the following commands as root:
yum -y update


yum -y install libnss3-dev libnspr4-dev pkg-config libpam0g-dev libcap-ng-dev libcap-ng-utils libselinux1-dev libcurl4-nss-dev flex bison gcc make


yum install wget
-
Install Libreswan:
yum install libreswan
-
Start the IPsec service and enable the service to be started:
systemctl enable ipsec
-
Configure the firewall to allow 500 and 4500/UDP ports for the IKE, ESP, and AH protocols by adding the IPsec service:
 #firewall-cmd --add-service="ipsec"

# firewall-cmd --runtime-to-permanent
Initialize the NSS Database
After a new installation of Libreswan, the NSS database should be initialized as part of the installation process. Before you start a new database, remove the old database.
-
Use the following commands to remove the old database:
~]# systemctl stop ipsec
~]# rm /etc/ipsec.d/*db
-
Enable IPsec:
systemctl enable ipsec
Libreswan requires the firewall to allow the following packets: UDP port 500 and 4500 for the Internet Key Exchange (IKE) protocol. Protocol 50 for Encapsulated Security Payload (ESP) IPsec packets. Protocol 51 for Authenticated Header (AH) IPsec packets (uncommon).
-
Check IPsec status:
$ipsec setup status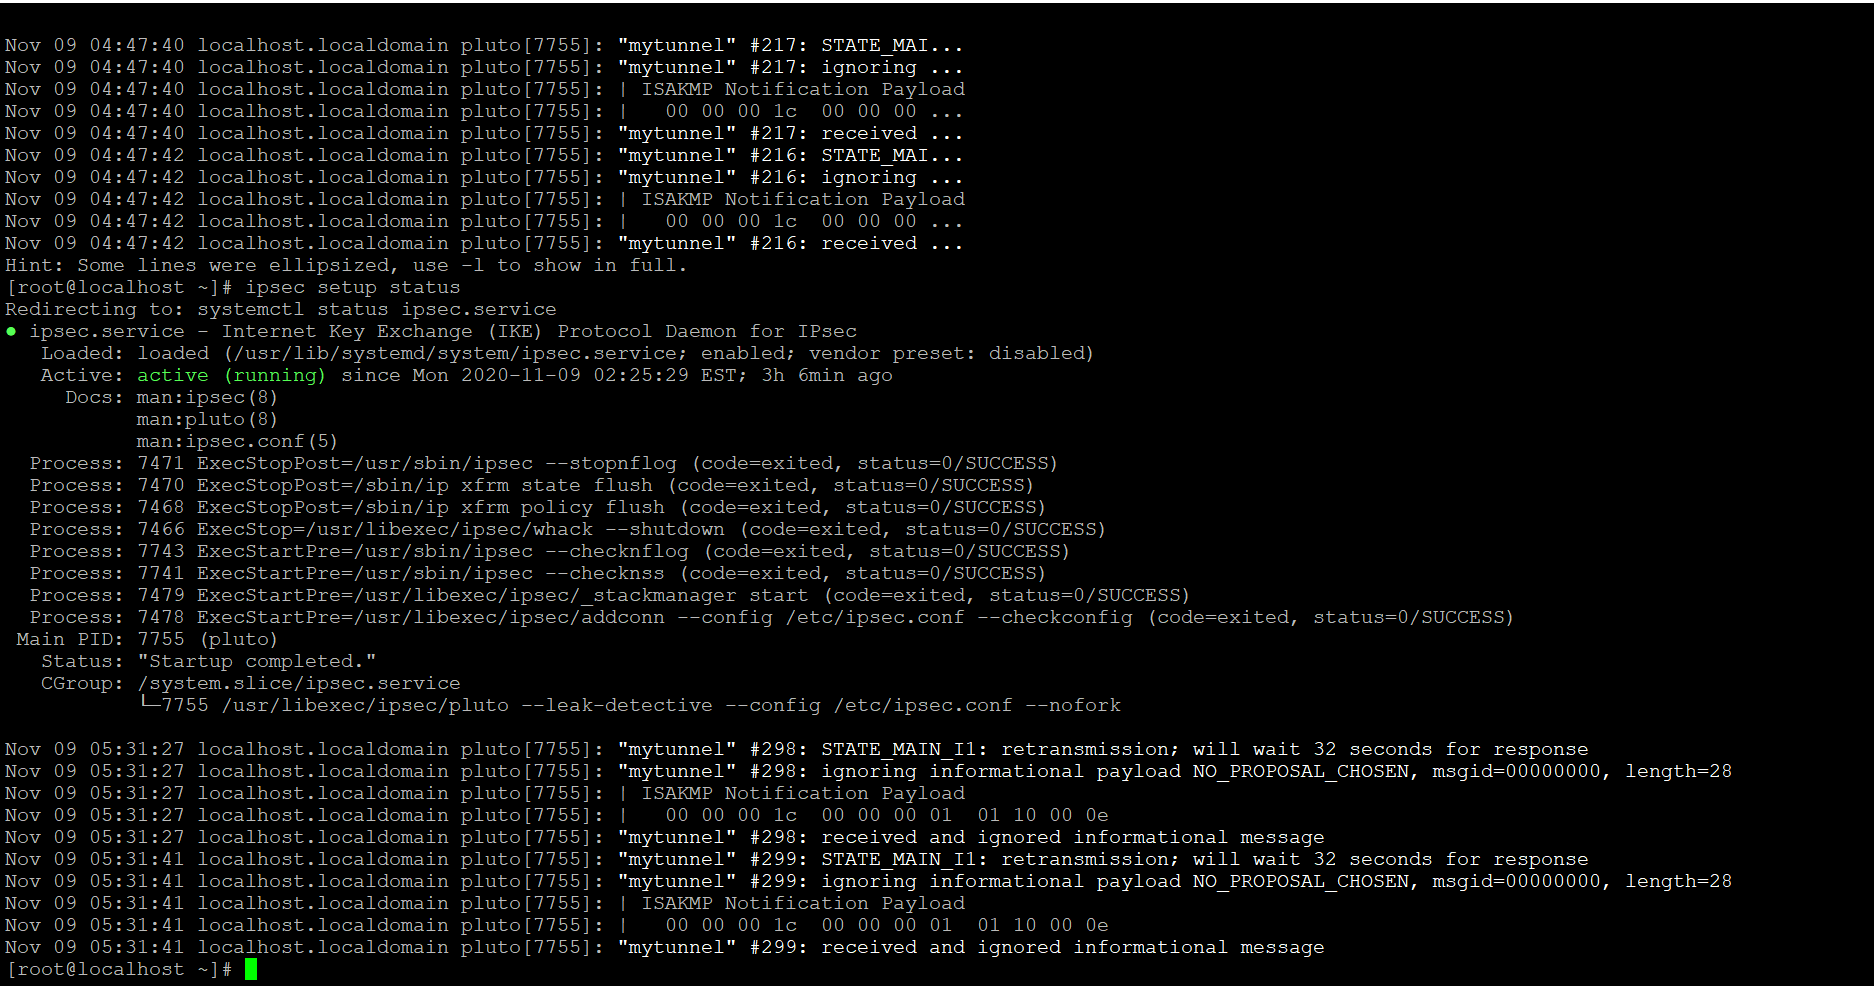
-
Initialize the new NSS database, run the following command as root:
~]# ipsec initnss
Create Host-to-Host VPN
-
Go to the /etc/ipsec.d/ directory and create a new my_host-to-host.conf file.
-
Edit the file, and enter all the details shown below:
It is mandatory to maintain the gap of one tab between conn mytunnel and auto=start.
conn mytunnel

       auto=start
       keyexchange=ike
       phase2=esp
       pfs=no
       type=tunnel
       authby=secret
       leftid=(Domain name/ip of linux machine)
       left=(ip address of linux machine)
       right=(ip address of Windows machine)
       rightid=(Domain name of Windows machine)
For example, see the screenshot below:
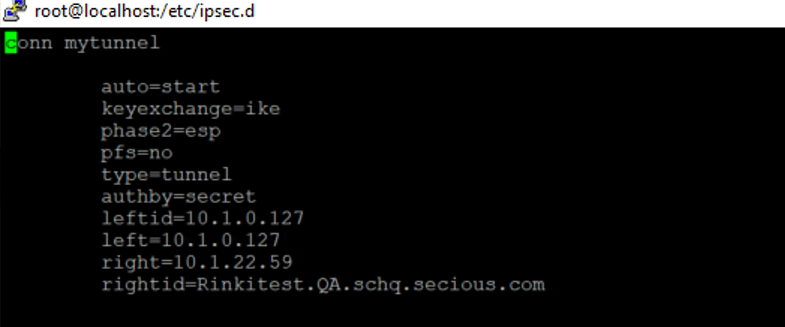
Setting
Value
Connection name
mytunnel
leftid
10.1.0.127 (Linux machine)
right
10.1.22.59 (Windows machine)
rightid
Rinkitest.QA.schq.secious.com (FQDN domain name of Windows machine)
-
Go to the /etc folder, and make the following edits in the ipsec.secrets file:
(ip adddress of linux machine)<space>( ip address of windows machine)<space> : <space>PSK<space>"Shared key which we passed for Windows machine"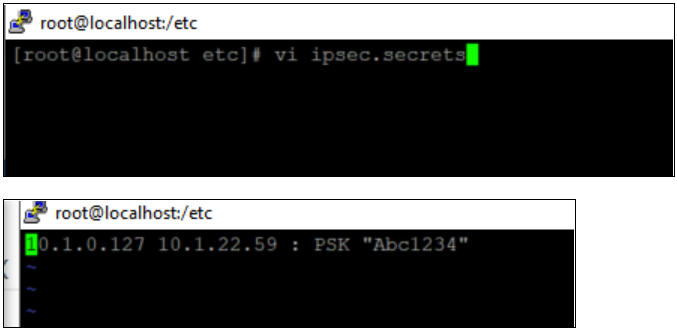
-
Start the IPsec service:
systemctl start ipsec
-
Verify the tunnel is up and running:
ipsec auto --add mytunnel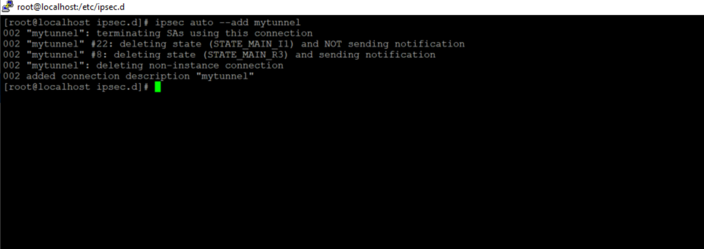
If you receive any error message after running the above command, you have entered the incorrect values in either your host-to-host.conf file or your ipsec.secrets file. You will need to go back and enter the correct values.
-
Restart the IPsec service:
systemctl restart ipsec
-
You have completed configuring IPsec between Windows and Linux machines.
-
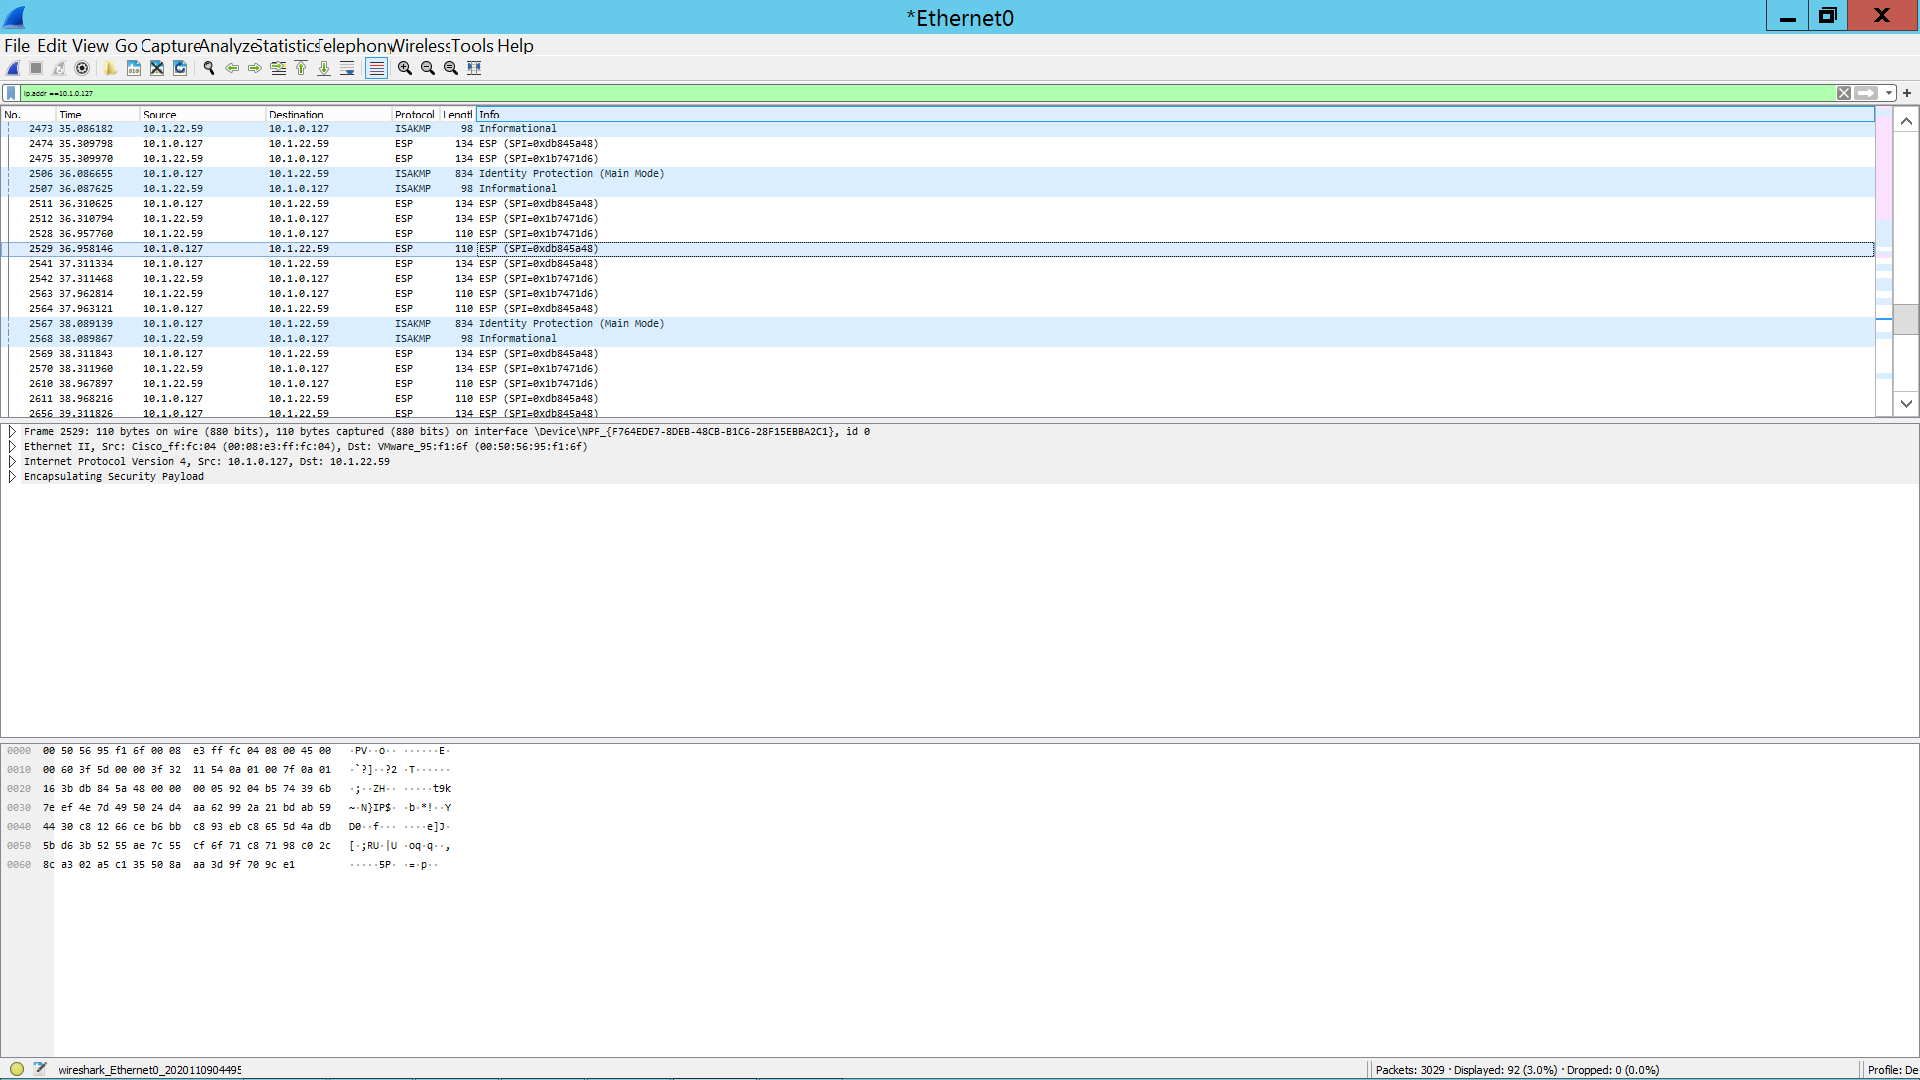
You can verify that traffic is coming in properly and is encrypted by using Wireshark: