
Configure Amazon AWS
Overview
The Amazon S3 Collector supports log collection from multiple S3 buckets and AWS accounts.
Each AWS S3 bucket from which you want to collect logs should be configured to send Object Create Events to a Simple Queue Service (SQS) queue. Then, you provide the queue name(s) and region(s) to the Amazon S3 Collector.
The Amazon S3 Collector offers one authentication method: key-based security credentials (access key and secret key).
The Amazon S3 Collector supports the use of the Dead Letter Queue service in SQS. This allows problematic messages to be removed from the SQS queue and stored for later analysis.
Log Source Types
The Amazon S3 Collector collects logs for any file format, but it supports decompression of the .gz file format. Only single-level depth decompression is supported for any file format.
S3 buckets can contain a variety of log source types. Currently, files in S3 buckets are assumed to contain many single-line logs, delimited by a newline character (\n).
Access and Configure AWS S3 and SQS
This section provides information for accessing and configuring your AWS S3 instance.
Create a Simple Queue Service (SQS) in AWS (Role-Based Authentication)
Login to the AWS account at:
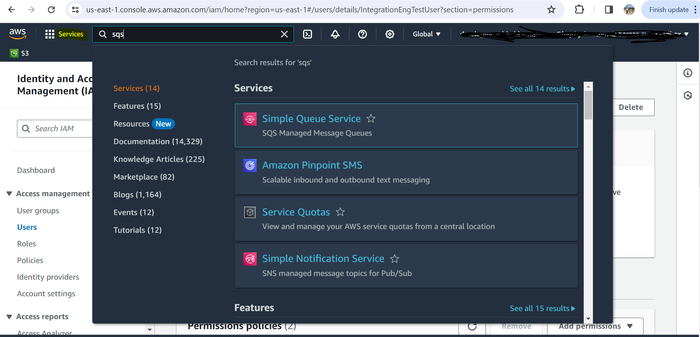
CODEhttps://console.aws.amazon.com/On the top menu bar, click Services.
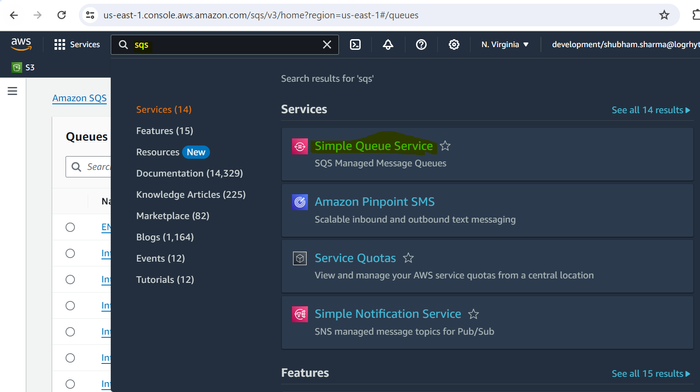
In the search field, enter sqs, and then select Simple Queue Service from the suggested search results.
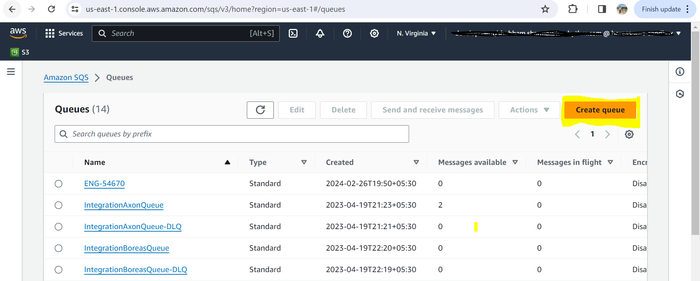
In the upper-right corner, click Create queue.
Select Standard from the options.
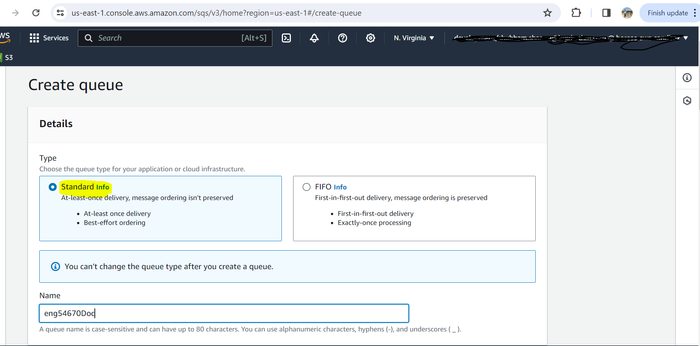
Enter a name for the queue, and then copy and paste it into a text document for use in future steps.
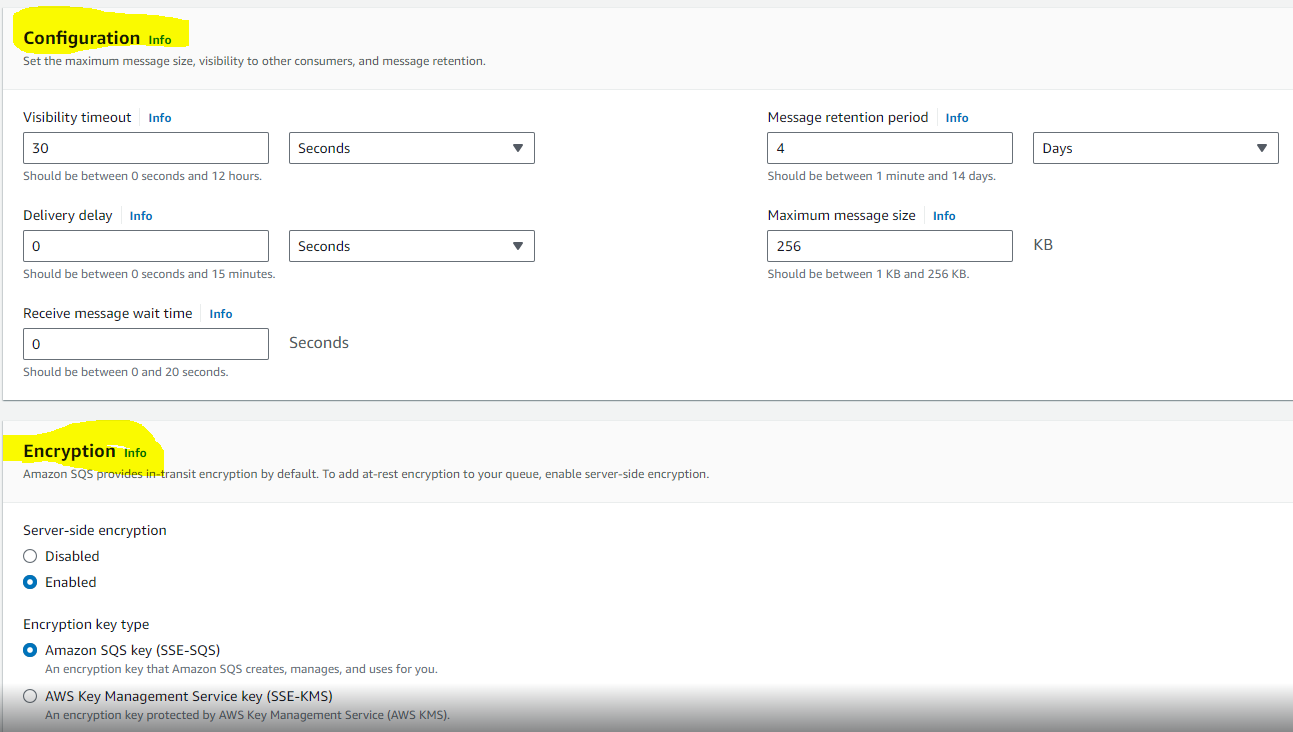
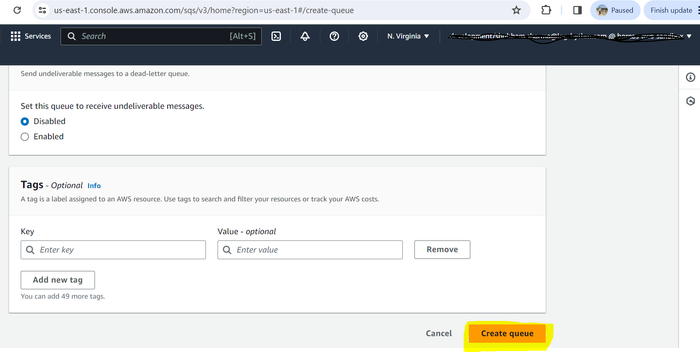
Keep the default settings in the Configuration and Encryption sections.
When prompted to Choose method, select Advanced.
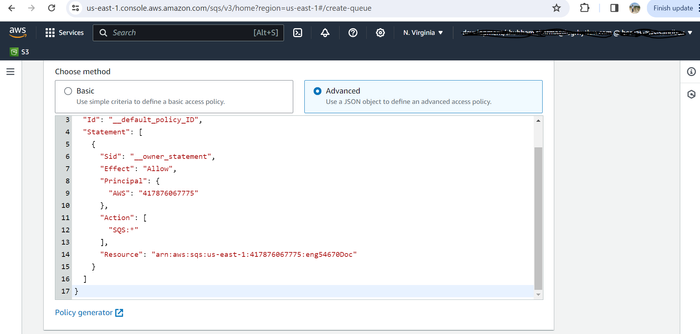
Edit the following lines of the policy document.
Alternatively, to use the policy generator feature to create a policy, skip to step 10.Replace the value after “Resource”: with your SQS ARN.
Replace the value after “aws:SourceArn”: with your bucket name.
Replace the value after “aws:SourceAccount”: with the account ID where the bucket resides.
TEXT{ "Version": "2012-10-17", "Id": "Policy1709033562483", "Statement": [ { "Sid": "Stmt1709033540226", "Effect": "Allow", "Principal": { "Service": "s3.amazonaws.com" }, "Action": [ "sqs:DeleteMessage", "sqs:GetQueueUrl", "sqs:ReceiveMessage", "sqs:SendMessage", "sqs:GetQueueAttributes" ], "Resource": "{SQS-queue-ARN value}", "Condition": { "StringEquals": { "aws:SourceAccount": "{bucket-owner-account-id}" }, "ArnLike": { "aws:SourceArn": "arn:aws:s3:::{bucket-name value}" } } } ] }
(Optional - if you created the policy manually in step 9, skip ahead to step 22.) Click Policy generator.
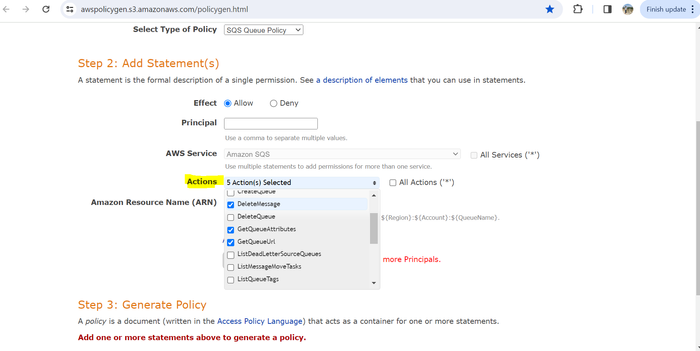
The AWS Policy Generator page opens.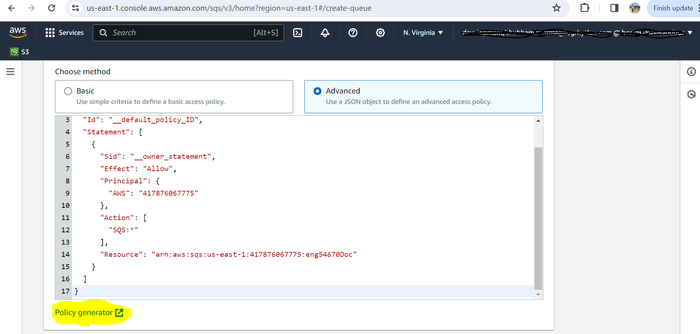
From the Select Type of Policy drop-down menu, select SQS Queue Policy.
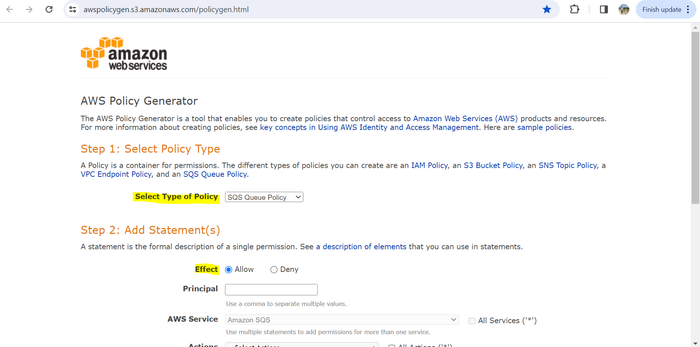
For the Effect option, choose Allow.
In the Principal field, specify any of the following principals for the policy:
AWS account and root user
IAM roles
Role sessions
IAM users
Federated user sessions
AWS services
All principals
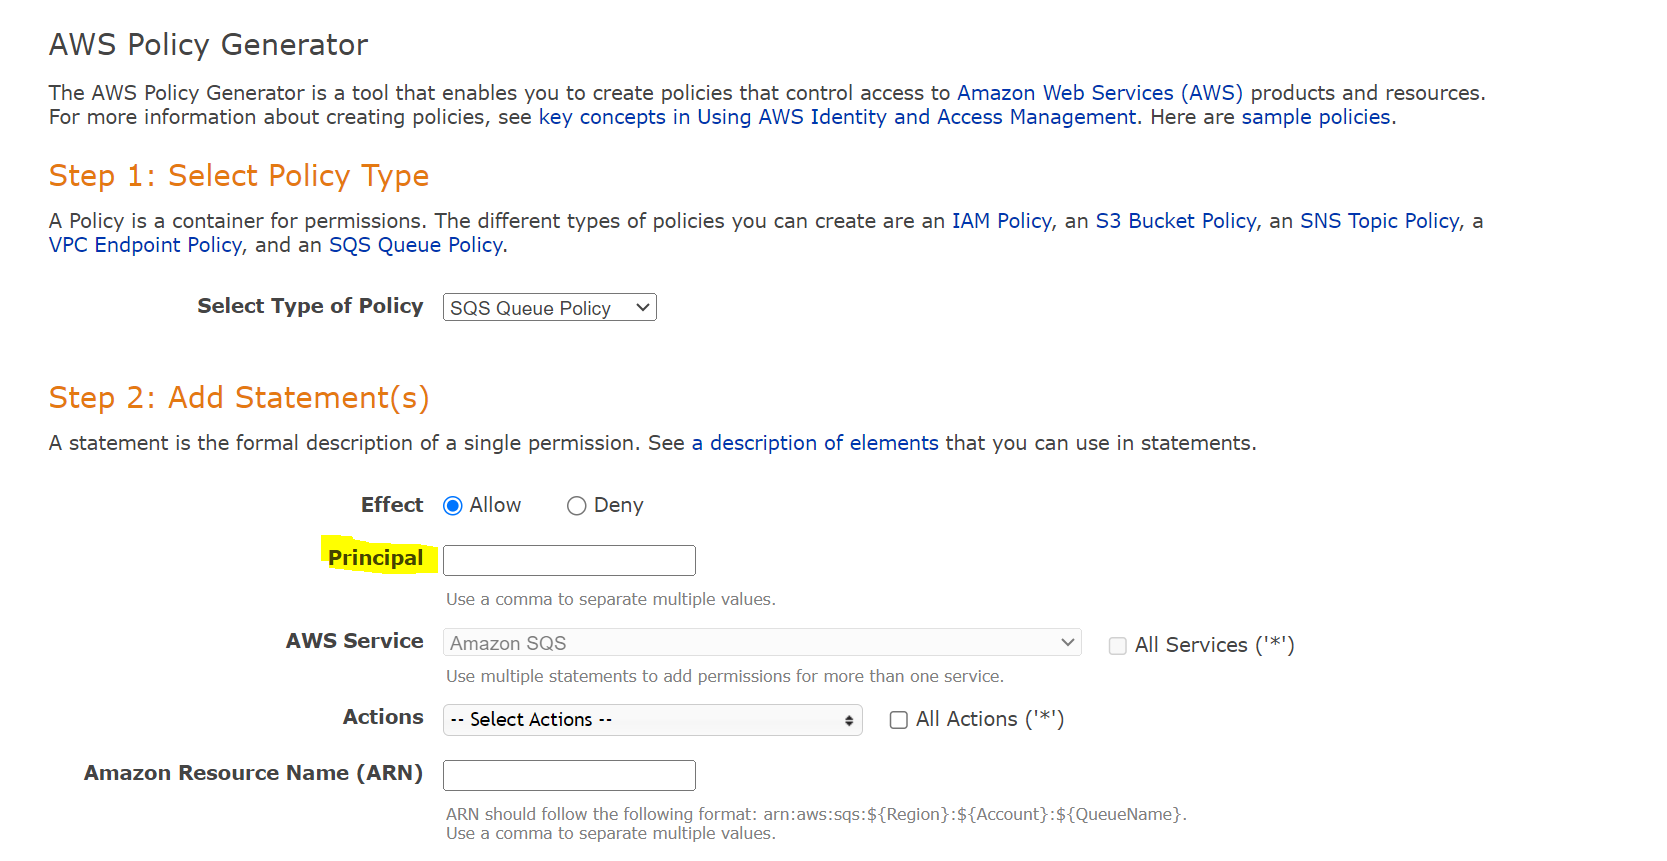
Most commonly, the Principal will be the Account ID or s3.amazonaws.com.
See Specifying a Principal in the AWS documentation for more information on choosing a principal.
From the Actions drop-down menu, select Send Message, DeleteMessage, GetQueueURL, GetQueueAttributes, and ReceiveMessage.
In the Amazon Resource Name (ARN) field, enter your ARN in the following format, replacing <region> with your S3 bucket region, <account_ID> with your account ID, and <queue_name> with your queue name.
arn:aws:sqs:<region>:<account_ID>:<queue_name>
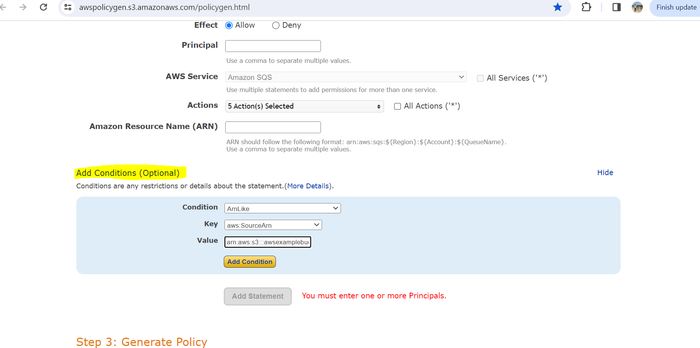
Click Add conditions.
From the Condition drop-down menu, select ArnLike.
From the Key drop-down menu, select aws:SourceArn.
In the Value field, enter arn:aws:s3:::awsexamplebucket1, replacing awsexamplebucket1 with your bucket name.
Click Add Condition.
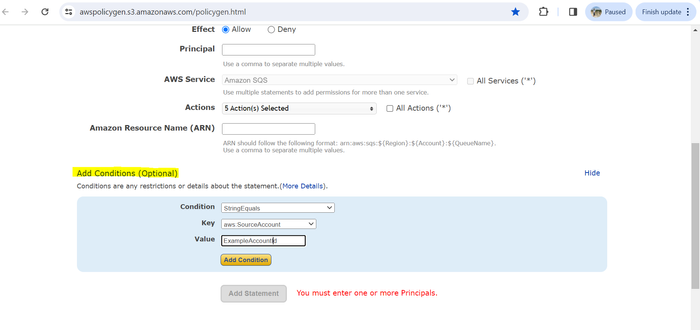
Click Add conditions again.
From the Condition drop-down menu, select StringEquals.
From the Key drop-down menu, select aws:sourceAccount.
In the Value field, enter your account ID.
Click Add Condition.
Click Add Statement.
Click Generate Policy.
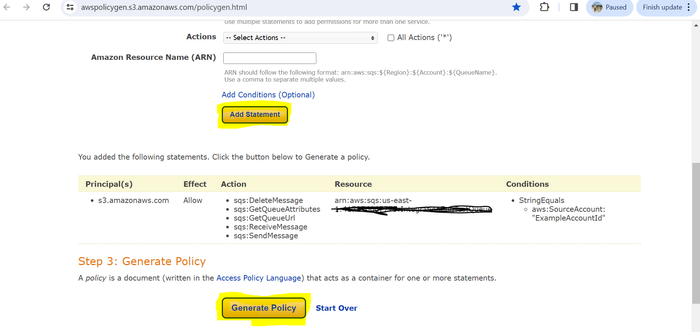
The Generated policy should look like the following:
{
  "Version": "2012-10-17",
  "Id": "Policy1709033562483",
  "Statement": [
    {
      "Sid": "Stmt1709033540226",
      "Effect": "Allow",
      "Principal": {
        "Service": "s3.amazonaws.com"
      },
      "Action": [
        "sqs:DeleteMessage",
        "sqs:GetQueueUrl",
        "sqs:ReceiveMessage",
        "sqs:SendMessage",
        "sqs:GetQueueAttributes"
      ],
      "Resource": "arn:aws:sqs:us-east-1:0123456789:IntegrationEngTestQueue",
      "Condition": {
        "StringEquals": {
          "aws:SourceAccount": "0123456789"
        },
        "ArnLike": {
          "aws:SourceArn": "arn:aws:s3:::integrationaxonbucket1"
        }
      }
    }
  ]
}
Replace the key "AWS" with "Service" in the Principal line of the generated policy.
The Account ID and other details shown in the above example policy are sample values.
Copy the generated policy.
Go back to the SQS policy tab, and paste the policy there.
Click Create queue.
The SQS queue is added to the list of queues, and the SQS Queue URL required to Configure the Amazon S3 Collector in Axon can be obtained.
Configure Events to be Sent to SQS Queues
Return to the AWS account homepage.
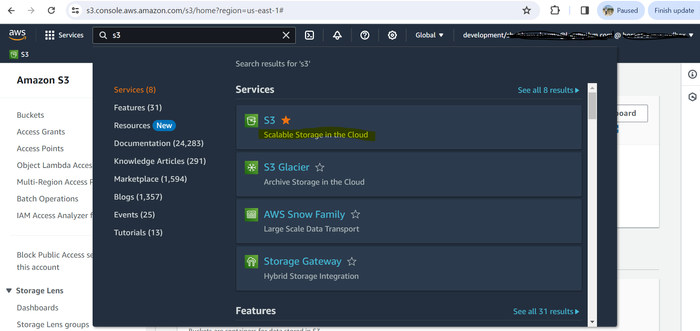
On the menu bar at the top, click Services.
In the search bar, enter s3, and then select S3 (Scalable Storage in the Cloud) from the suggested search results.
Search for the bucket from which you want to get events.
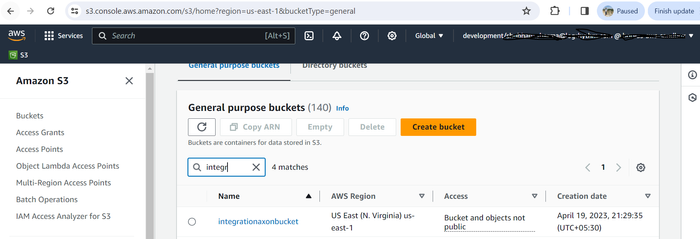
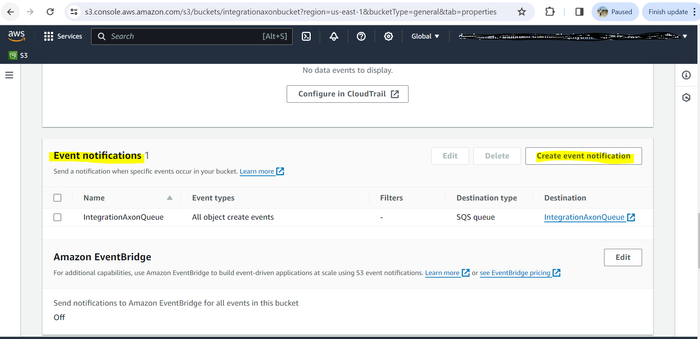
Click the name of the bucket, and then click the Properties tab.
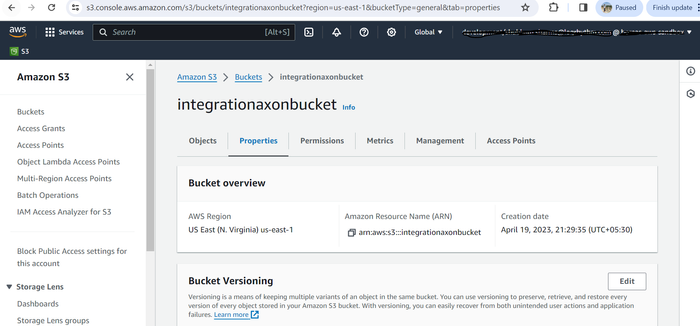
Under Event notifications, click Create event notification.
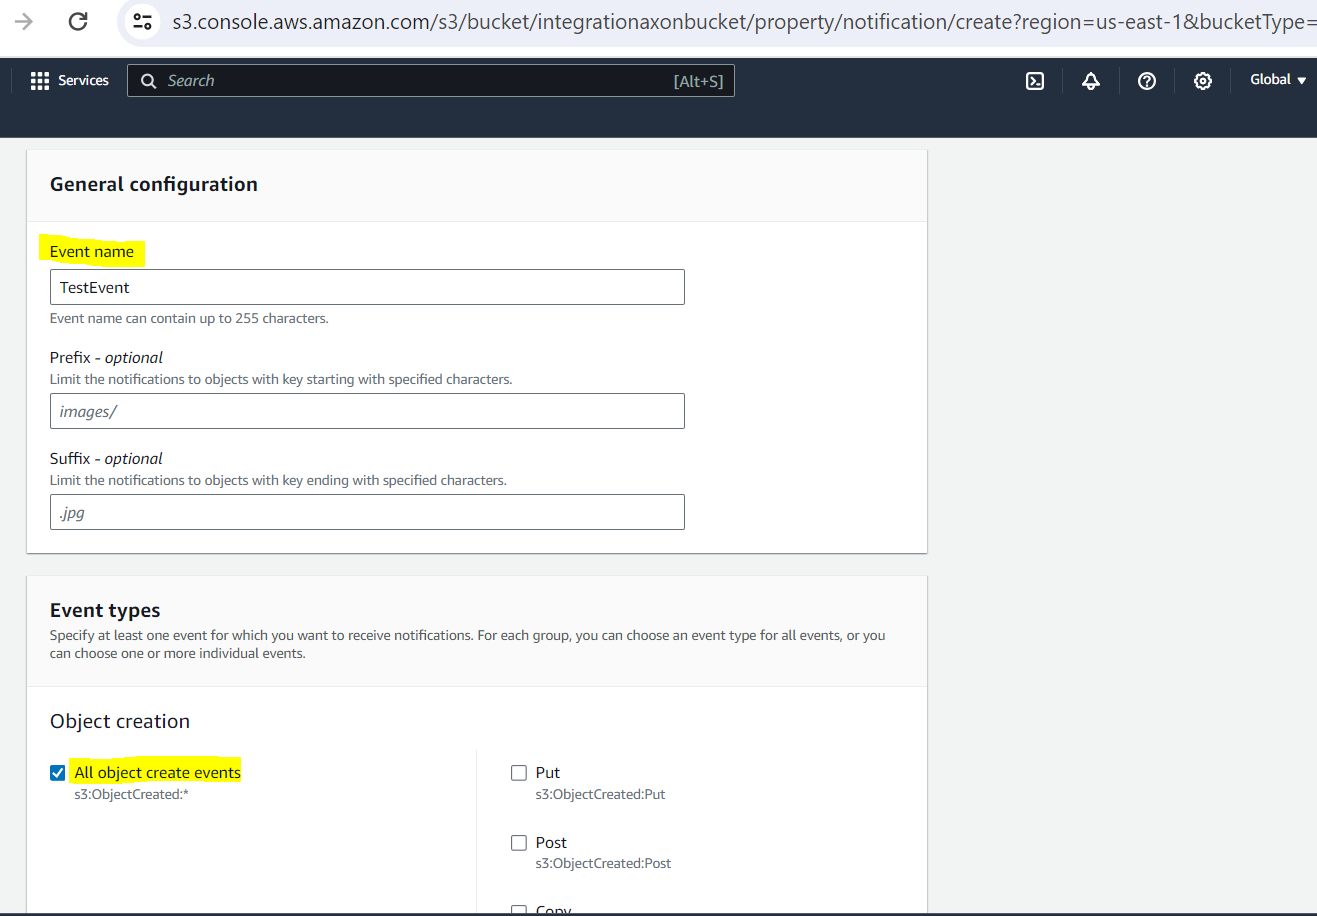
Configure the following permissions:
Name. Enter any name.
Events. Select the events about which you need to be notified. For example, All object create events.
Send to. Enter the destination queue (created in the previous procedure) where you want to send events.
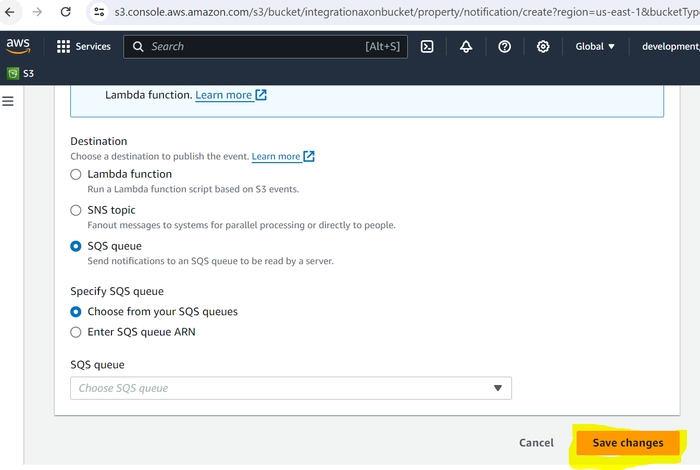
SQS. Select the queue created in the previous procedure.
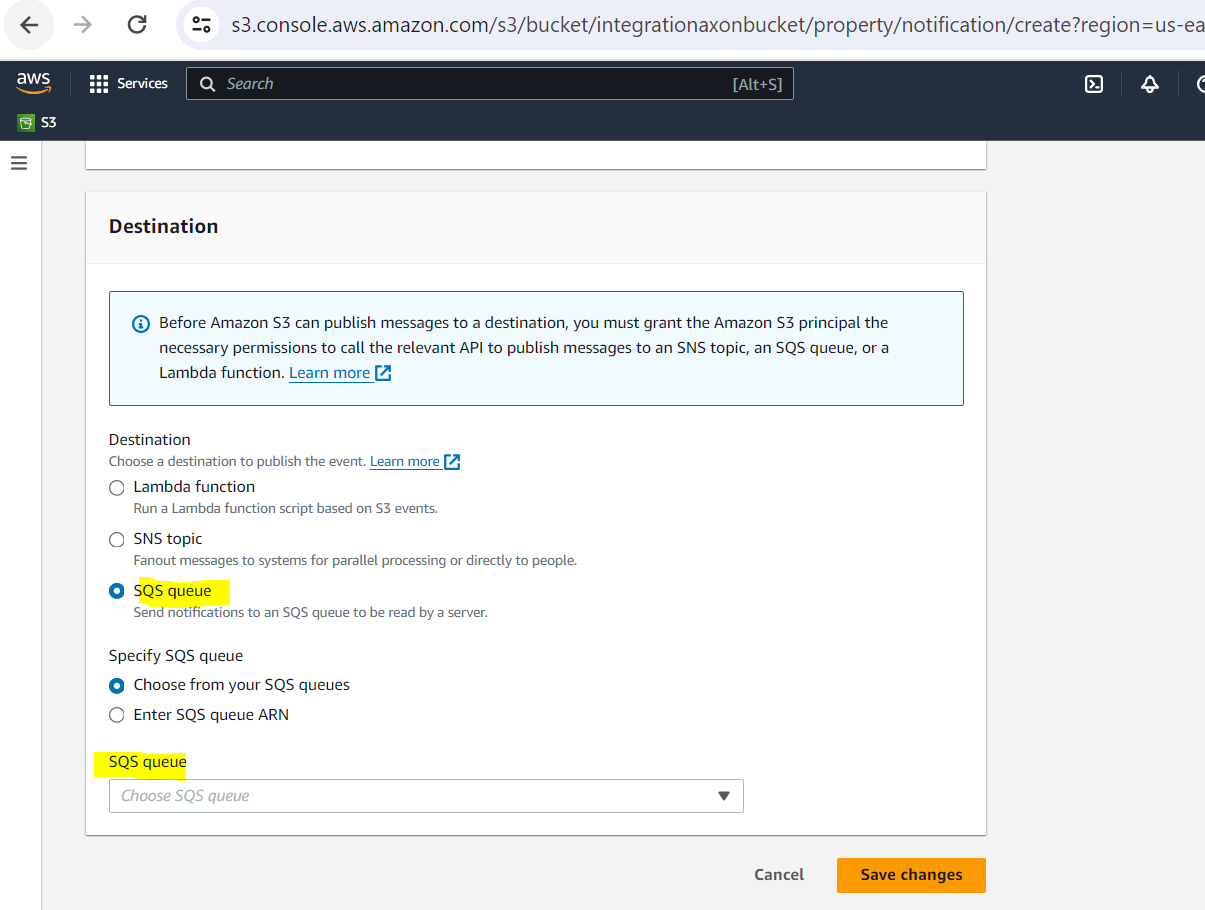
Click Save changes.
If the event has been configured correctly, the tile displays active notifications.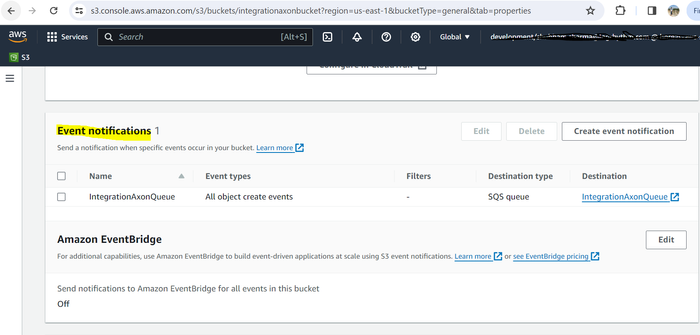
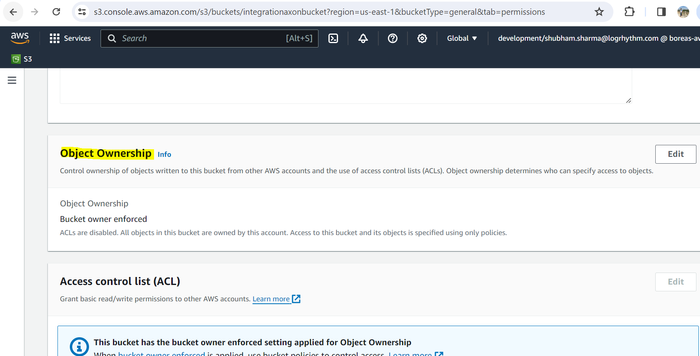
Click the Permissions tab to set bucket ownership of objects.
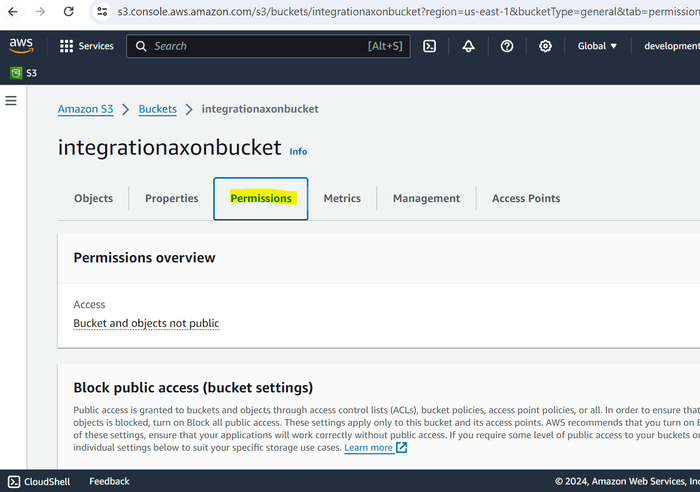
Scroll down and under the Object ownership section, click Edit.
Select ACLs enabled, acknowledge that ACLs will be restored, and then click Bucket owner preferred.
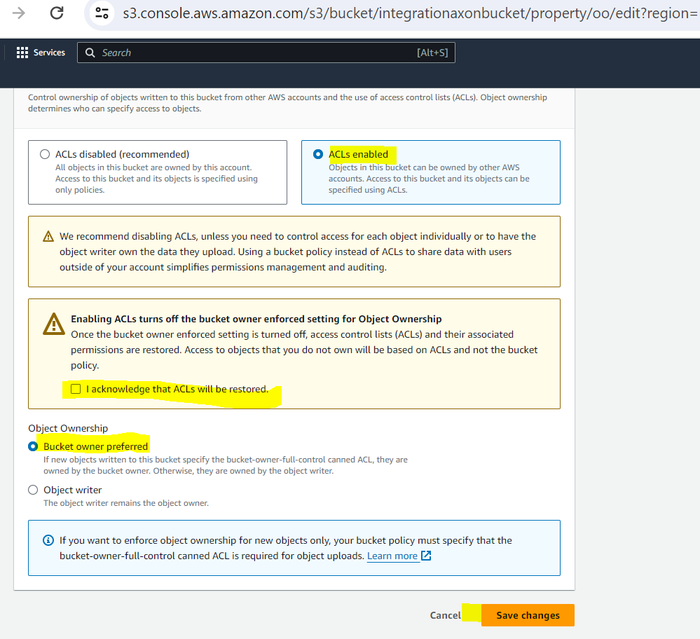
Click Save changes.
Create and Configure the SQS Dead Letter Queue
Prerequisites
You must have an existing SQS queue, configured via the steps described above in Access and Configure AWS S3 and SQS.
The dead letter queue and the SQS queue sending logs to LogRhythm must be in the same region.
The dead letter queue must be configured as a "standard" queue.
Create a Dead Letter Queue and Associate with an Existing SQS Queue
Login to the AWS account at:
CODEhttps://console.aws.amazon.com/On the top menu bar, click Services.
In the search field, enter sqs, and then select Simple Queue Service from the suggested search results.
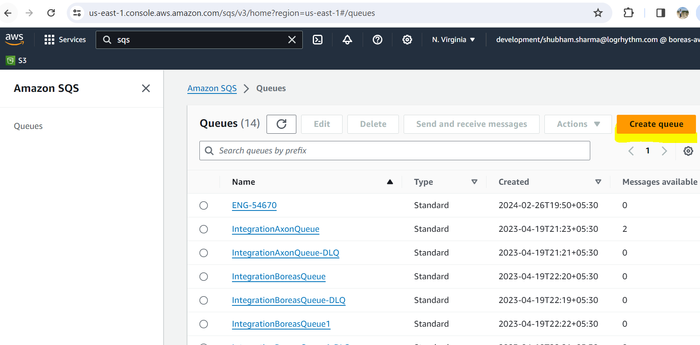
In the navigation pane, choose Queues.
Click the Create queue button.
Create a new Standard queue, with default settings.
Name this queue something which notes both the queue it will be linked with, and the fact that it is a Dead Letter Queue.
For example, "MyLogsQueue-DLQ" if your original SQS queue is named "MyLogsQueue."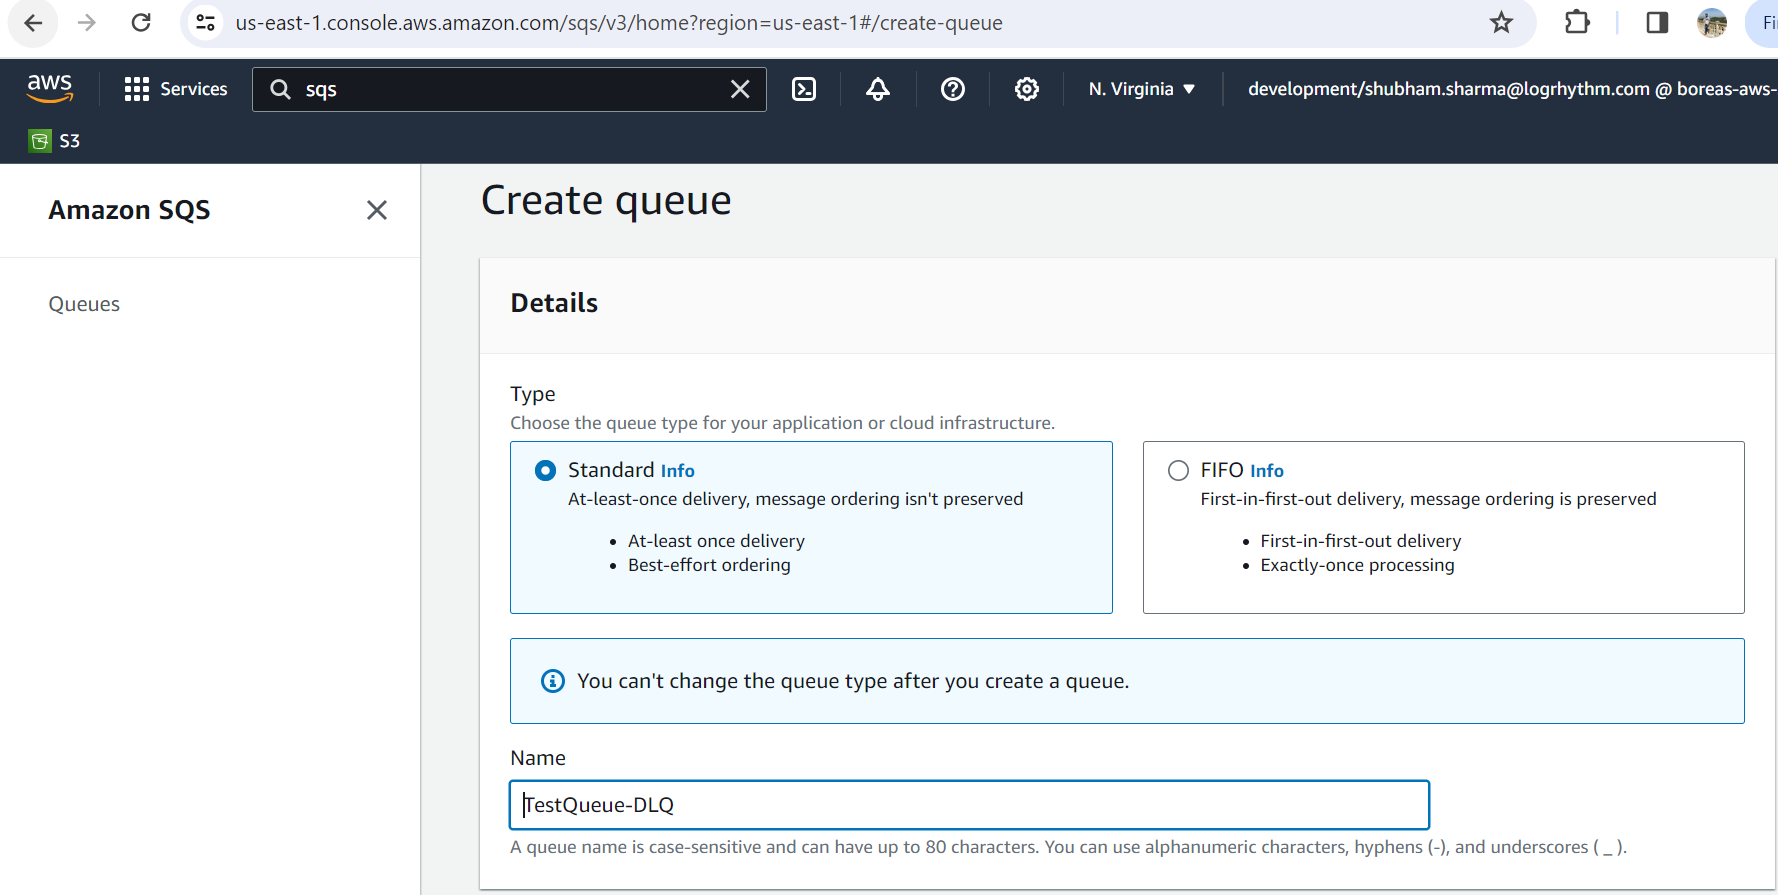
Do not select “Dead Letter Queue” during this step.
From the Queues screen, select the original queue you created in the Create a Simple Queue Service section above, and click Edit.
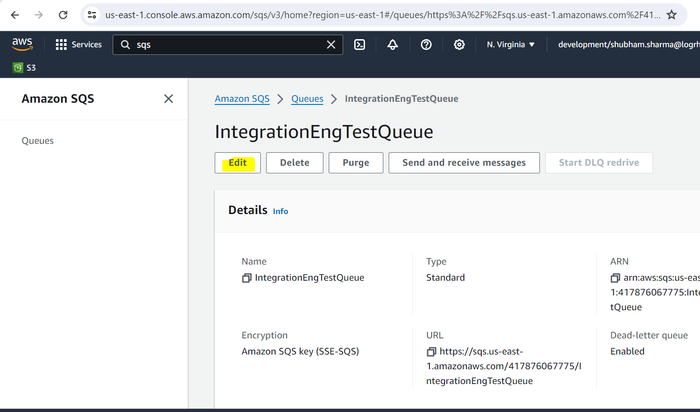
Scroll to the Dead-letter queue section and choose Enabled.
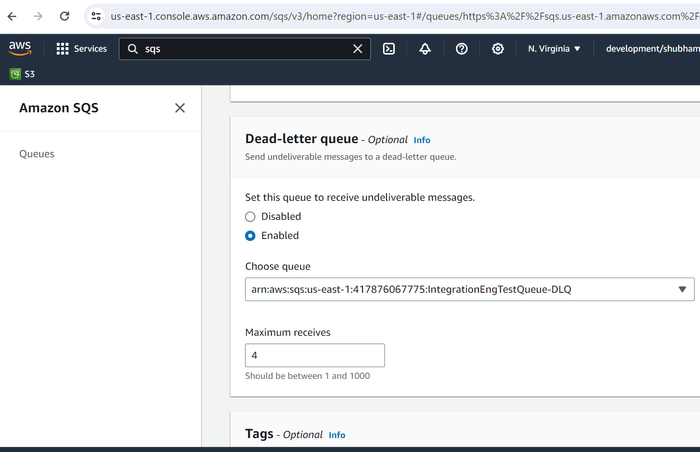
Choose the Amazon Resource Name (ARN) of the new queue you just created.
To configure the number of times that a message can be received before being sent to a dead-letter queue, set Maximum receives to a value between 1 and 1,000.
LogRhythm recommends setting this value to 4.
When you finish configuring the dead-letter queue, choose Save.
After you save the queue, the console displays the Details page for your queue. On the Details page, the Dead-letter queue tab displays the Maximum Receives and Dead Letter Queue ARN.
AWS Amazon S3 Collector IAM User Permissions
Prerequisites
The bucket and SQS must be created in advance by the admin user.
The bucket and SQS must be in the same region.
Event notification to the SQS must be configured by the admin user.
Add Permissions to a User
Login to the AWS account at:
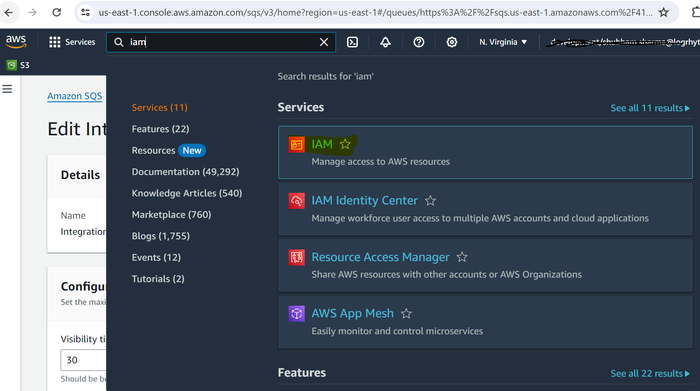
CODEhttps://console.aws.amazon.com/On the top menu bar, click Services and use the search bar to search for IAM.
Select IAM (Manage access to AWS resources).
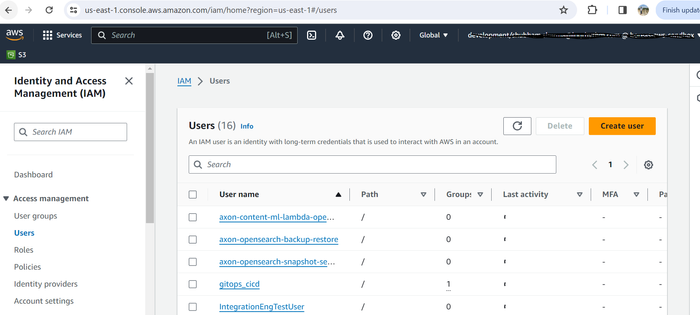
On the side menu, click Users, and in the right pane, click Create user.
Enter the name of the user you want to create in text bar.
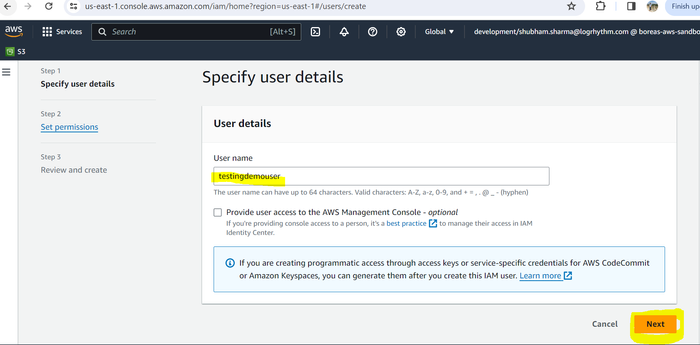
Click Next.
Select Attach policies directly.
Use the search bar to search for s3read and select AmazonS3ReadOnlyAccess.
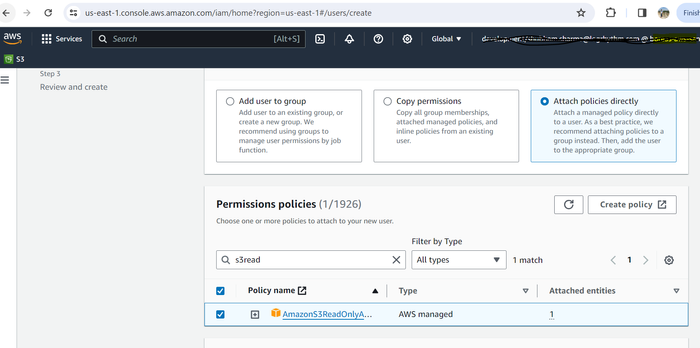
Click Create policy.
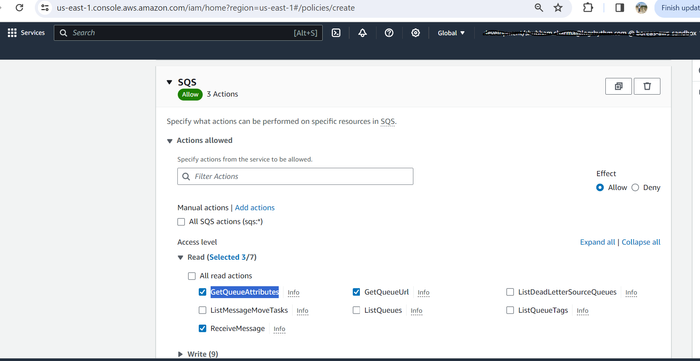
On the Visual editor tab, select SQS from the Service drop-down menu.
Under the Access level header, expand the Read drop-down and select GetQueueUrl, GetQueueAttributes, and ReceiveMessage.
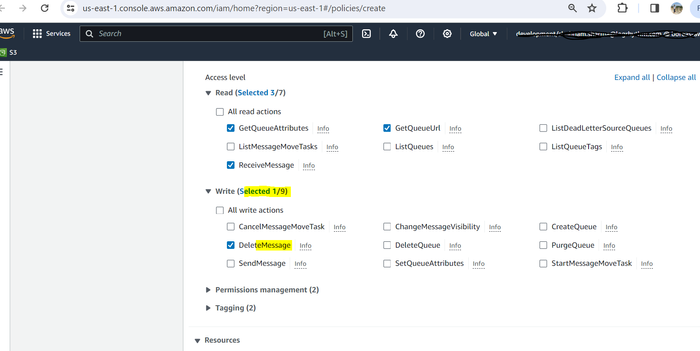
Expand the Write drop-down and select DeleteMessage.
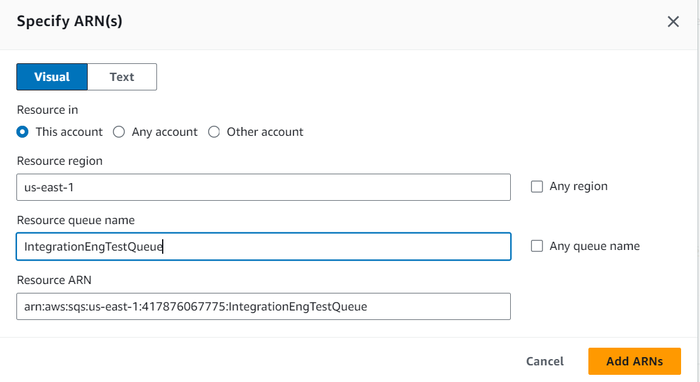
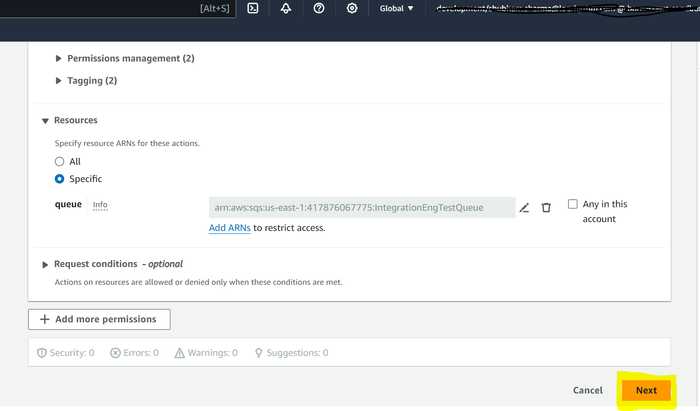
Expand the Resources drop-down menu and select Specific, then click Add ARNs.
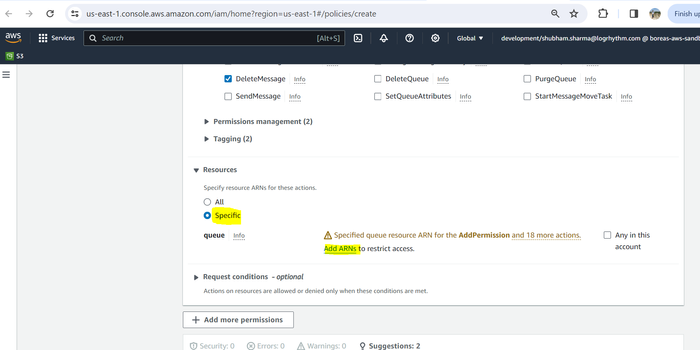
The Add ARN(s) dialog box displays.Provide the Resource region and Resource queue name, and then click Add ARNs.
Click Next.
Provide the name of the policy in the Name field, and then click Create policy.
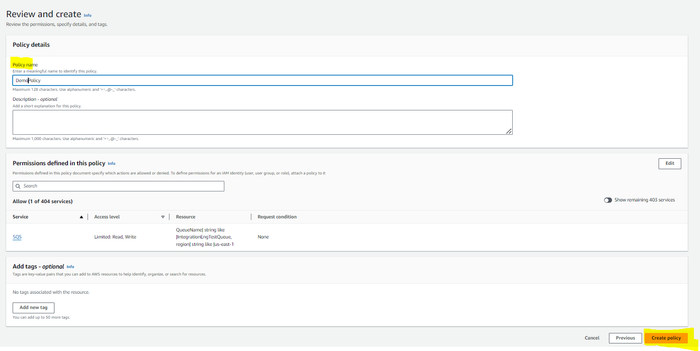
The policy is successfully created.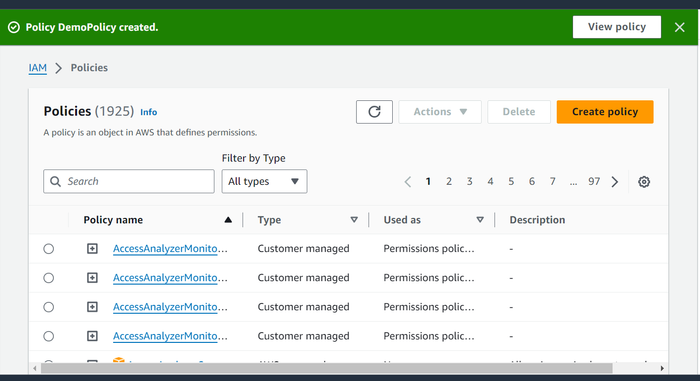
Embed the Policy in the User IAM Permissions
Perform these steps immediately after completing the section above.
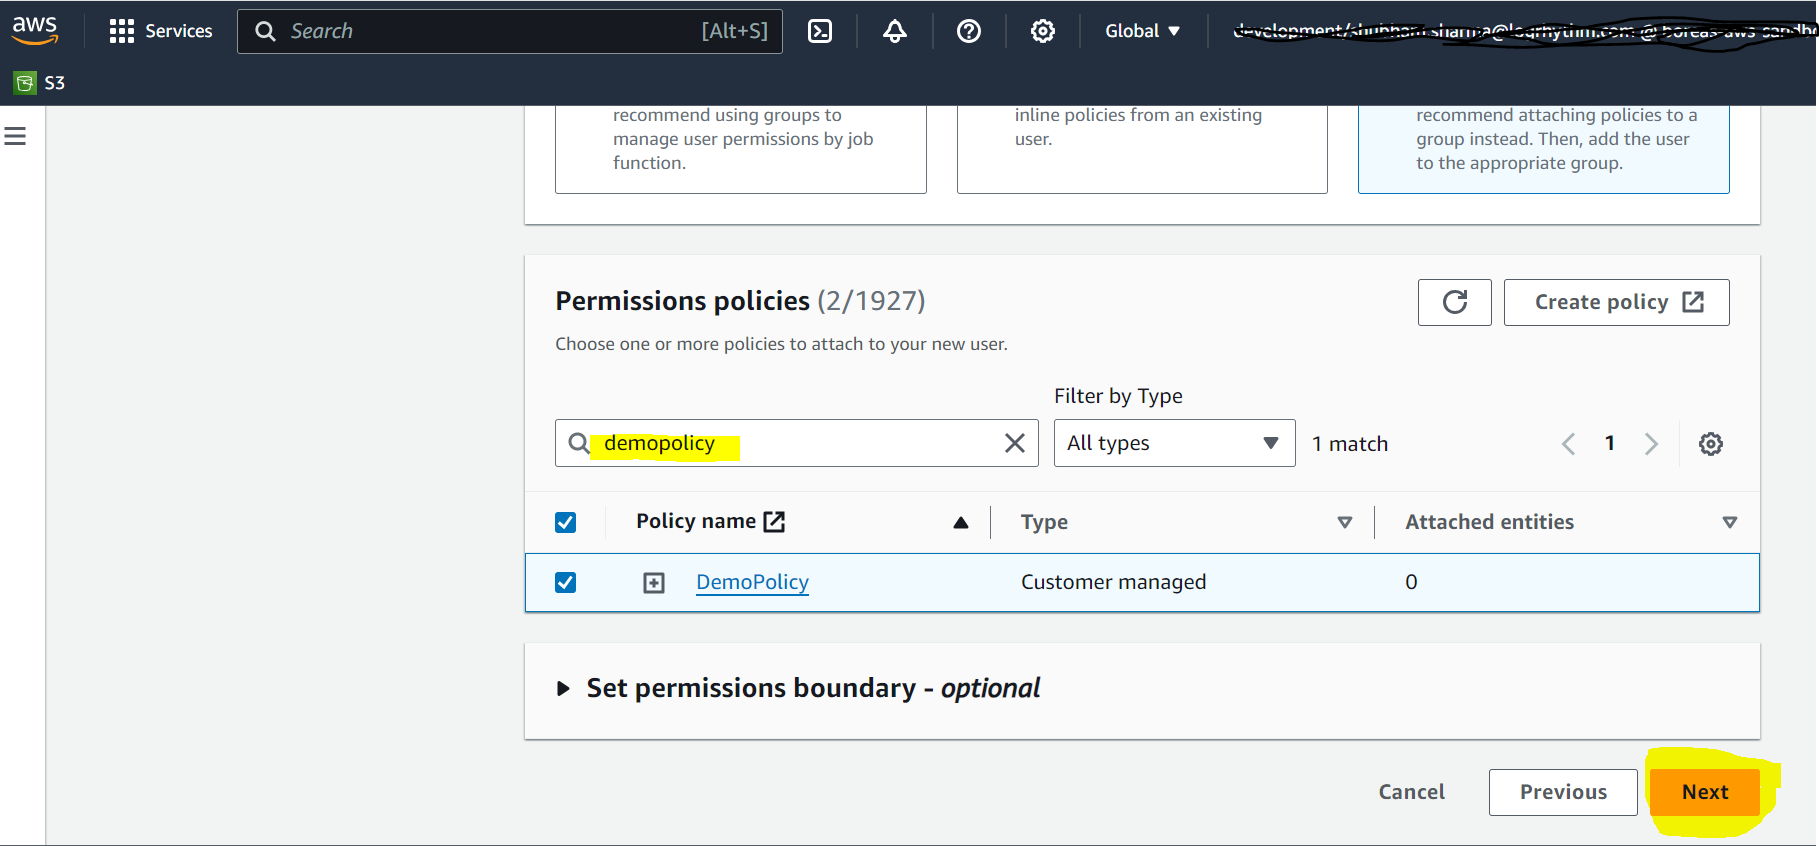
Click the Refresh icon in the top-right corner.
Select the newly created policy from the search box.
Click Next.
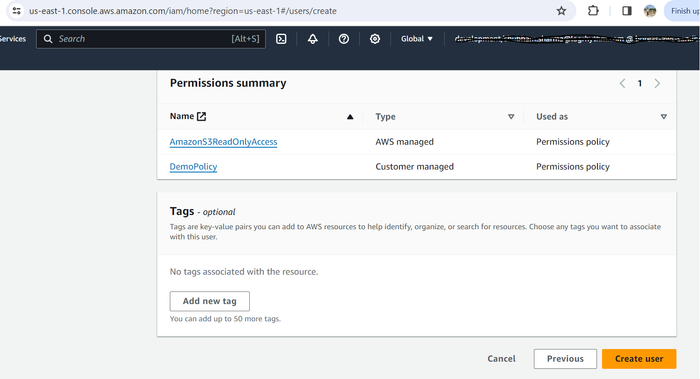
The User details and Permissions summary display in the Review section.
Click Create user.
A user is successfully created using the policy details.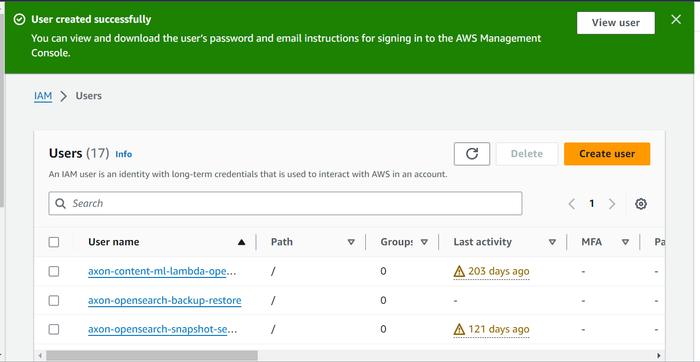
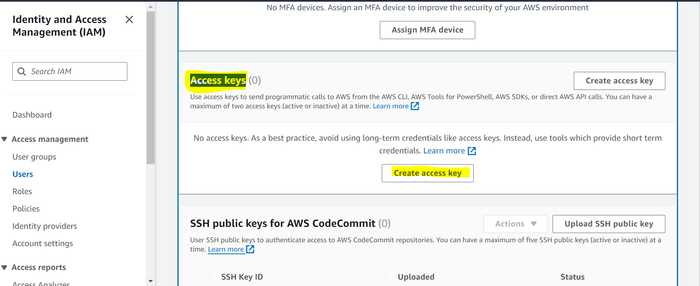
Click on the View User button, and then click on Security credentials.
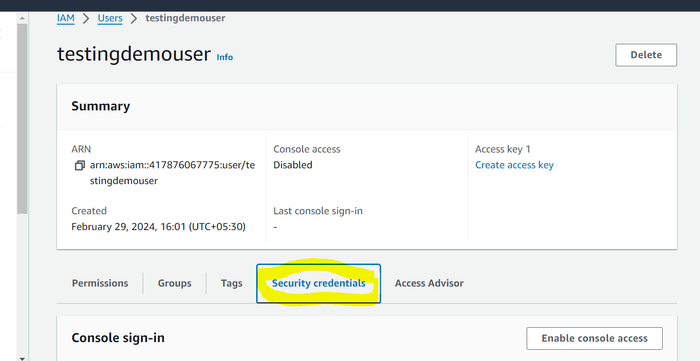
Under the Access keys header, click on Create access key.
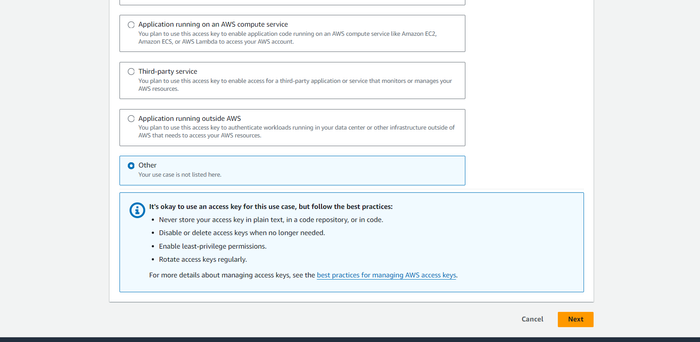
Under Access key best practices, select Other and then click Next.
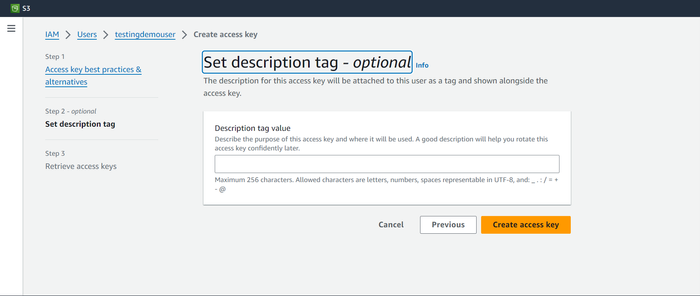
Click Create access key.
Download the user credentials by clicking Download .csv file, and then click Done.
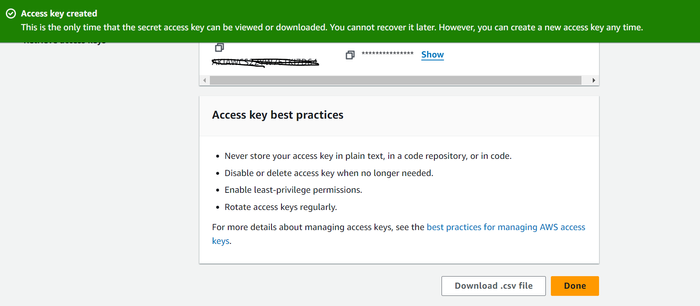
This file contains the Access Key ID and Secret Access Key required to Configure the Amazon S3 Collector in Axon.
S3 Object Naming Guidelines
It is highly recommended that while creating objects (such as buckets, folder files, etc.) we should follow the guidelines given for naming objects here in the official Amazon documentation.
This document provides a list of safe characters as well as a list of characters to avoid.
Safe Characters
The following character sets are generally safe for use in key names.
Alphanumeric Characters
0-9
a-z
A-Z
Special Characters
Exclamation point (“!”)
Hyphen (“-”)
Underscore (“_”)
Period (“.”)
Asterisk (“*”)
Single quote (“'“)
Open parenthesis (“(“)
Close parenthesis (“)”)
Ampersand ("&")
Dollar ("$")
At symbol ("@")
Equals ("=")
Semicolon (";")
Forward slash ("/")
Colon (":")
Plus ("+")
Space (“ “)
Significant sequences of spaces might be lost in some uses (especially multiple spaces).
Comma (",")
Question mark ("?")
Characters to Avoid
Try not to use the following characters in a key name because of significant special character handling, which isn't consistent across all applications.
Backslash ("\")
Left curly brace ("{")
Non-printable ASCII characters (128–255 decimal characters)
Caret ("^")
Right curly brace ("}")
Percent character ("%")
Grave accent/backtick ("`")
Right square bracket ("]")
Quotation marks
Greater than symbol (">")
Left square bracket ("[")
Tilde ("~")
Less than symbol ("<")
Pound character ("#")
Vertical bar/pipe ("|")