Prerequisites
-
Internet access and web browser
-
VMware (Workstation or Player) or another VM platform
-
The OracleLinux host should have the following firewall configuration:
Direction
Port
Protocol
Source
Destination
Purpose
Outbound
443
HTTPS
Open Collector
raw.githubusercontent.comIdentify the latest container versions.
Outbound
443
HTTPS
Open Collector
*.gcr.ioDownload the latest Open Collector software.
Outbound
443
HTTPS
Open Collector
get.docker.comDownload docker repositories.
Outbound
443
HTTPS
Open Collector
cloud.google.comPull container images.
Outbound
443
HTTPS
Open Collector
storage.googleapis.comAuto-update feature.
Outbound
443
HTTPS
Open Collector
console.cloud.google.comAuto-update feature.
Outbound
443
HTTPS
Open Collector
download.docker.comAllows for LRCTL installation of Open Collector
Outbound
443
HTTPS
Open Collector
registry-1.docker.ioAllows for LRCTL installation of Open Collector
Outbound
443
HTTPS
Open Collector
auth.docker.ioAllows for LRCTL installation of Open Collector
Outbound
443
HTTPS
Open Collector
production.cloudflare.docker.comAllows for LRCTL installation of Open Collector
Outbound
514
TCP - Syslog
Open Collector
Windows System Monitor Agent
Syslog feed of data to LogRhythm SIEM.
Outbound**
6514
TCP+TLS - Secure Syslog
Open Collector
Windows System Monitor Agent
Secure Syslog feed of data to LogRhythm SIEM.
Outbound
8076
TCP - Influx/Vitals
Open Collector
Platform Manager
Data feed for Centralized Metrics (LogRhythm 7.5+ only).
Inbound
3000
HTTP
User machine
Open Collector
View Open Collector metrics in Grafana.
Inbound
22
SSH
User machine
Open Collector
Interact with Open Collector.
Inbound
5044
TCP - Lumberjack
Beats
Open Collector
Method to send data from Beats collected outside the Open Collector.
**indicates optional setting
Oracle Linux 9.1 Installation Setup
-
Download Oracle Linux 9.1 from https://yum.oracle.com/oracle-linux-isos.html.
-
Create a VM with the following settings:CPU: 8 cores (or more)RAM: 8 GB (or more)HDD: 50 GB (or more)DVD: OracleLinux-R8-U7-x86_64-dvd.isoUser: In addition to the root user, create the following user:username: logrhythmpassword: <enter a password of your choice>
-
On initial boot, log in as the root user.
-
Add the new logrhythm user to the sudoers wheel:
usermod -aG wheel logrhythm
-
Reboot the VM, and log in as the logrhythm user.
Install Oracle Linux 9.1
-
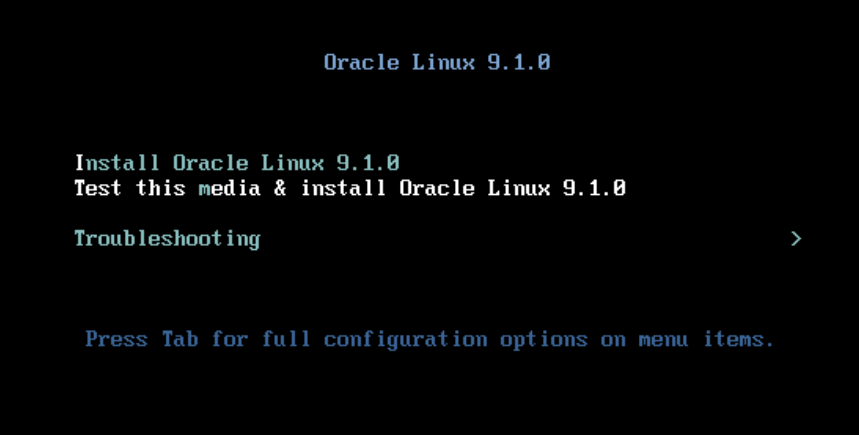
Boot your VM with your installation media attached to the virtual CD-ROM drive (.iso format).
-
Select Install Oracle Linux 9.1.0.
-
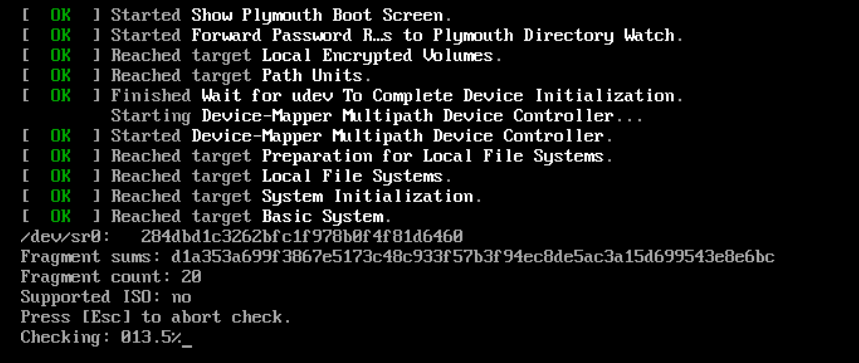
Wait for the media check to complete.
-
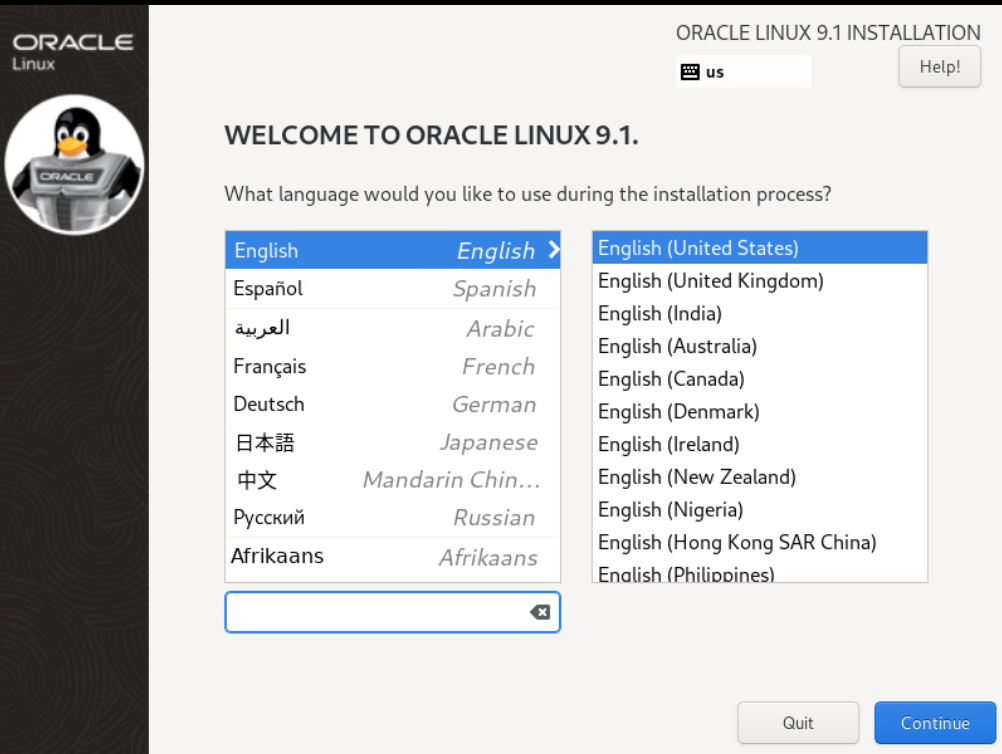
Once the Oracle Linux 9.1 installer GUI starts, select your language localization settings.
-
Click Continue.
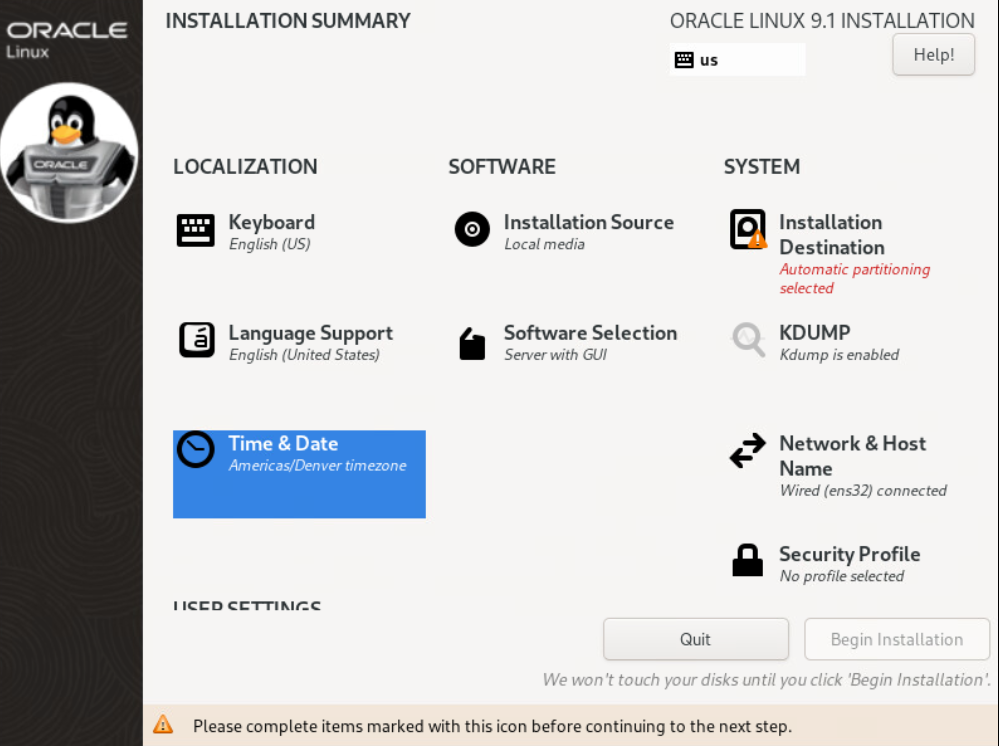
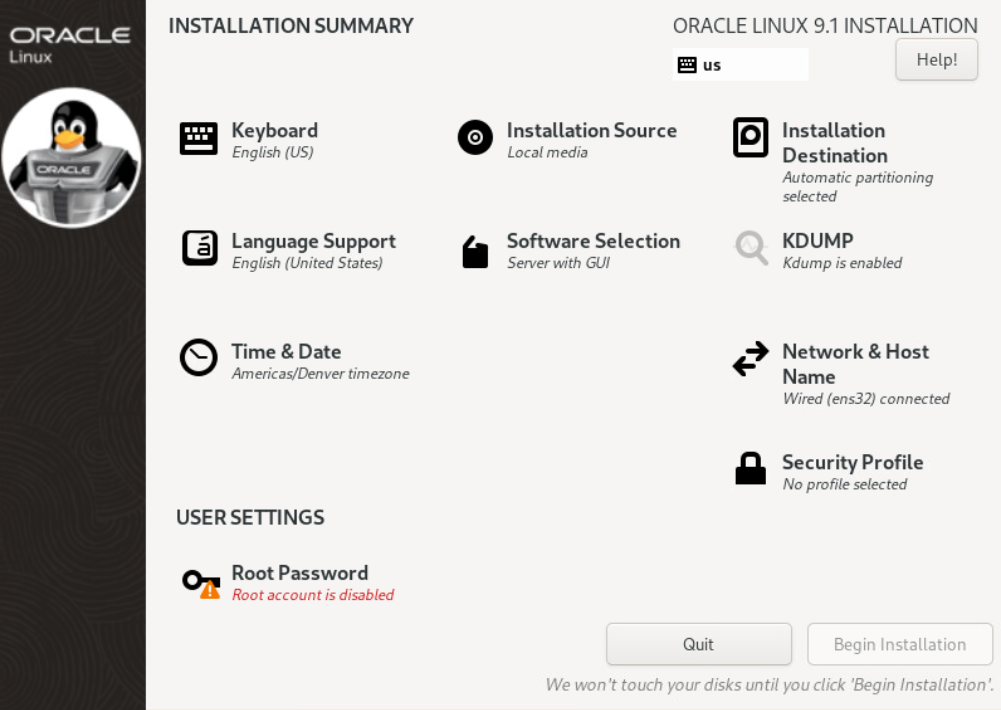
The Installation Summary screen appears.
-
In the System section, click Network & Host Name.
This is required to get networking on your VM without manual configuration. -
In the upper-right corner, click the toggle switch to On.
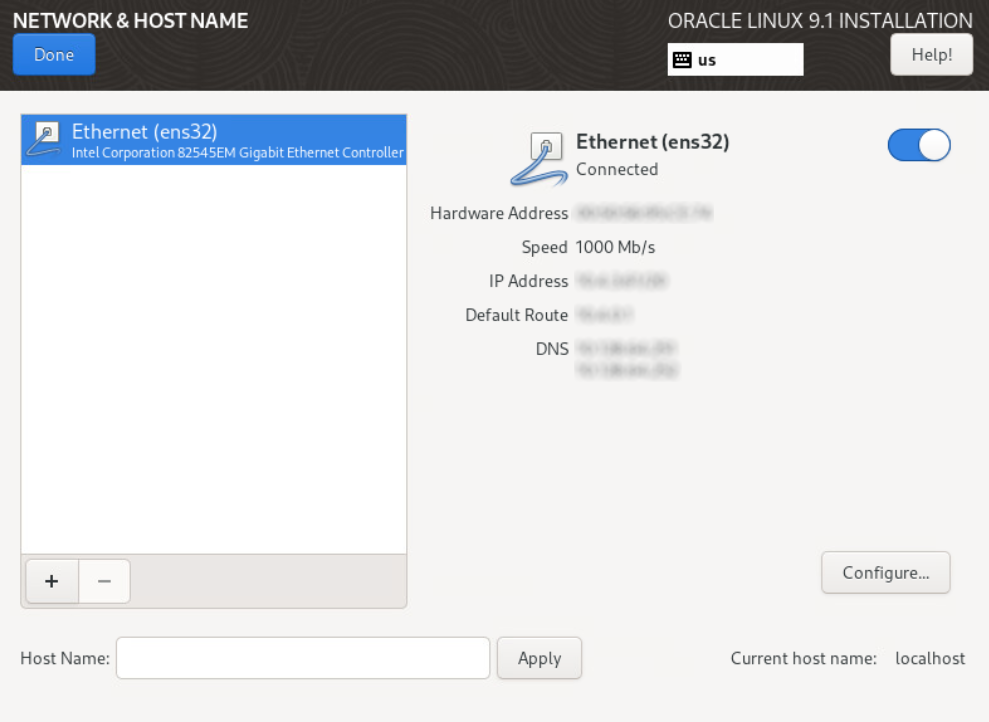
The VM retrieves an IP address and DNS settings using DHCP. -
In the upper-left corner, click Done.
The Installation Summary screen appears. -
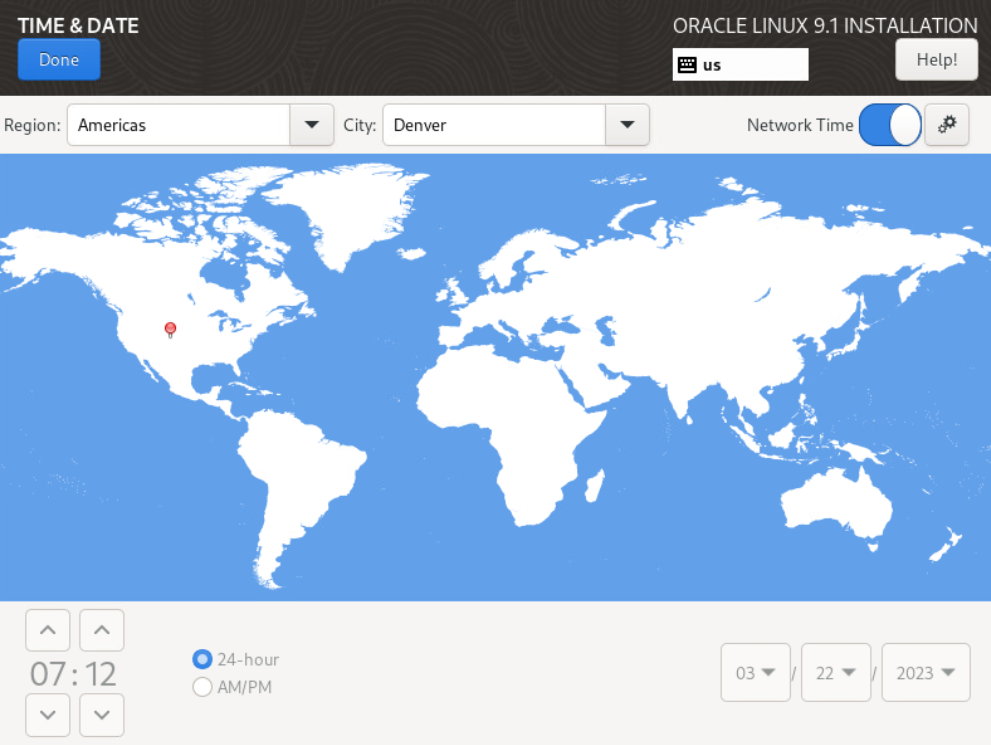
In the Localization section, click Date & Time.
The Date & Time screen appears.
-
Confirm the date and time are correct.
You can also use the Network Time (NTP) option (networking must be configured to use this option).
-
In the upper-left corner, click Done.
The Installation Summary screen appears. -
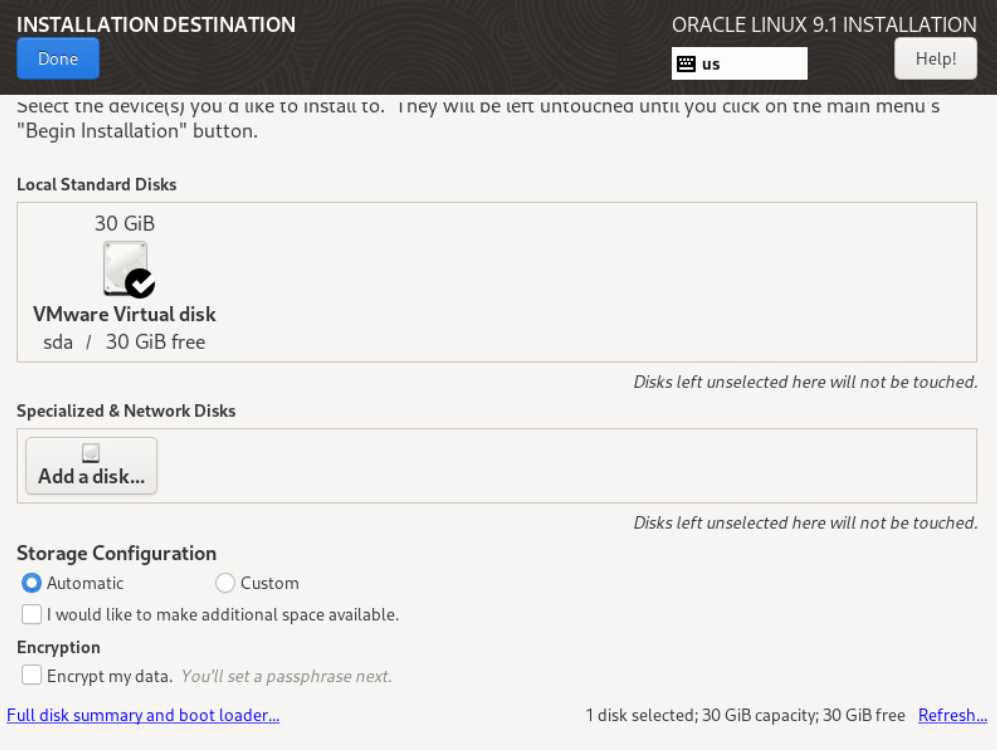
In the System section, click Installation Destination.
The Installation Destination screen appears.
-
Ensure your local disk is selected. The recommended disk capacity is 50GB.
-
In the upper-left corner, click Done.
The Installation Summary screen appears.
-
In the bottom-left corner under USER SETTINGS, click Root Password.
The Root Password screen appears.
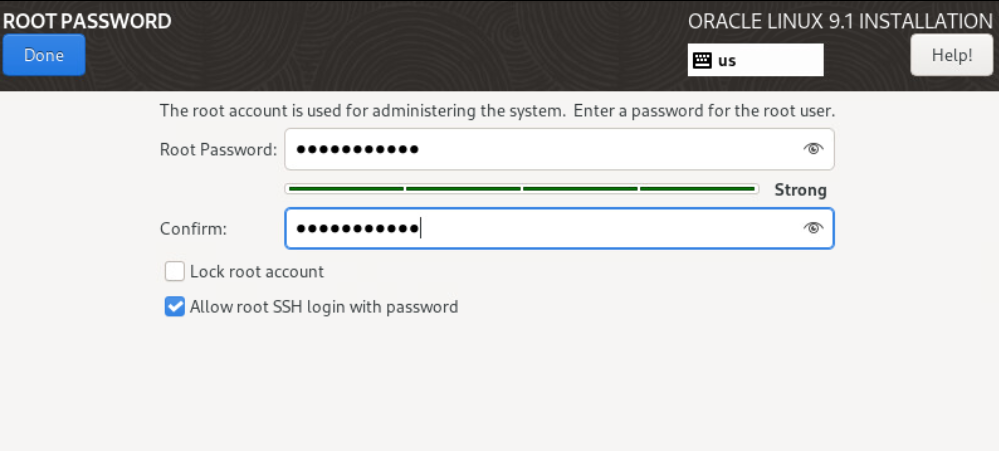
-
Enter your desired password and check the Allow root SSH login with password checkbox.
-
In the upper-left corner, click Done.
The Installation Summary screen appears. -
In the bottom-right corner, click Begin Installation.
The Installation Progress screen appears.
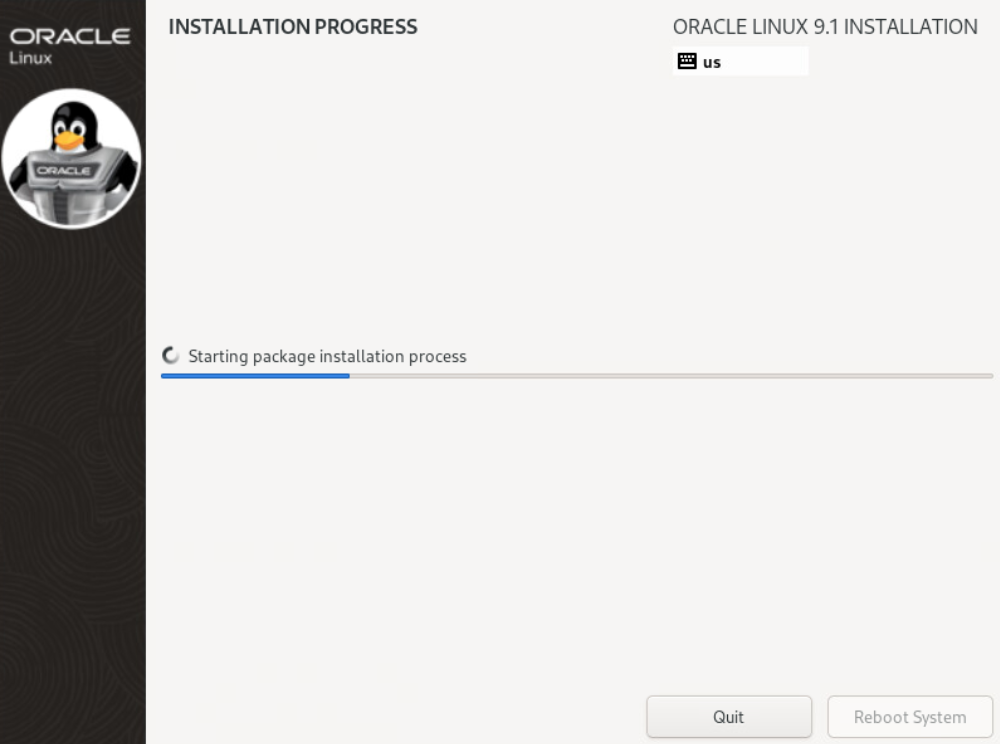
-
Once the installation is completed, click on Reboot System at the bottom right corner.
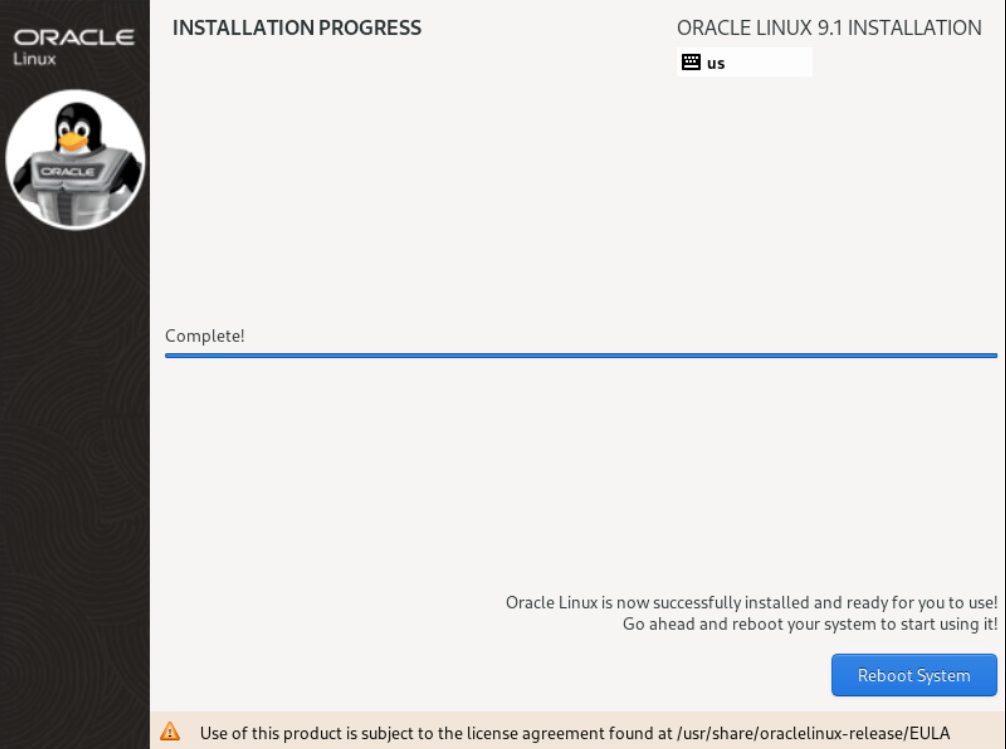
The INITIAL SETUP screen appears after reboot. -
Click on the Start Setup button.
The Privacy screen appears.
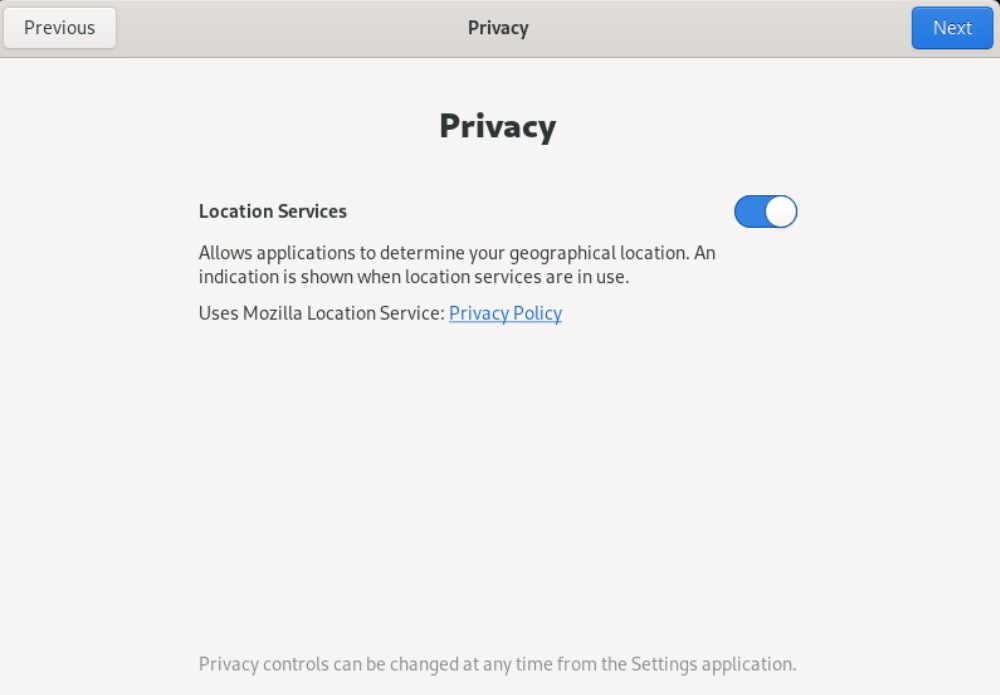
-
Keep the default privacy settings and click Next in the top right corner.
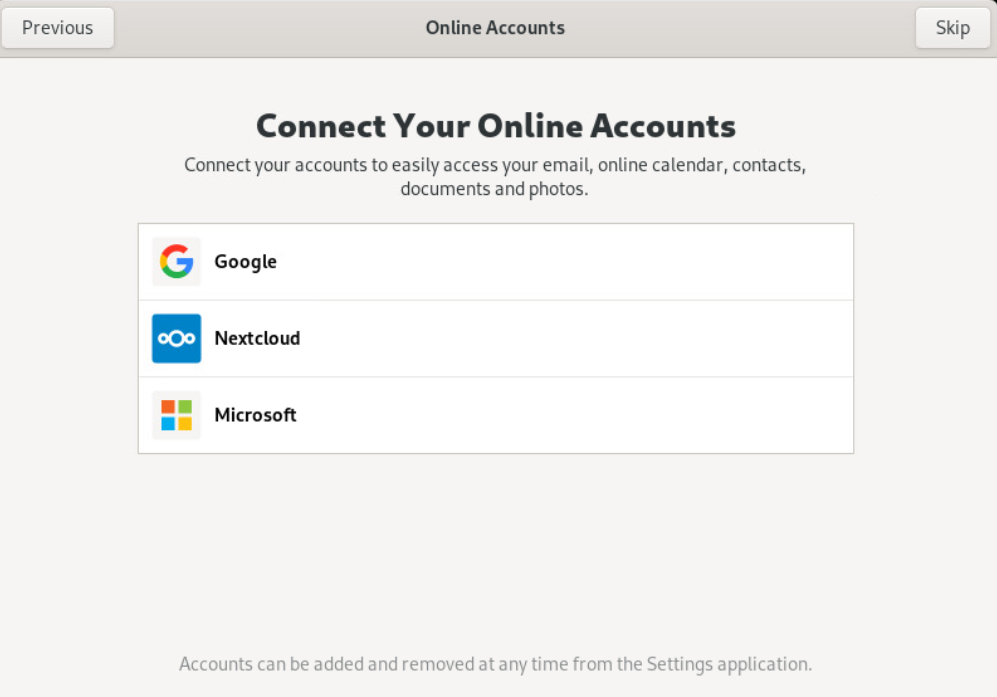
The Online Accounts window appears. -
Optionally, configure your online account, or click Skip in the top right corner.
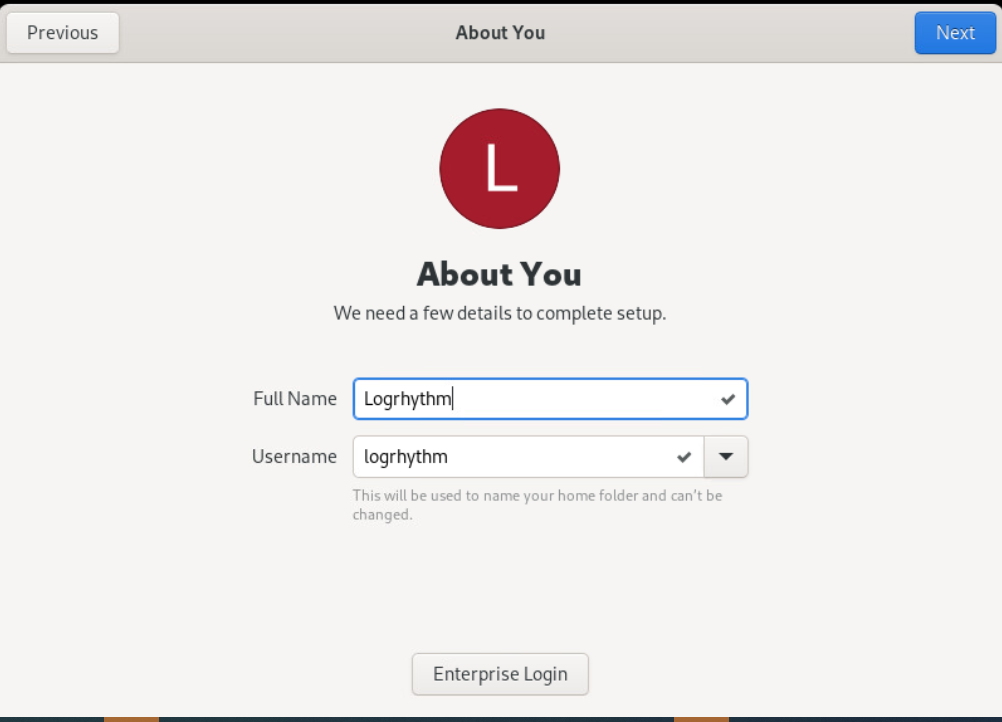
The About You window appears. -
Enter appropriate details for a logrhythm user and click Next in the top-right corner.
The Password window appears. -
Enter a strong password, and then click Next in the top-right corner.

You can also create a logrhythm user manually after installation.
The Setup Complete window appears.
-
Click the Start Using Oracle Linux Server button.
Make sure to remove the installation media. The method for removal is hypervisor-specific.