Prerequisites
-
To integrate with Qualys FIM, you must first obtain an activation key and configure the rules within the Qualys Portal.
Configure a System as an Asset on the Qualys Portal
To register your machine or system as an asset within the Qualys Portal:
-
Log in to the Qualys Portal.
-
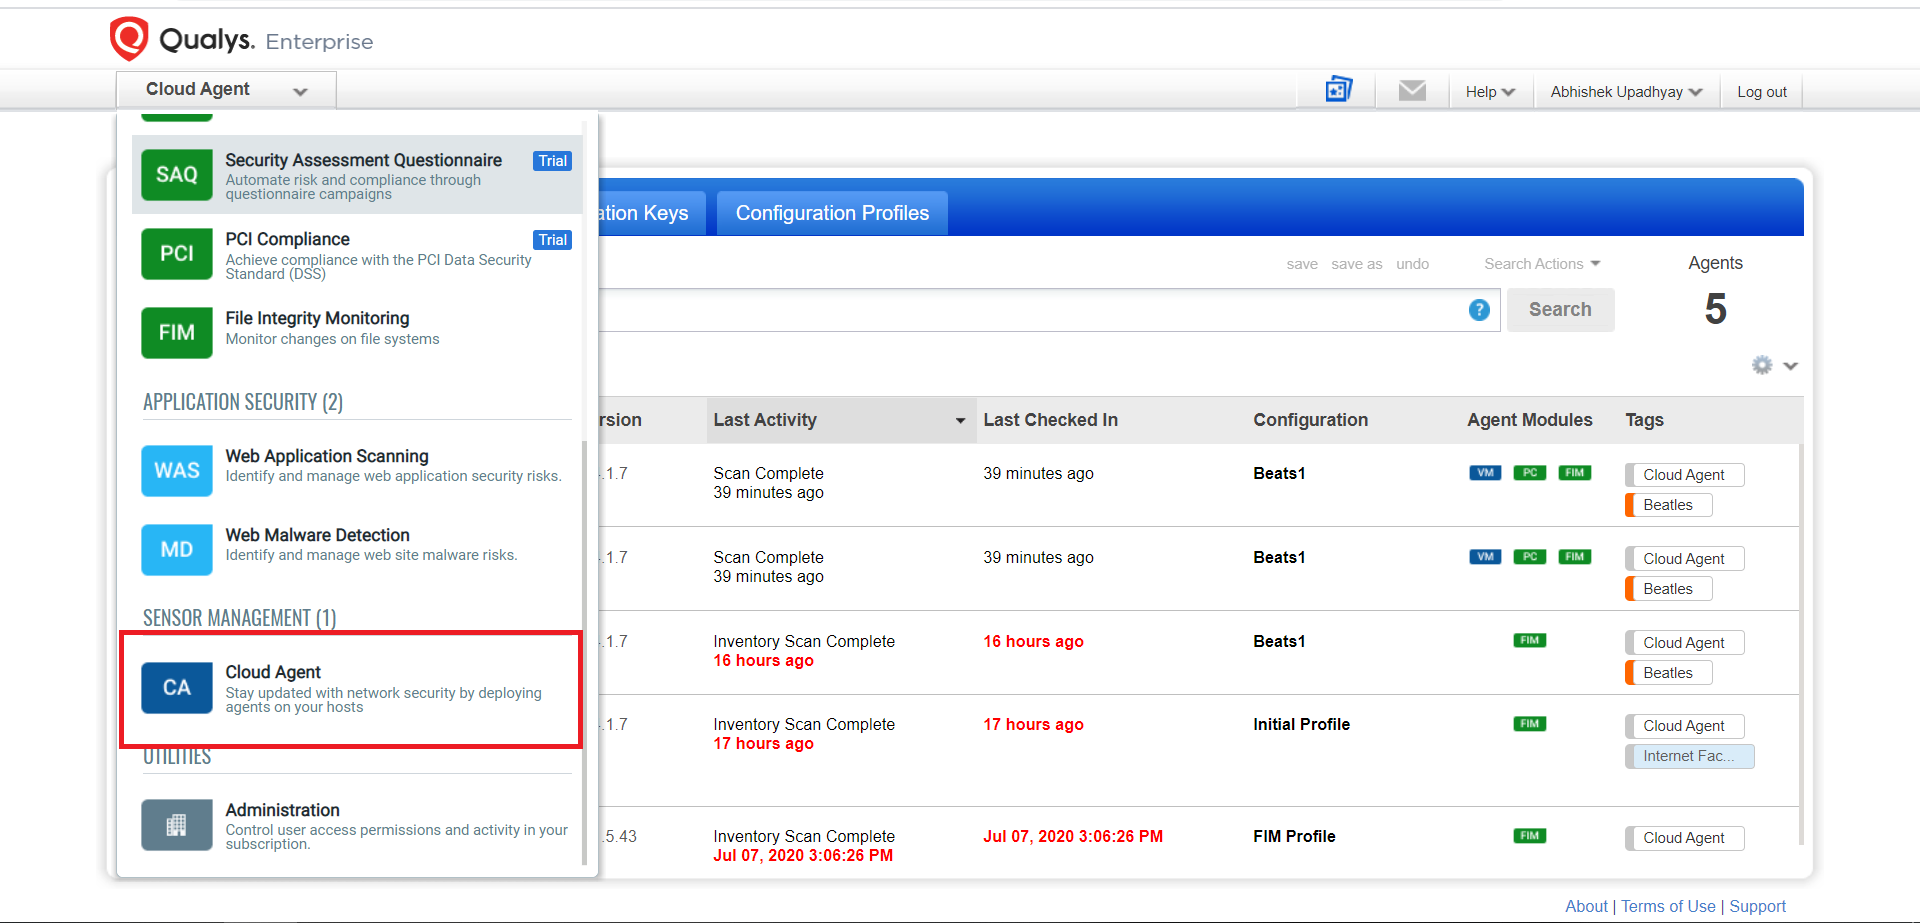
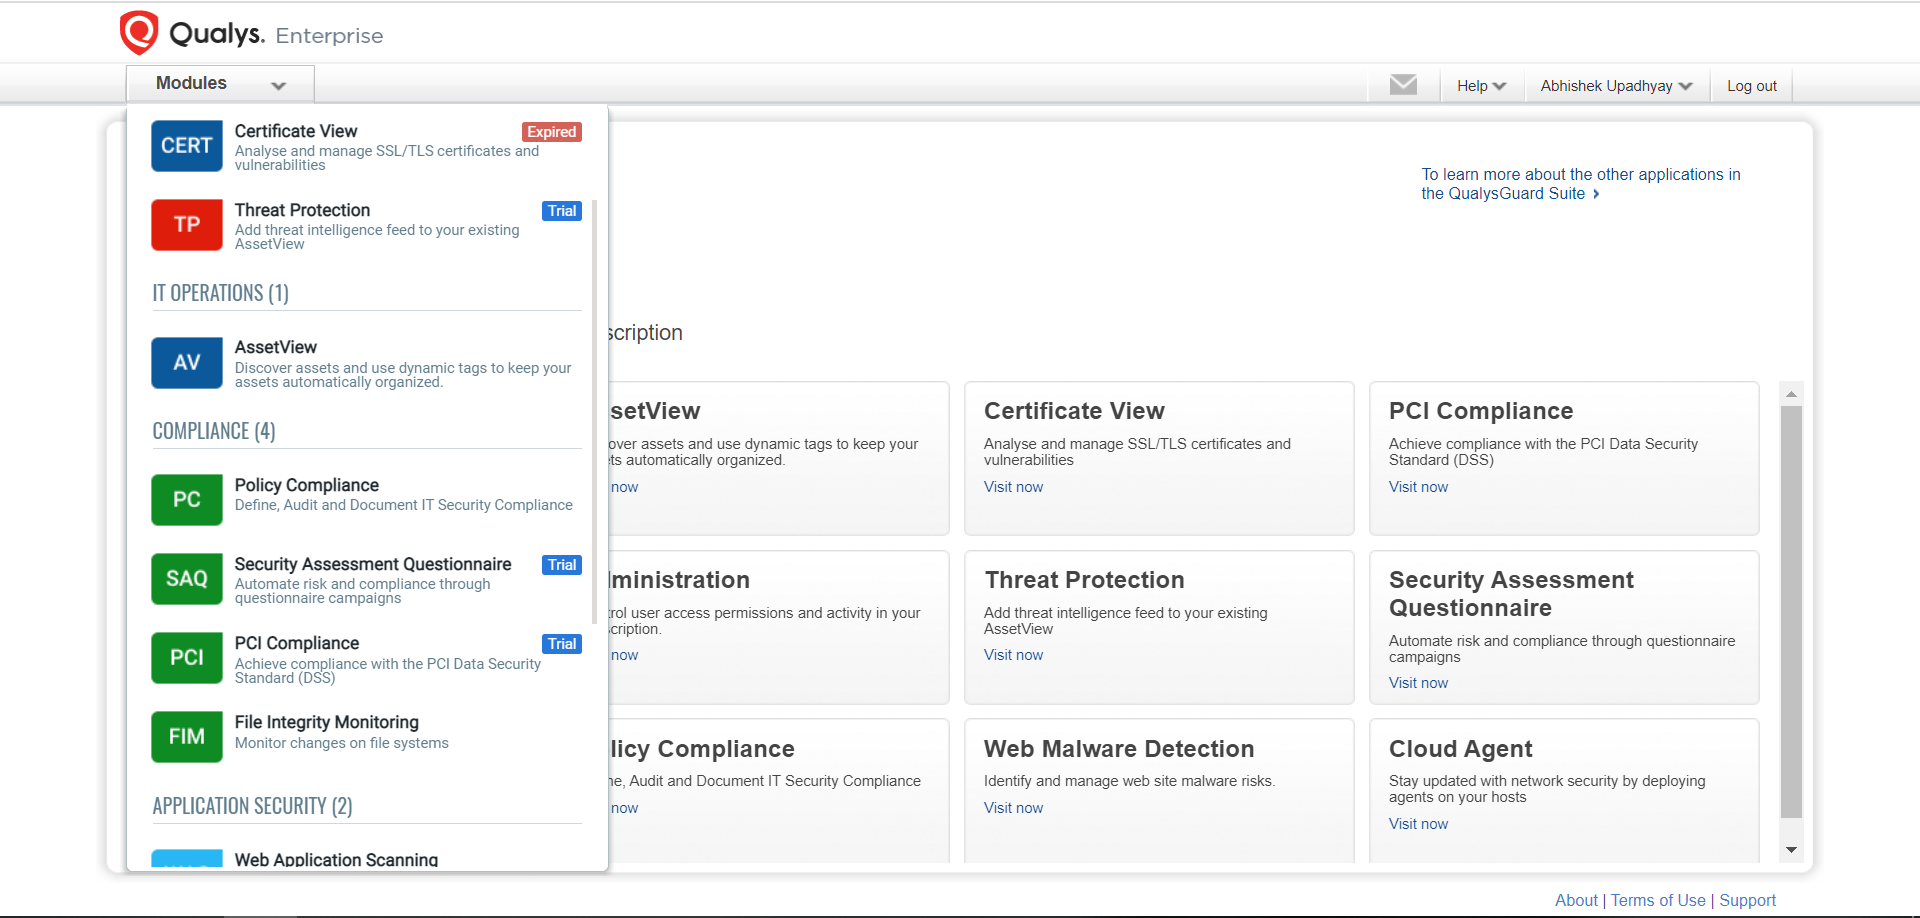
In the upper-left corner, open the Modules drop-down menu, and then click Cloud Agent.
The Agent Management page appears.
-
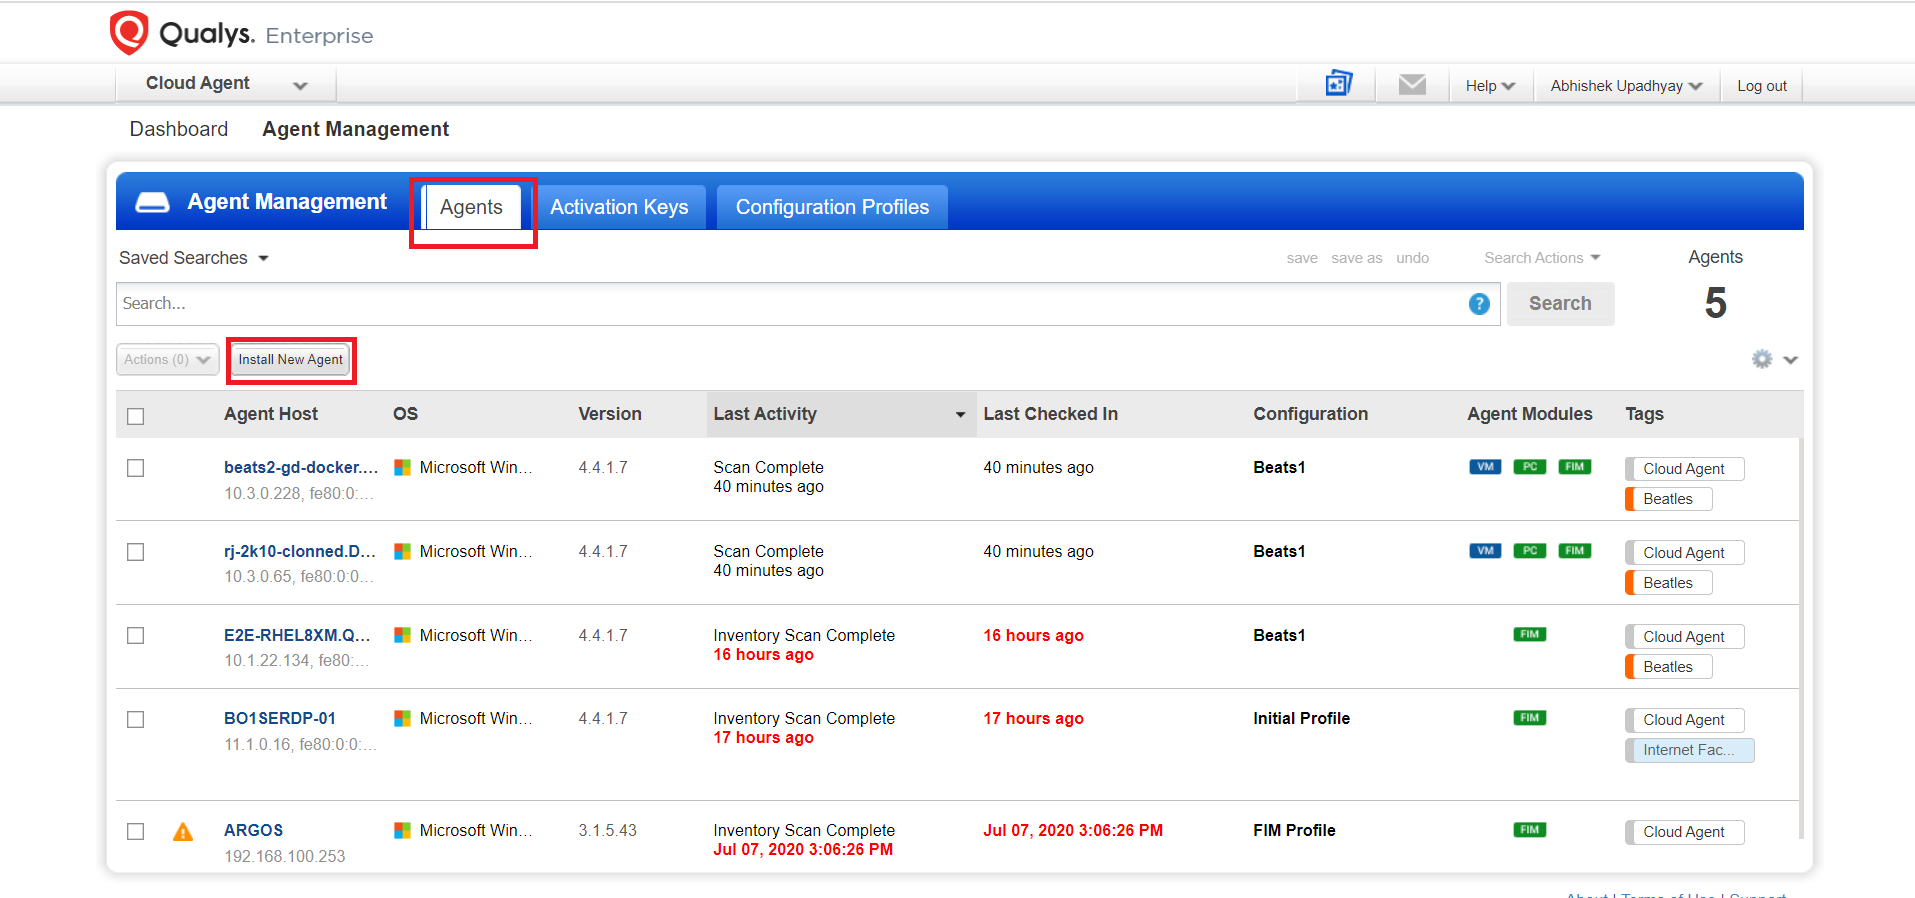
Click the Agents tab.
-
Click Install New Agent.
The New Activation Key page appears.
-
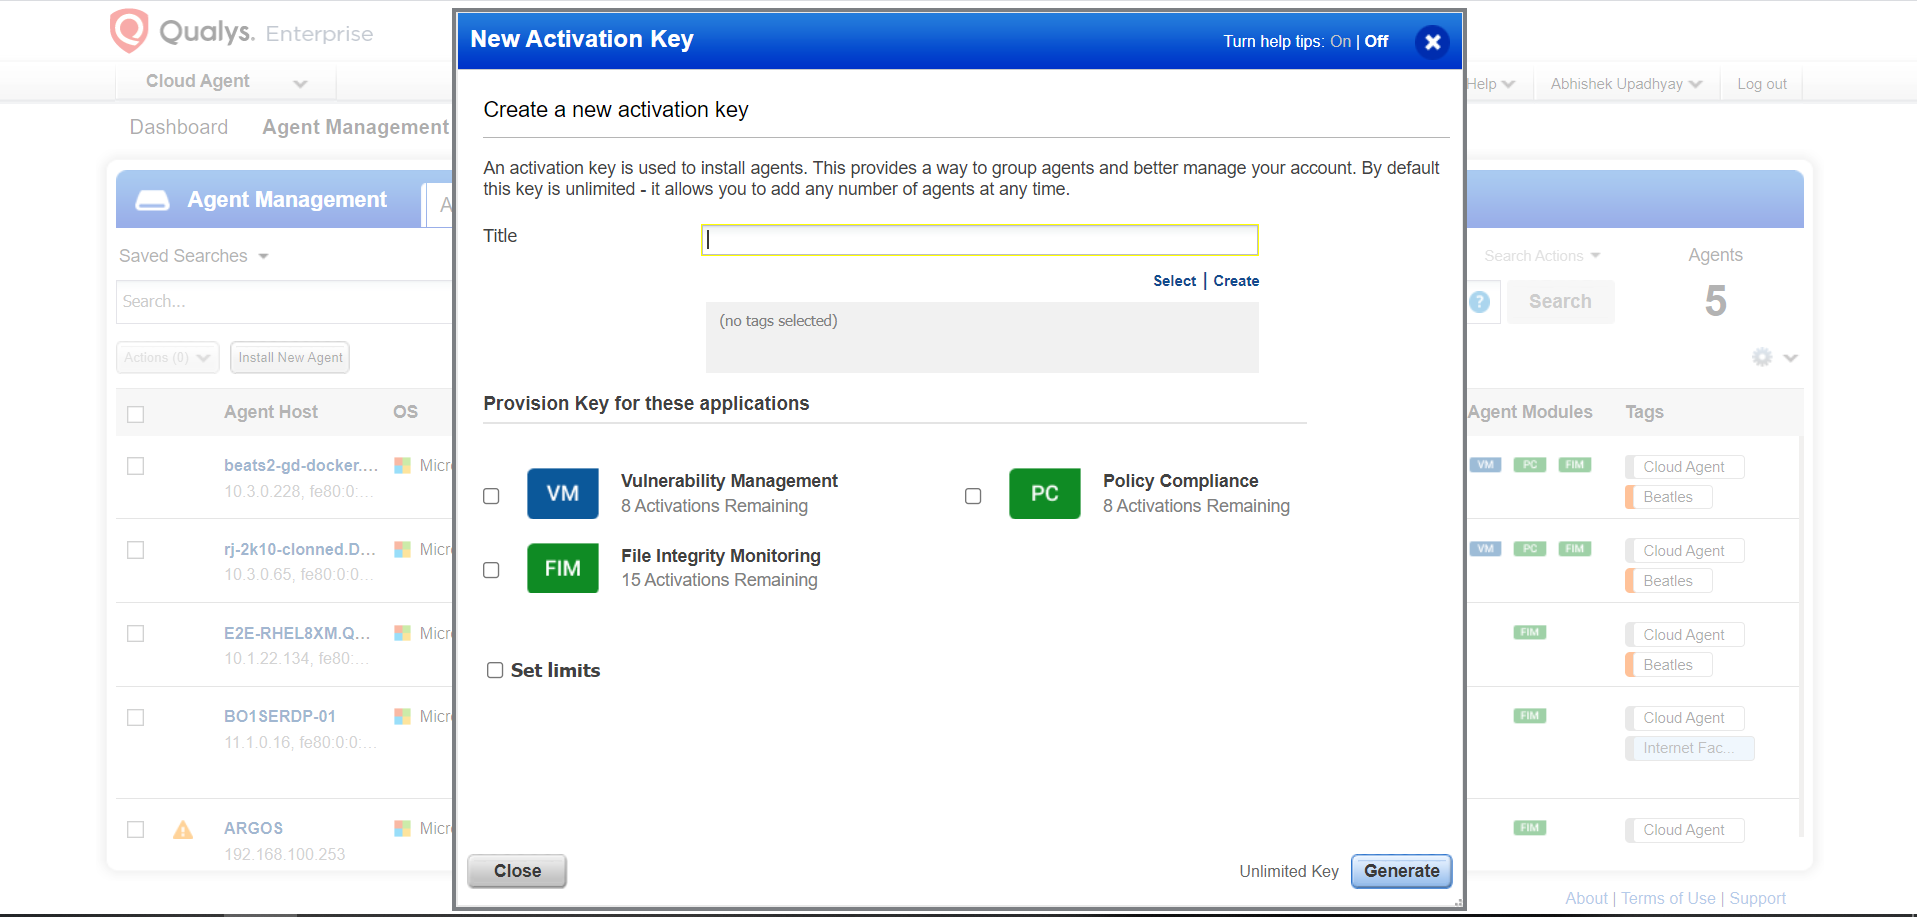
Enter a Title for this activation key, and then click the File Integrity Monitoring checkbox.
-
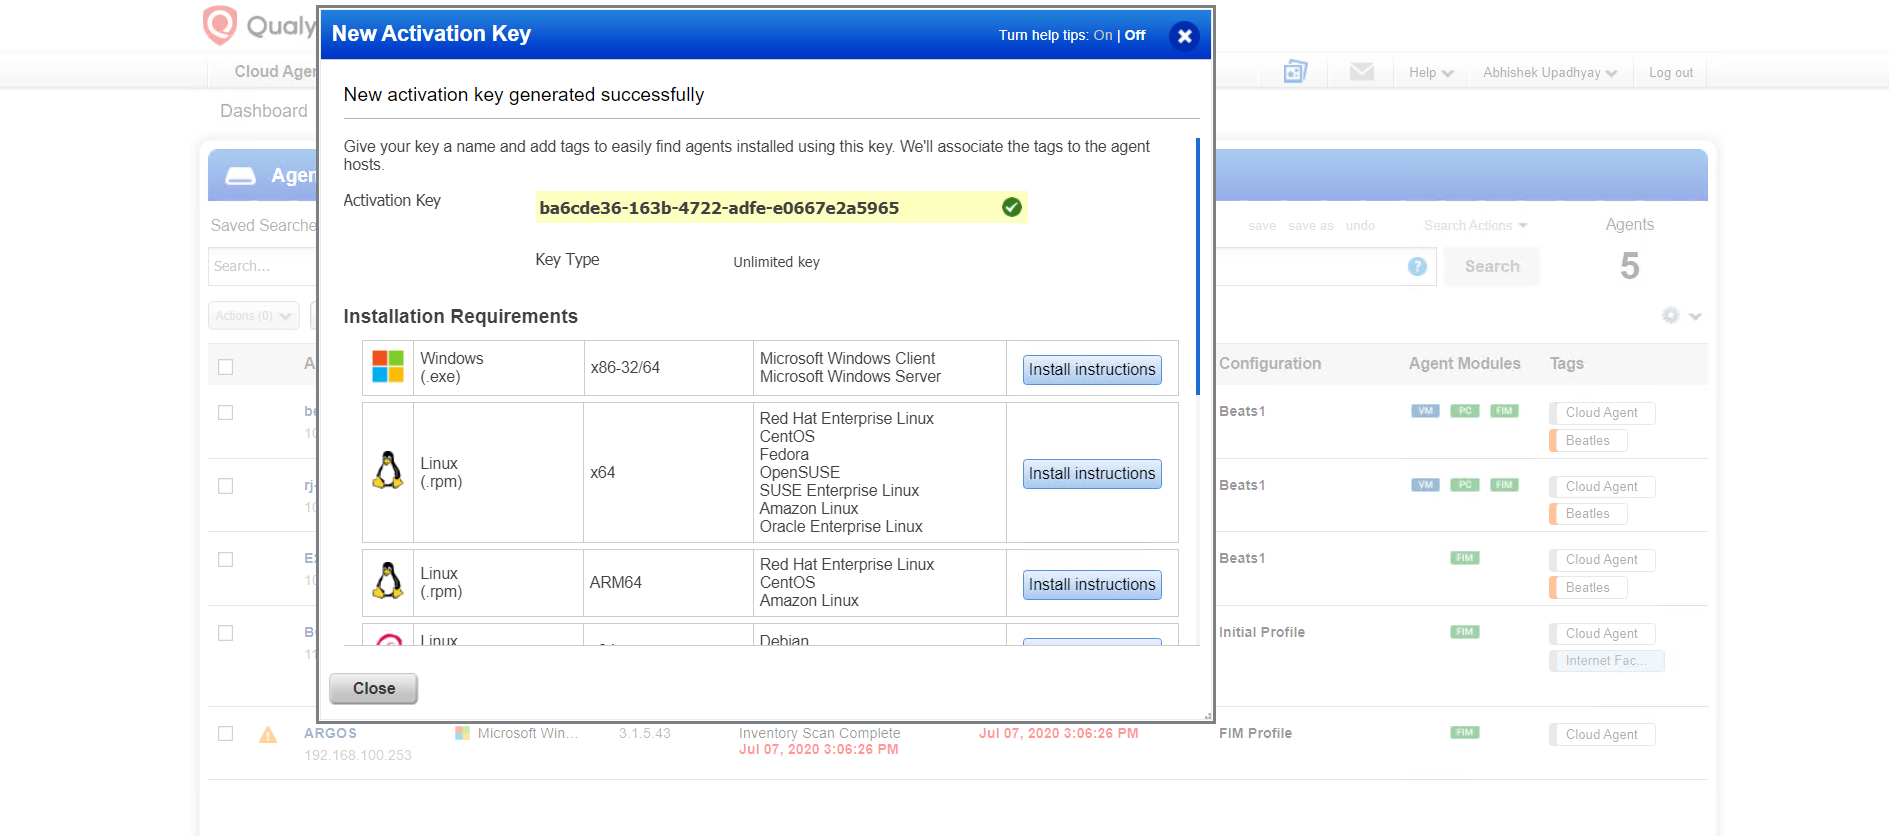
Click Generate.
The activation key appears.Copy and save this activation key, as you'll need it later on during the installation process.
-
Locate the operating system on which the Qualys agent will be installed in the list, and click Install Instructions.
-
Copy the text in the box as shown in the screenshot.
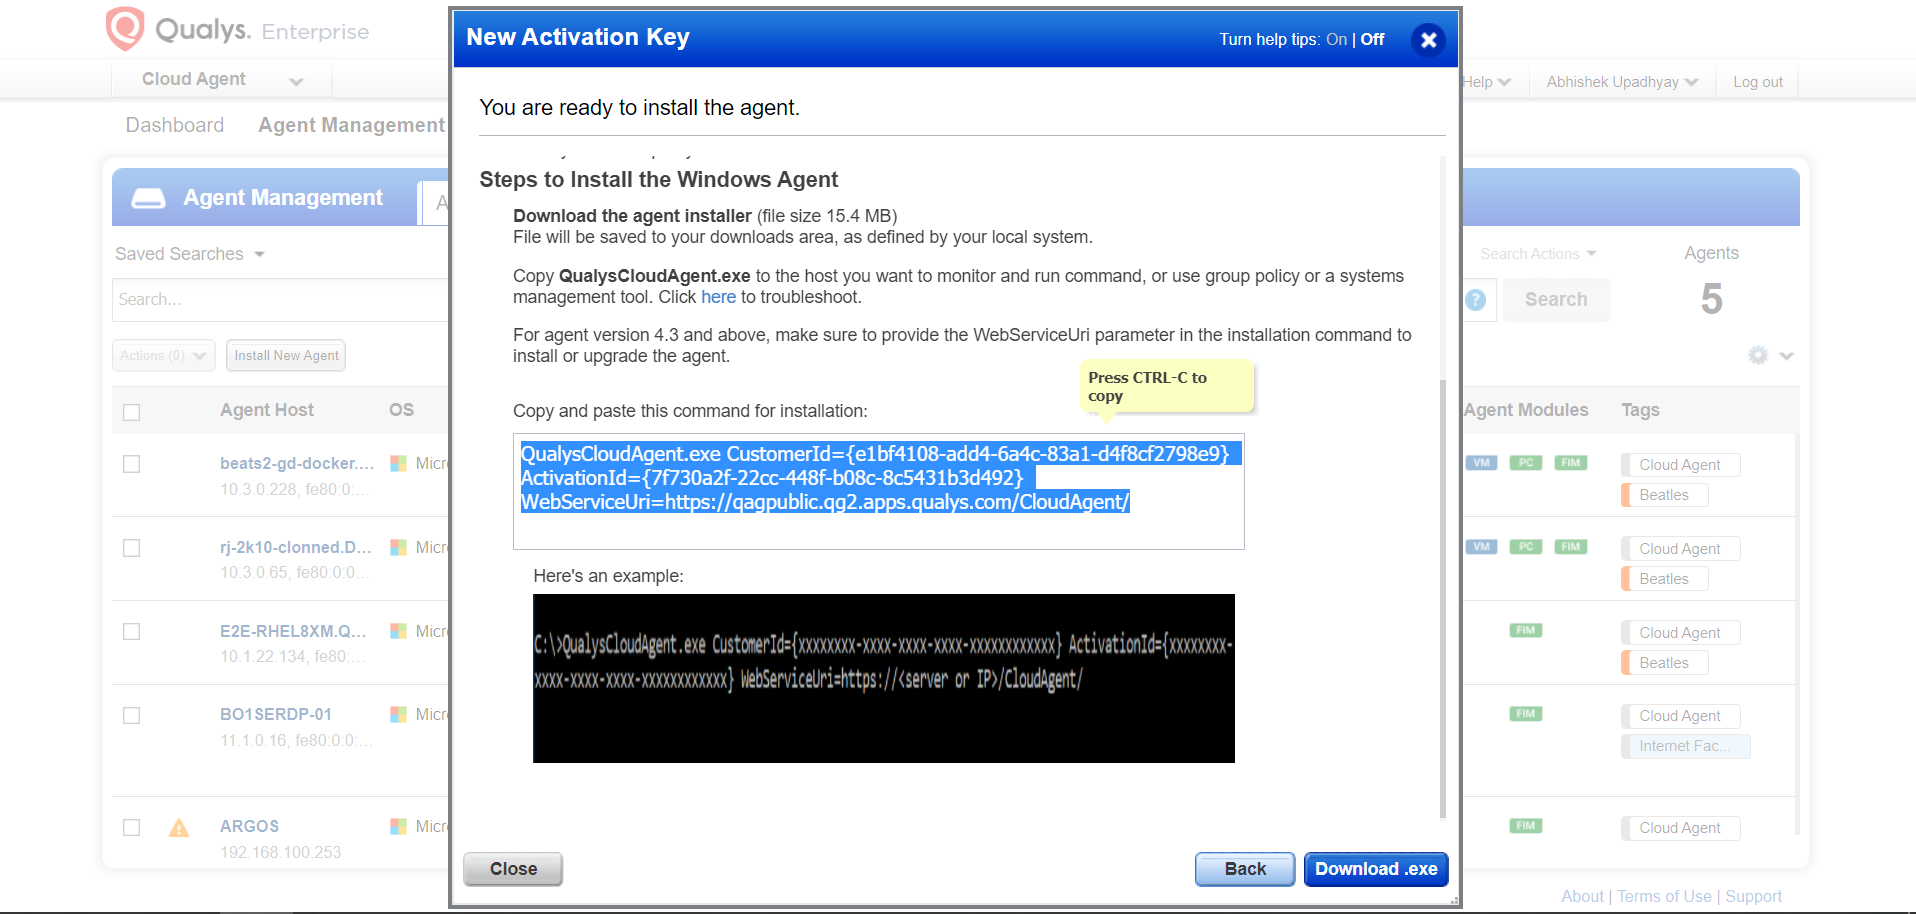
-
Click Download .exe.
A download initiates. -
After downloading the .exe file, open Command Prompt on your machine.
To open the command prompt on a Windows machine, click Search on the toolbar and type "run." The Command Prompt will display as the top search result.
-
Paste the text you copied in Step 8 into the Command Prompt and press Enter.
After a few minutes, your system will be registered as an asset in the Qualys Portal. -
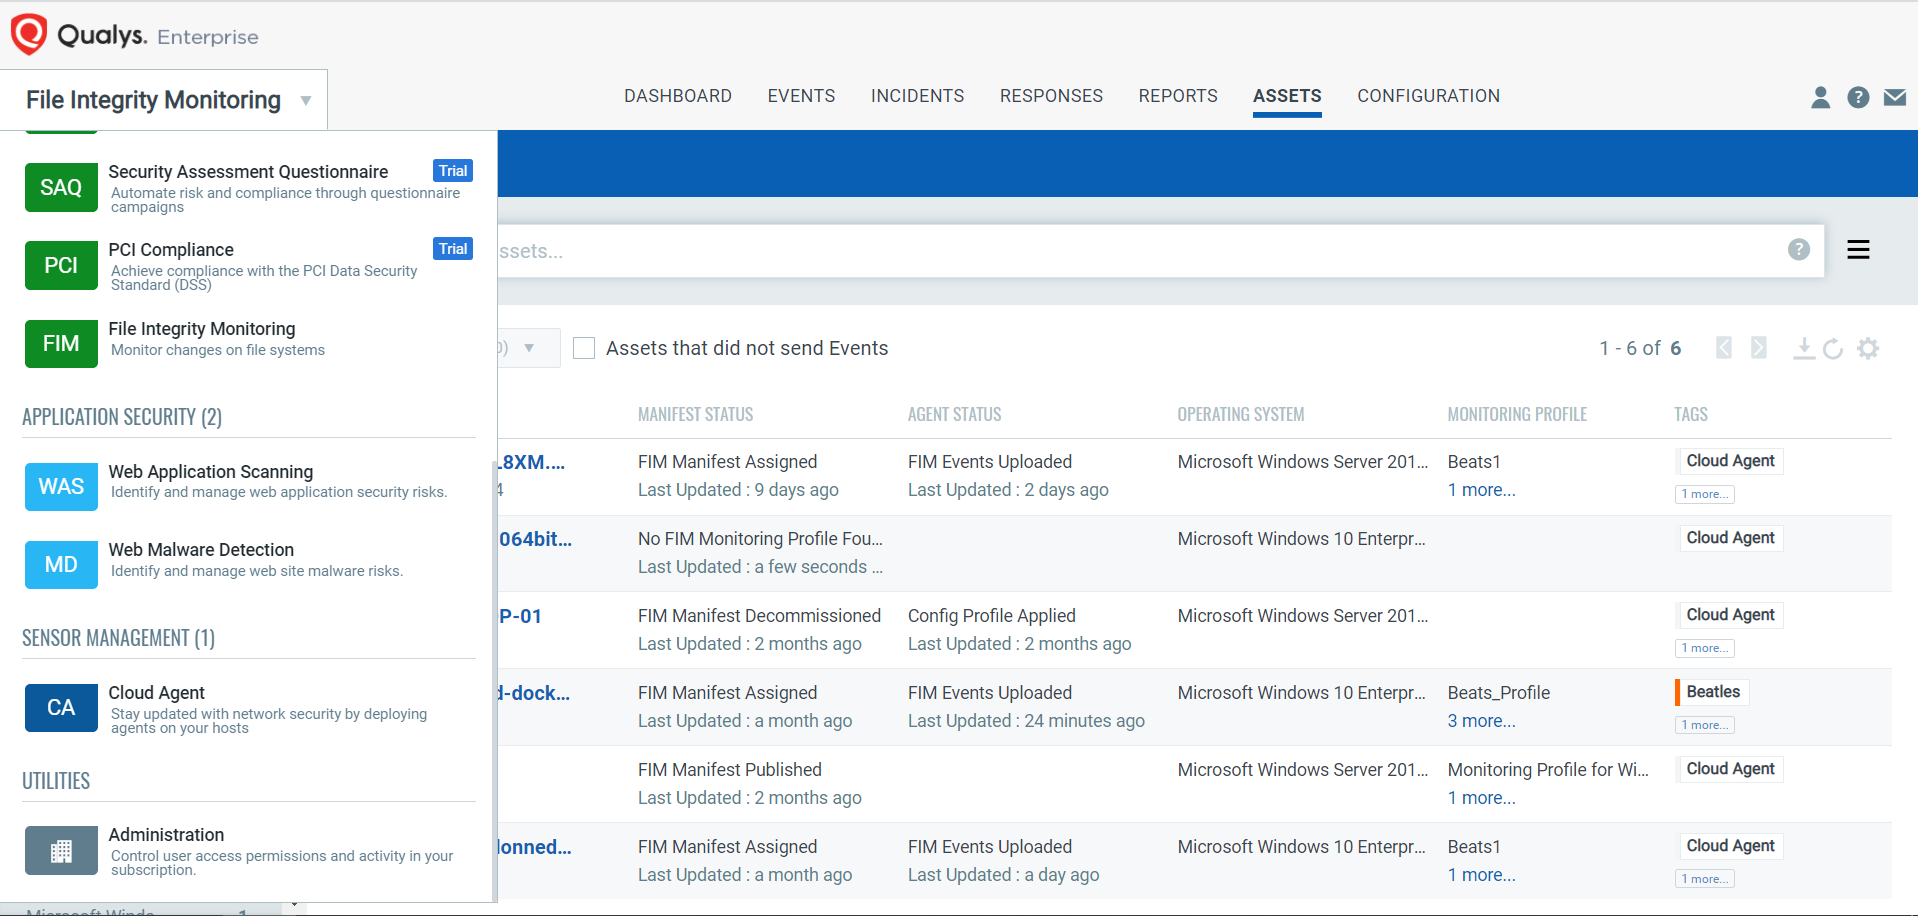
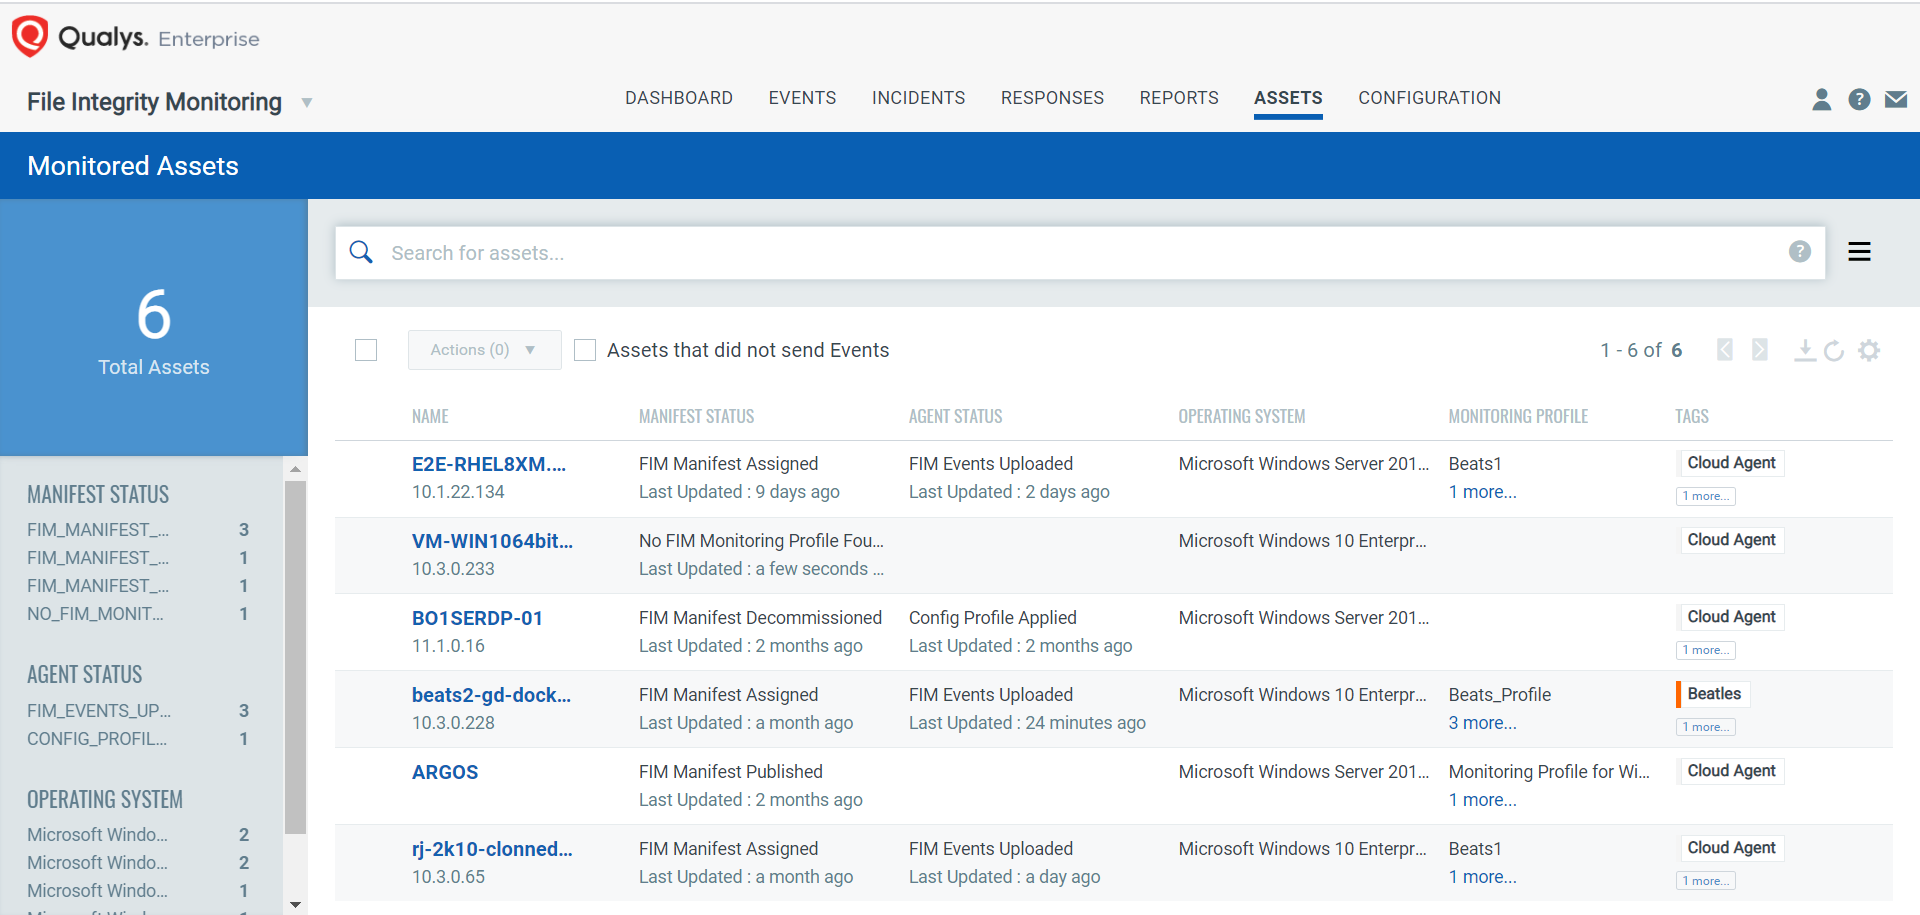
To verify the asset was successfully added, open the File Integrity Monitoring drop-down menu in the upper-left corner, and click the Assets tab.
The new asset appears in the list.
Configure an Asset for File Integrity Monitoring
Once you have registered the asset in the Qualys Portal, you can set it up for File Integrity Monitoring (FIM). To enable FIM for a registered asset:
-
Log in to the Qualys Portal.
-
In the upper-left corner, open the Modules drop-down menu, and then click File Integrity Monitoring.
-
Click the Configuration tab.
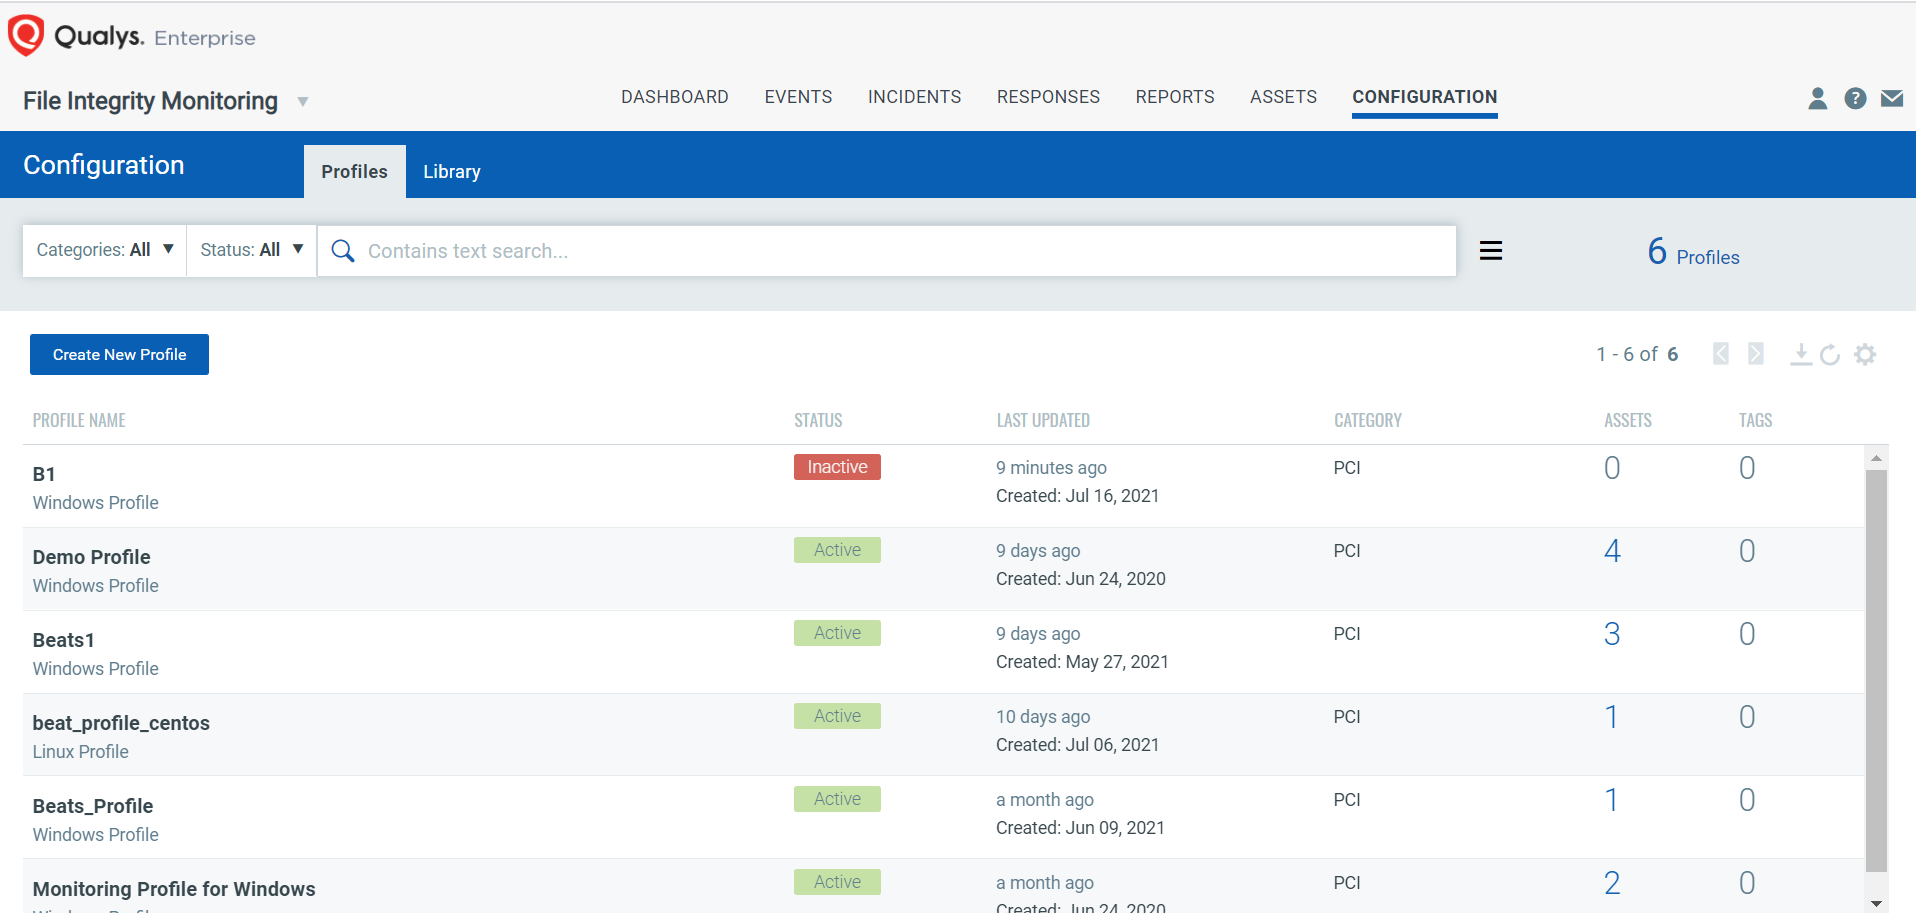
-
Click Create New Profile.
The Create FIM Monitoring Profile page appears. -
Enter the Profile Name, Operating System, and Category.
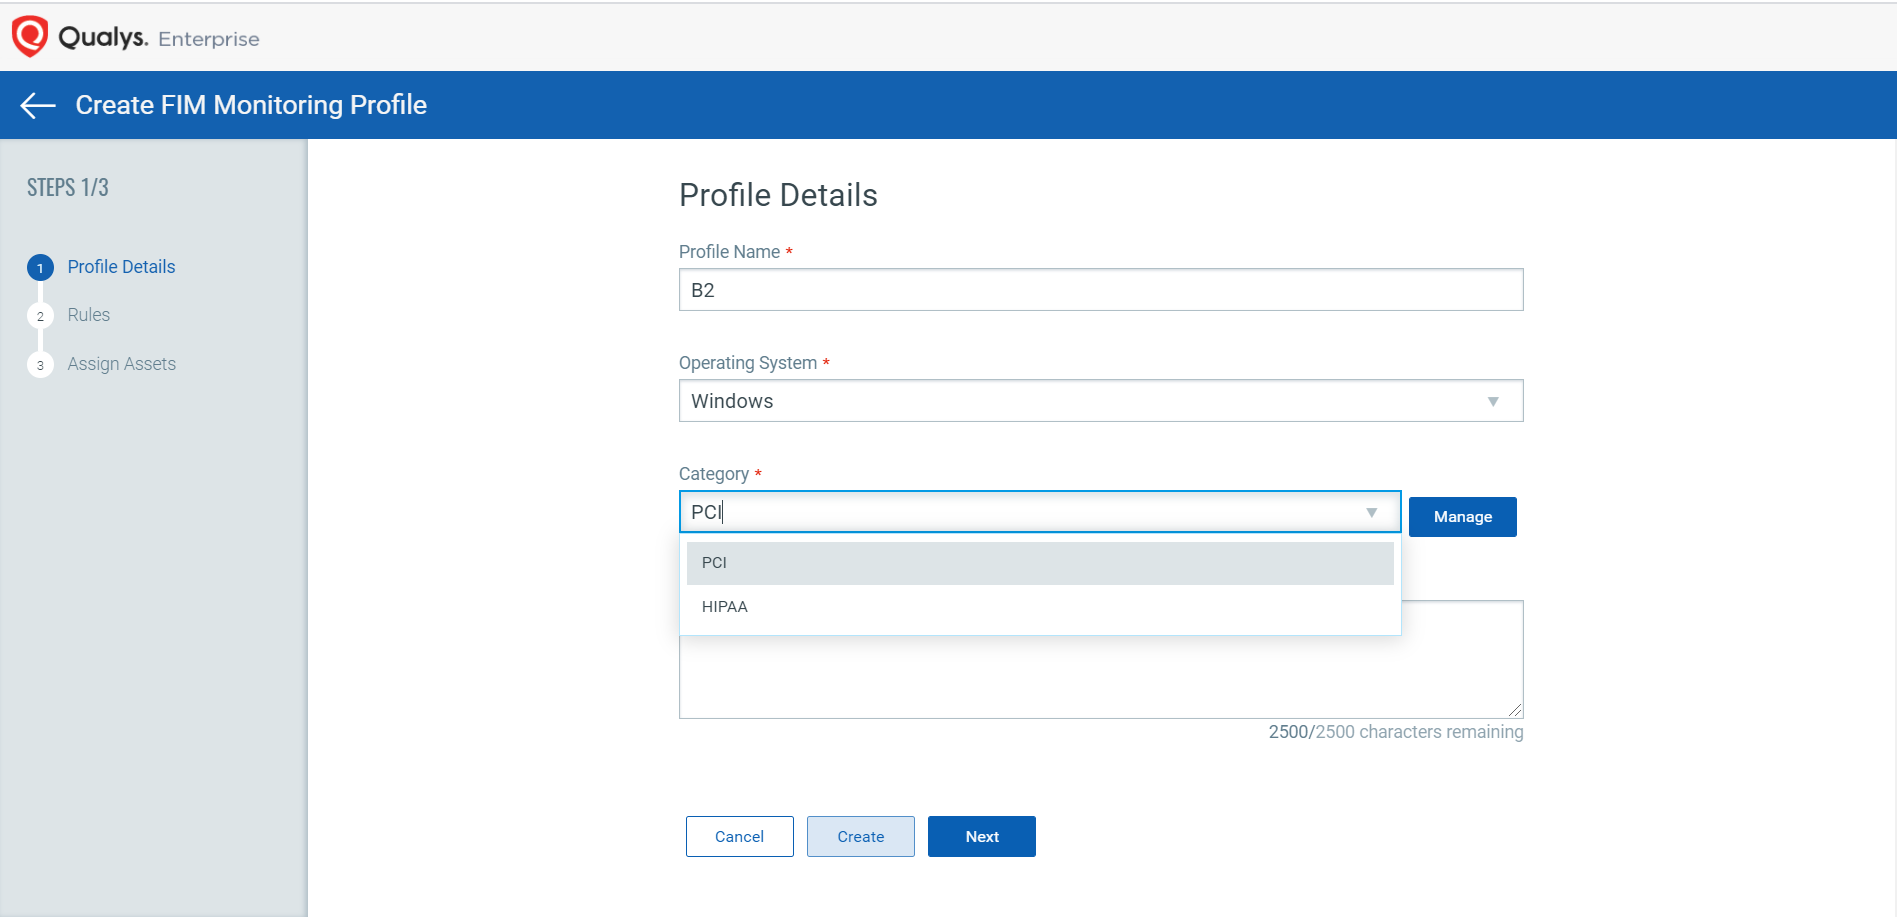
-
Click Next.
-
Click Create New and select Rule.
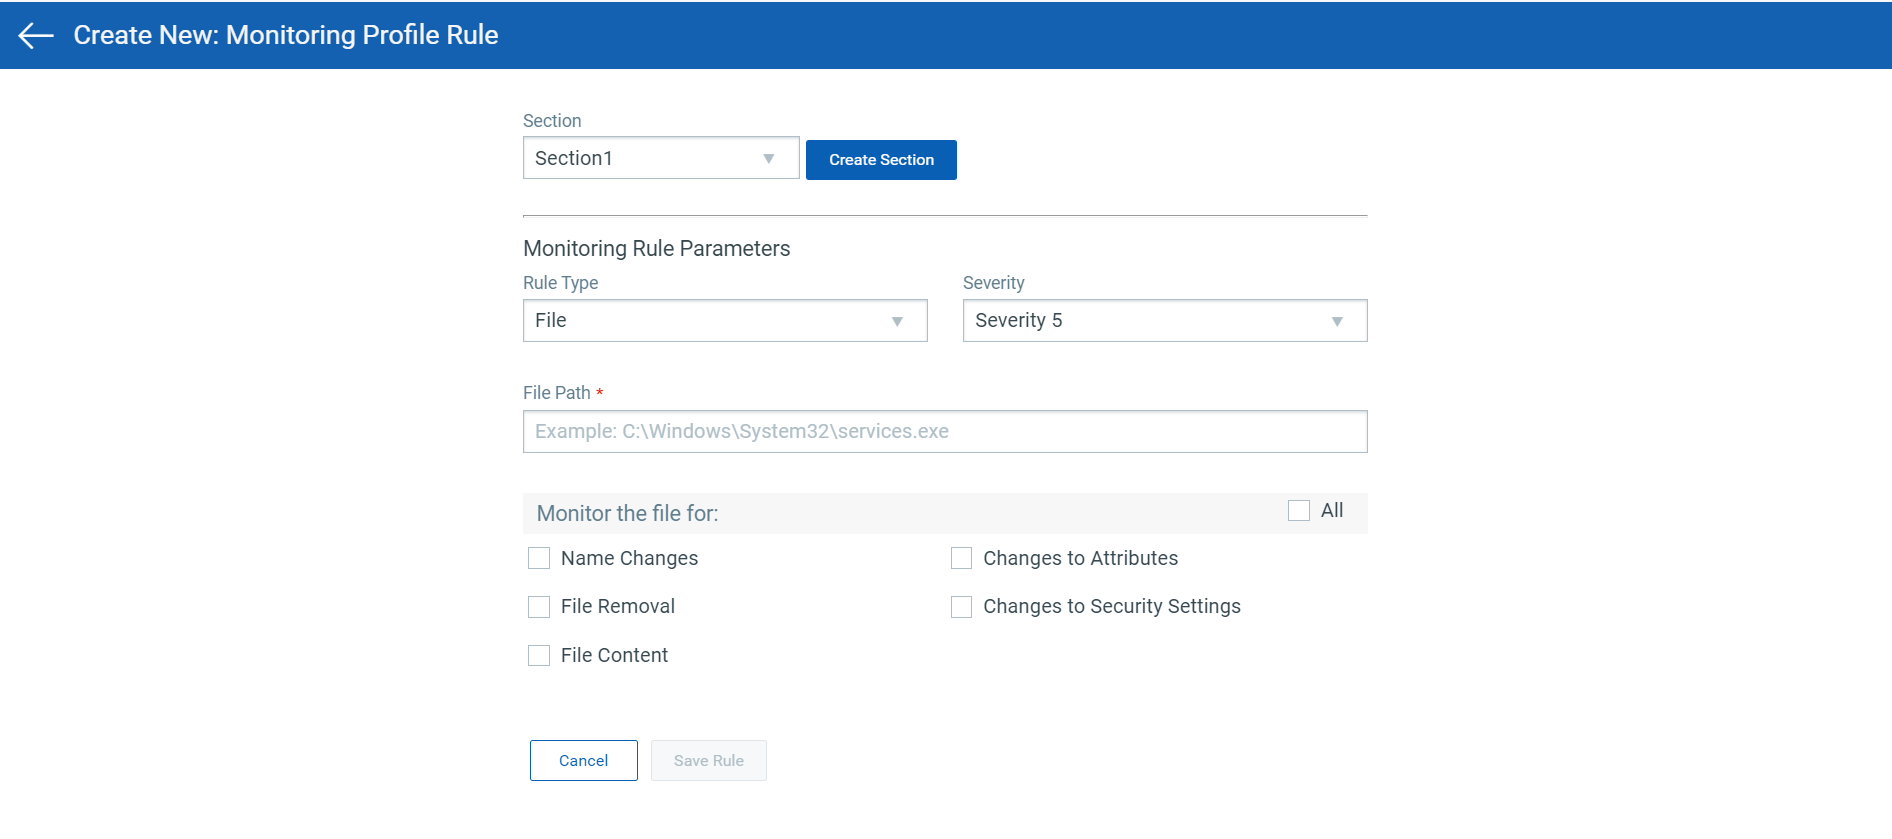
The Create New: Monitoring Profile Rule page appears.
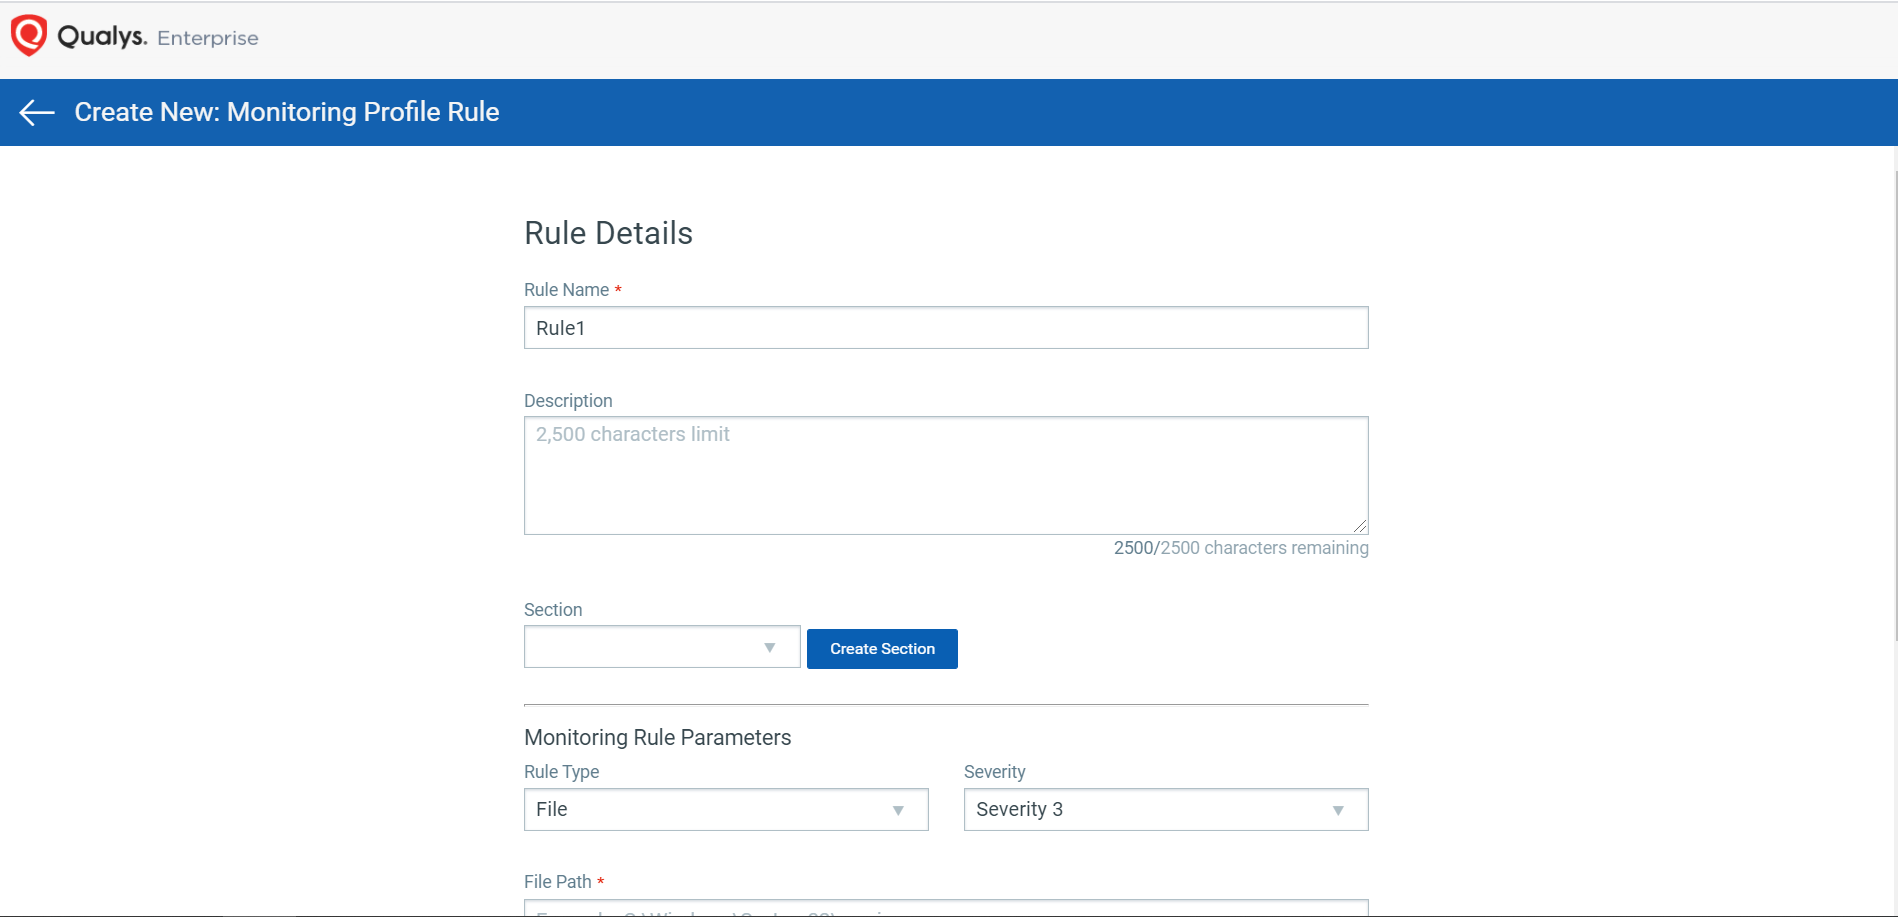
The rule configuration determines the location of directories which are required to be monitored by Qualys FIM.
-
Enter a Rule Name, and click Create Section.
The Create New: Rule Section page appears.
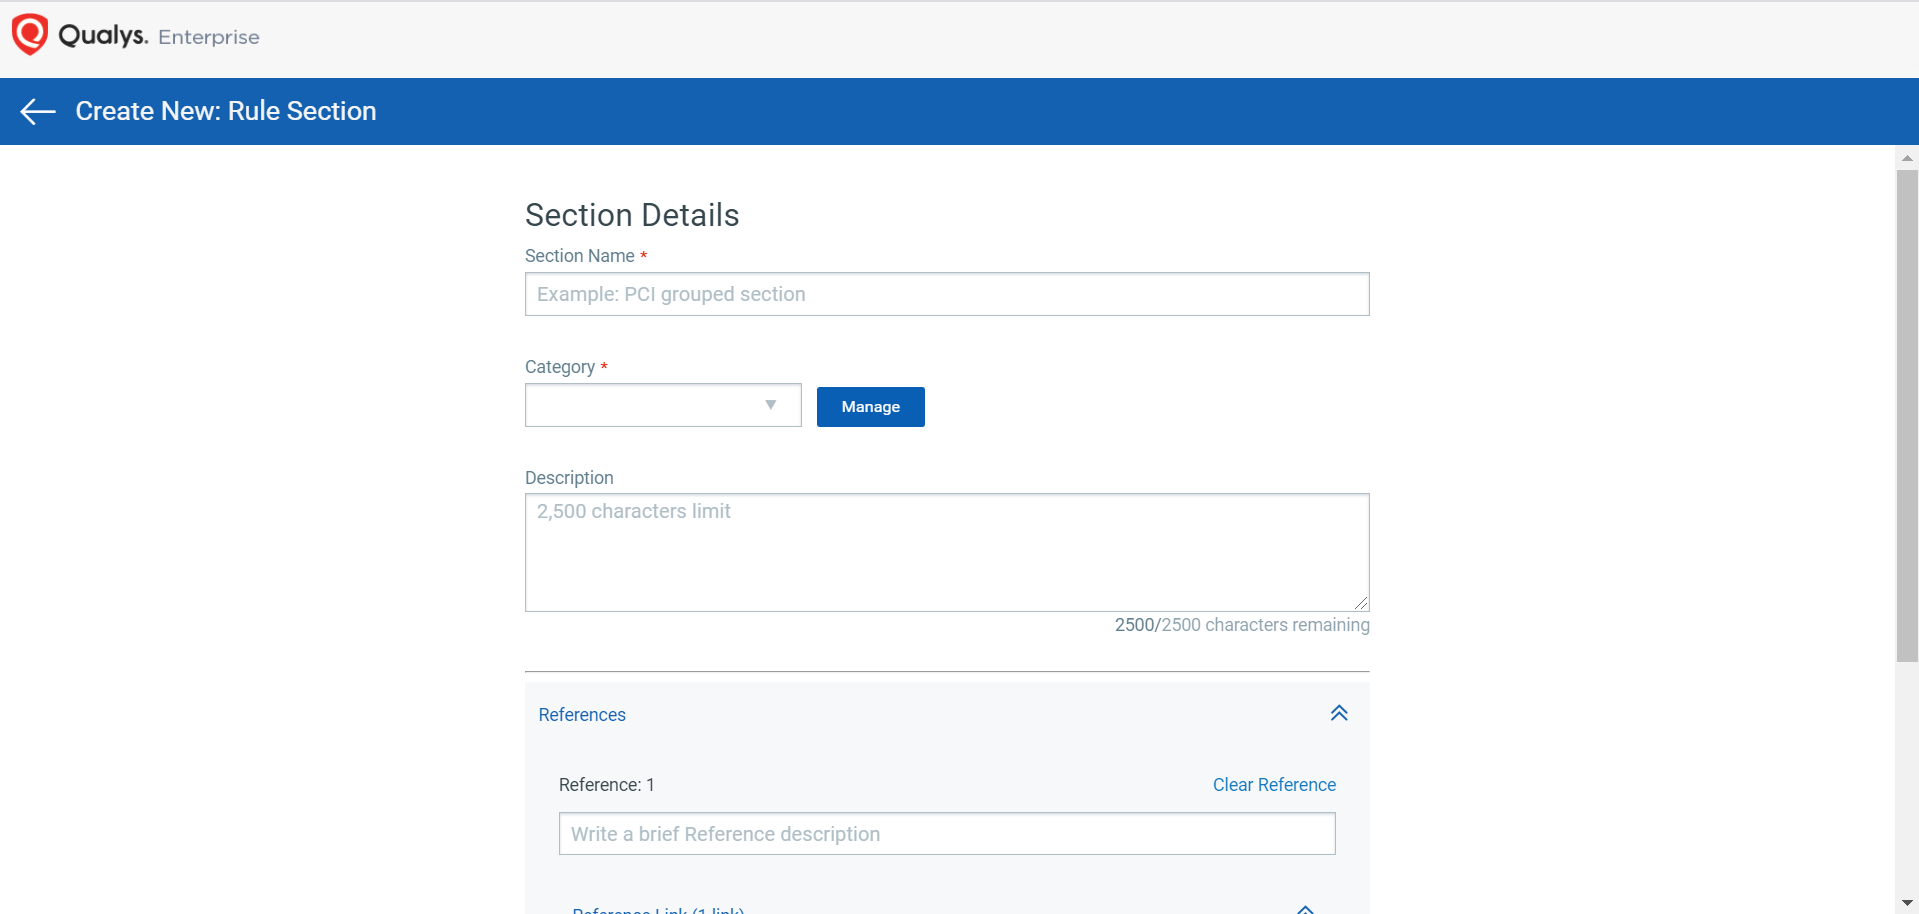
-
Enter a Section Name, and click Manage.
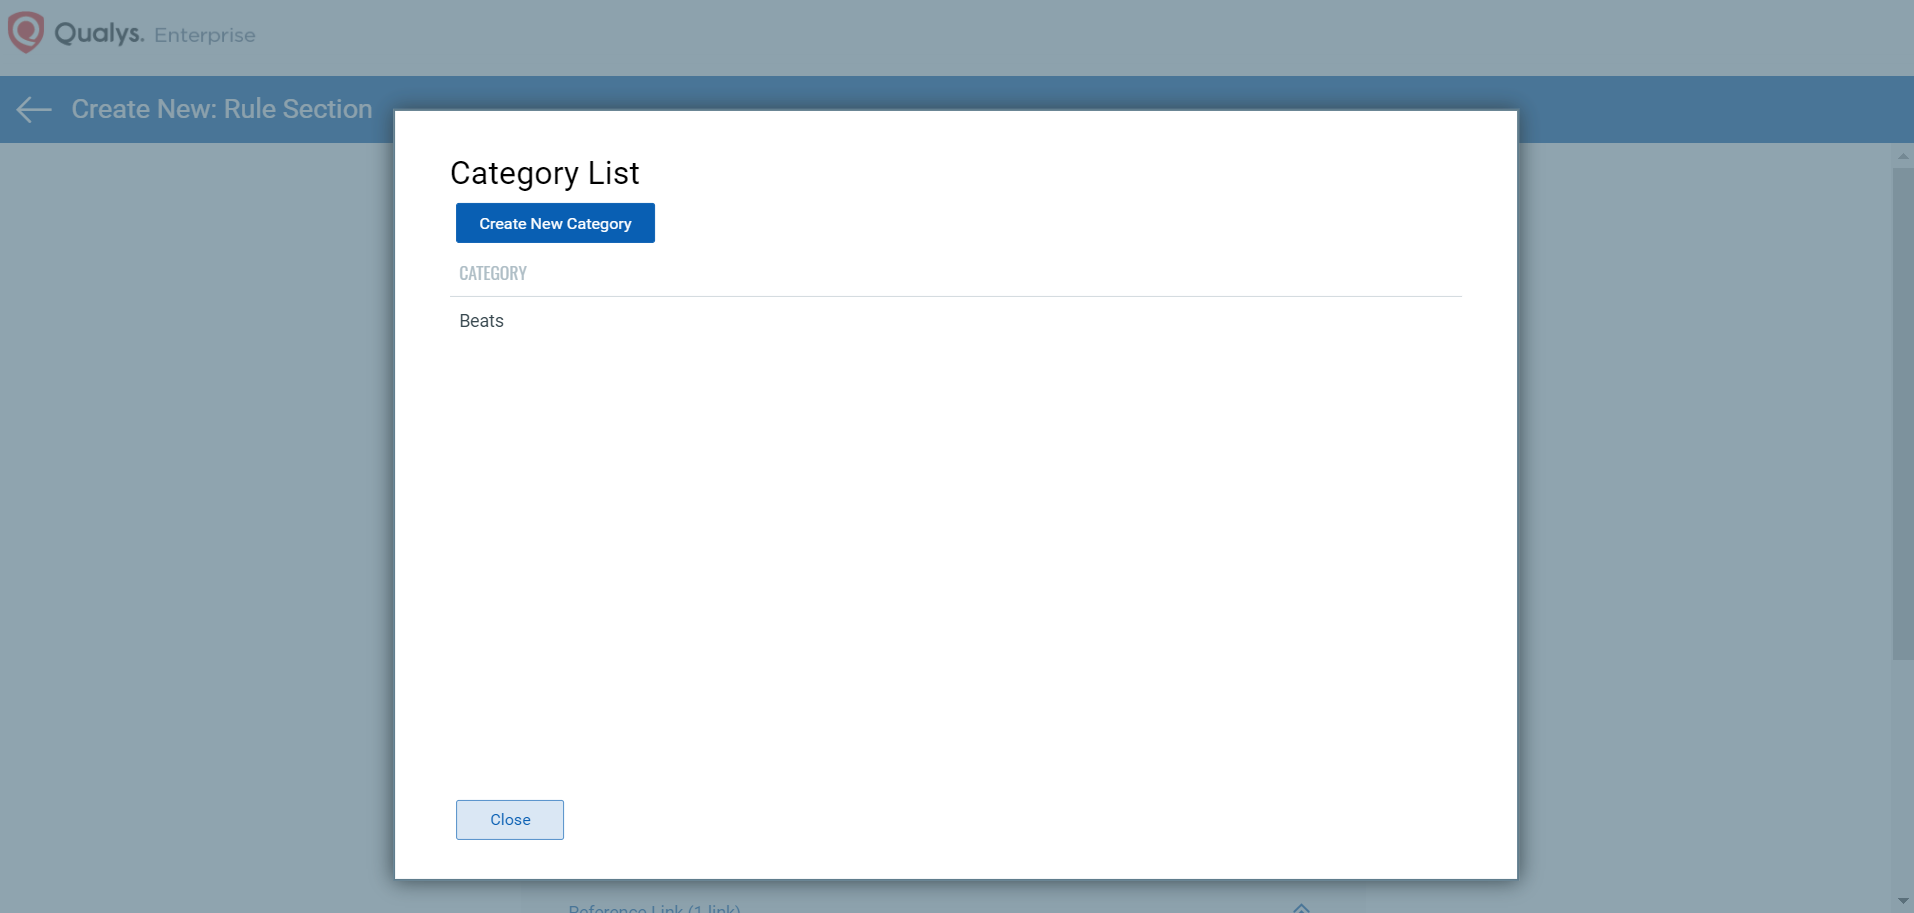
The Category List page appears.
-
Click Create New Category.
-
Enter a Category Name, and click Close.
-
Click Save.
-
Select the Rule Type from the drop-down menu.
-
Select the Severity from the drop-down menu.

-
Enter the File Path.
-
(Optional) If File is selected as the Rule Type, select which items the file should be monitored.
-
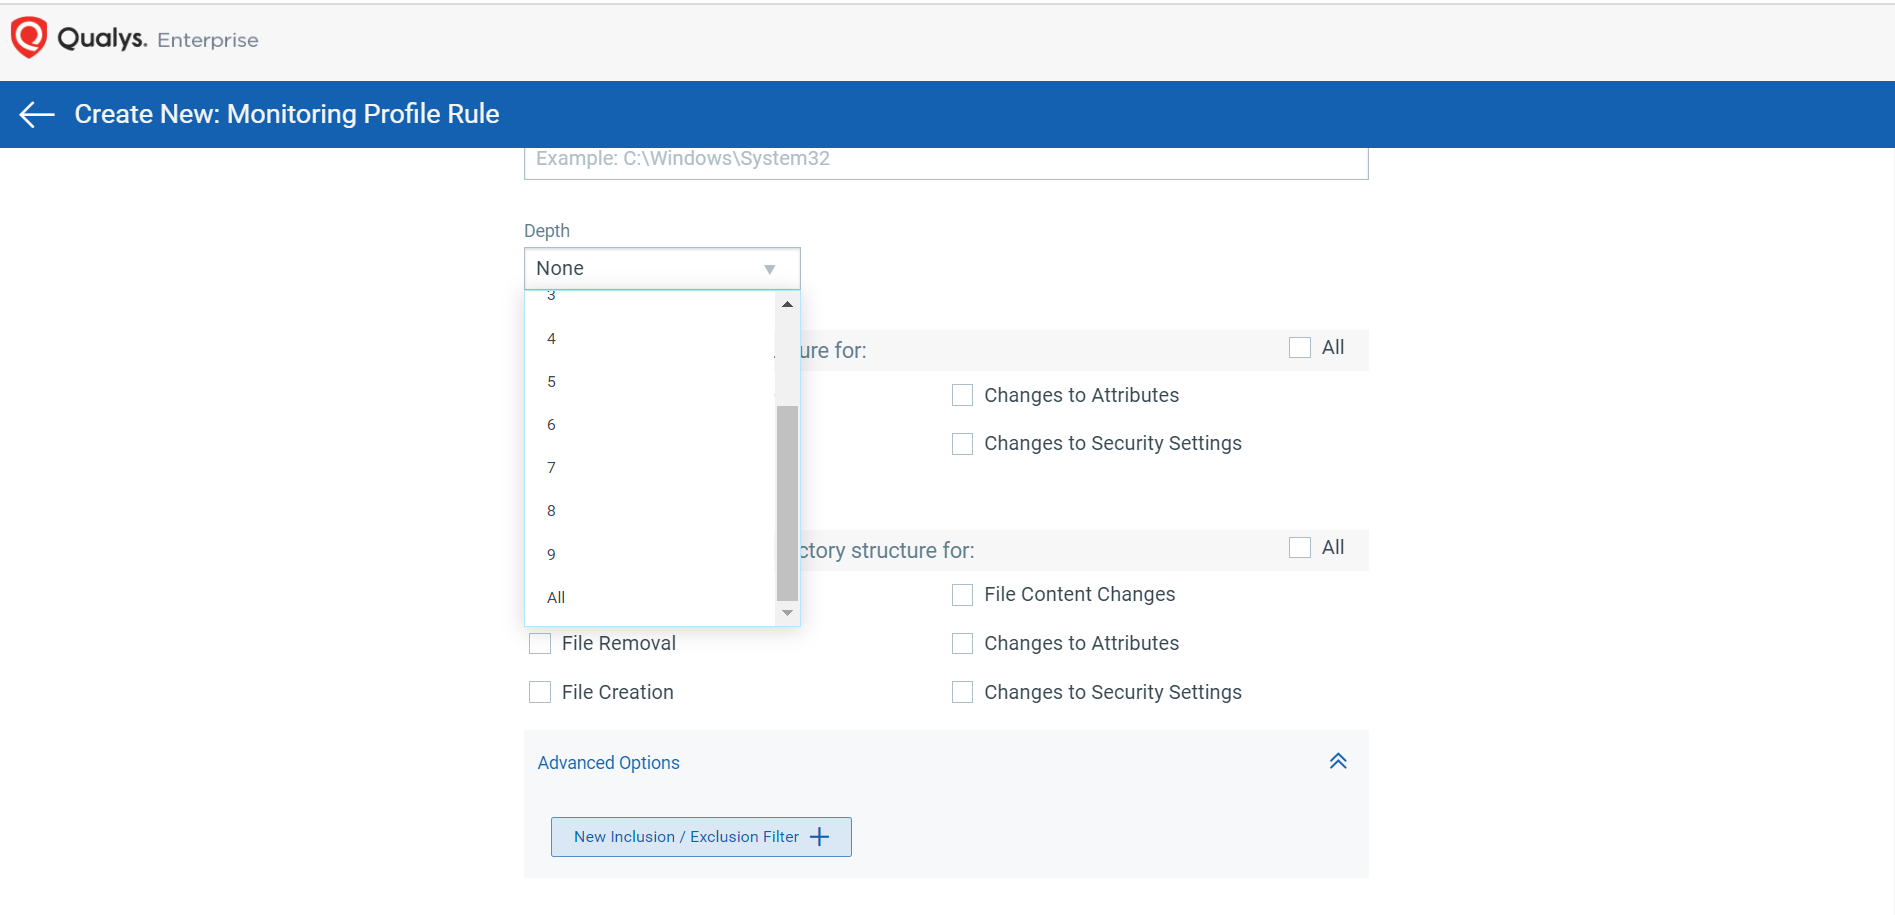
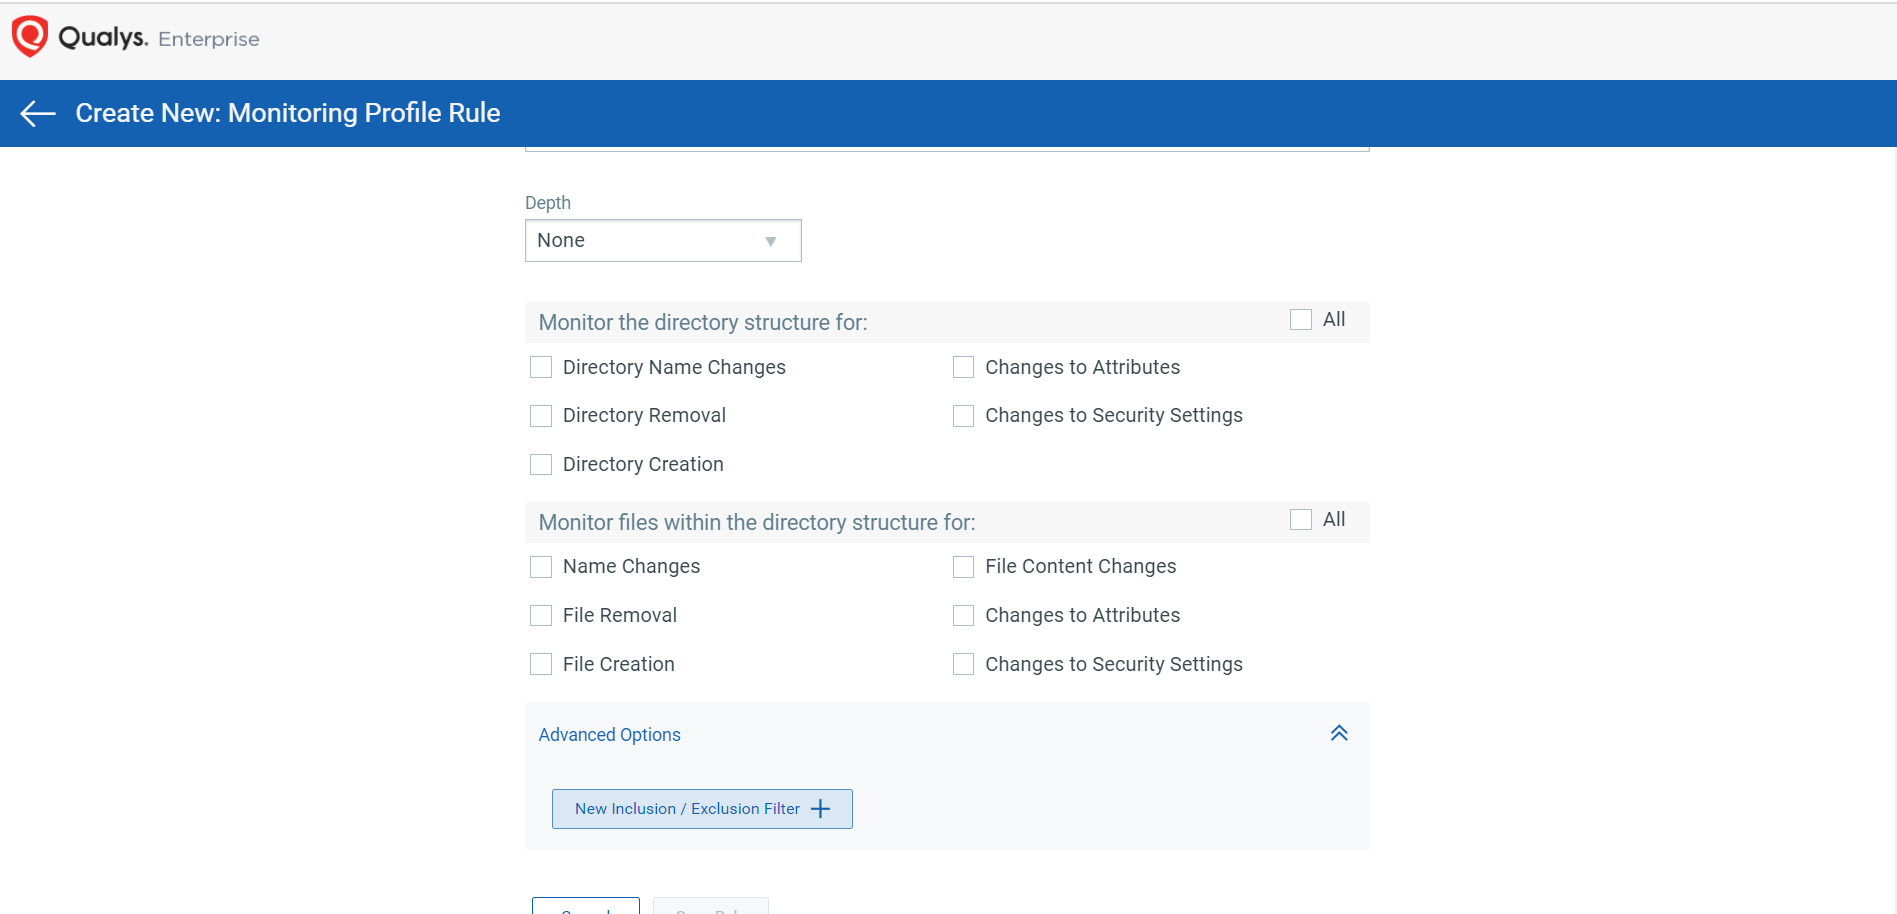
(Optional) If Directory is selected as the Rule Type, select the Depth to specify the scan limitations of the Qualys FIM agent.
-
(Optional) If Directory is selected as the Rule Type, select which items the directory structure and the files within the directory structure should be monitored.
-
(Optional) Configure the Advanced Options to exclude or include certain files and directories.
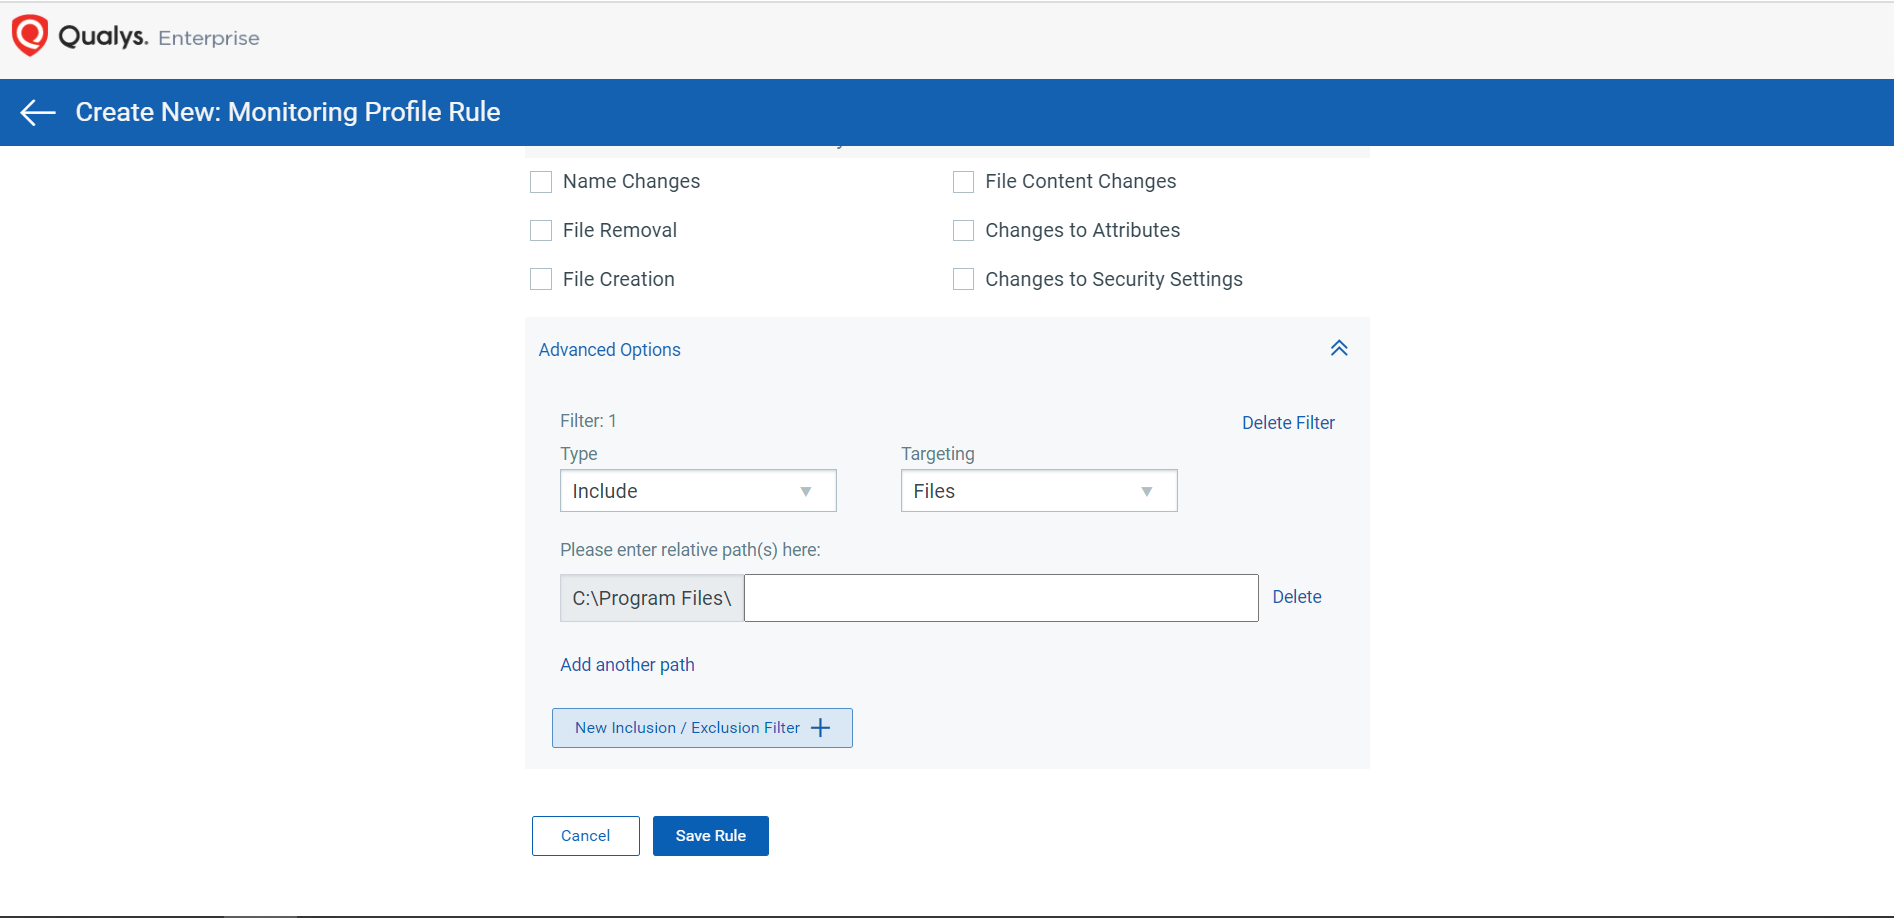
-
Click Save Rule.
-
To assign assets to the created rule, click the Assign Assets tab.
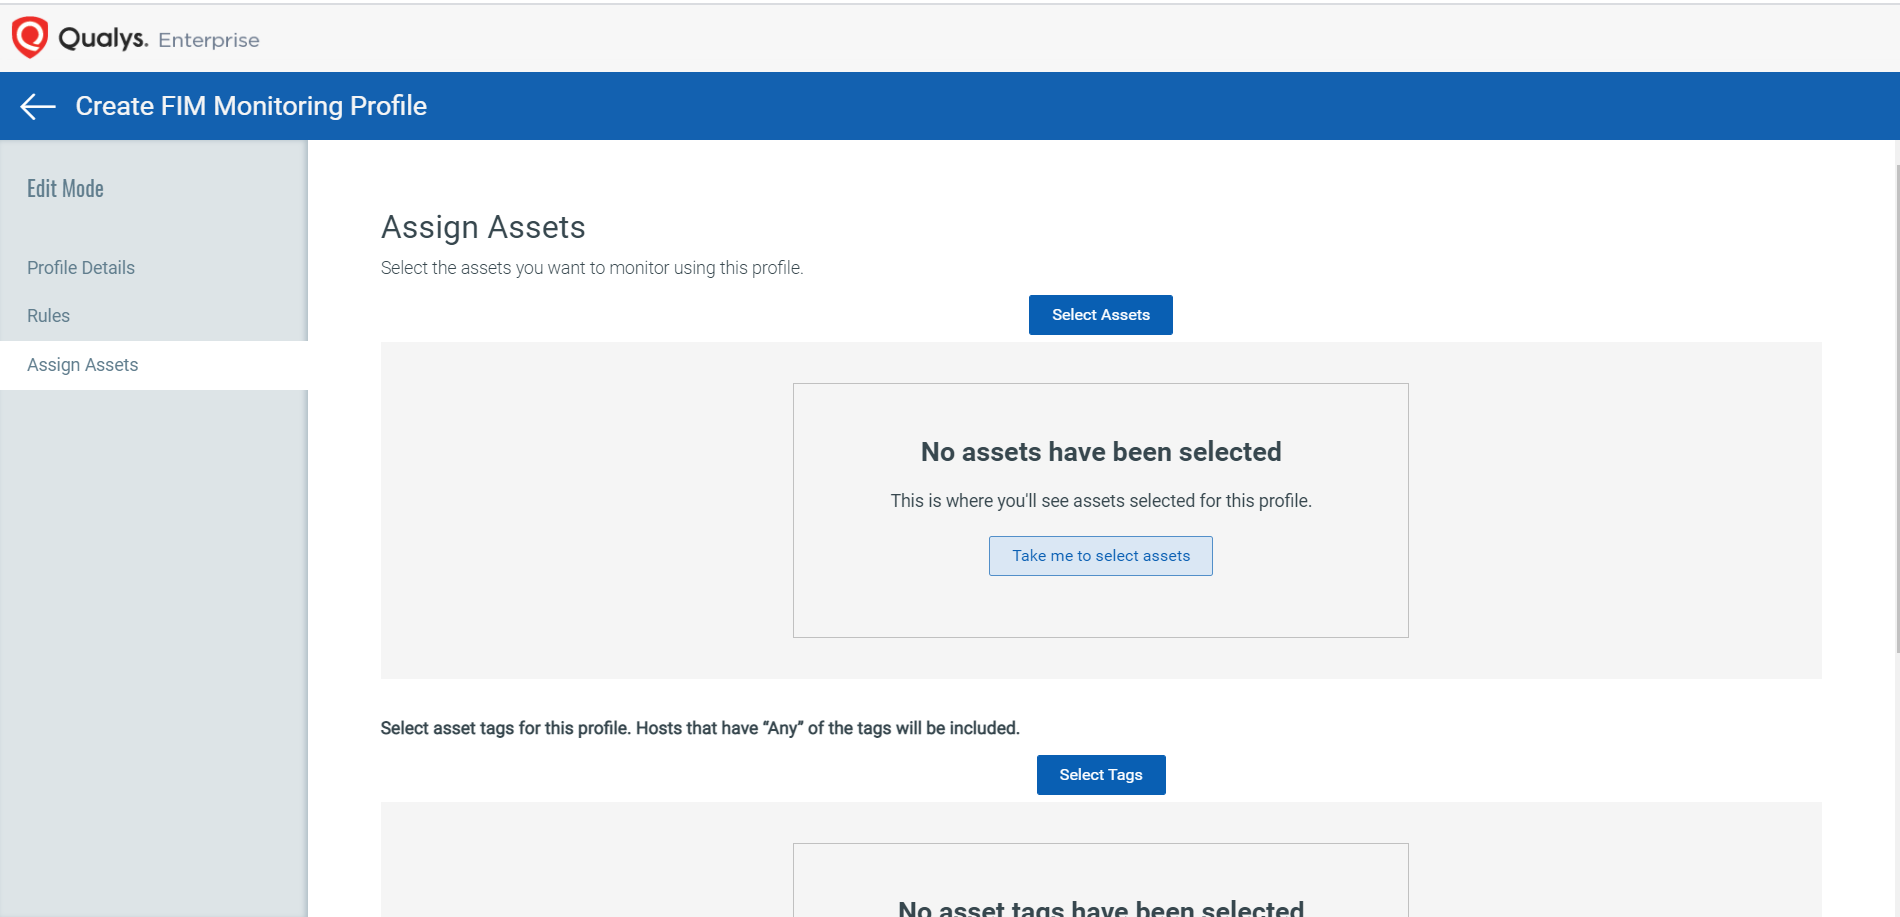
-
Click Select Assets.
The Asset Selector page appears.
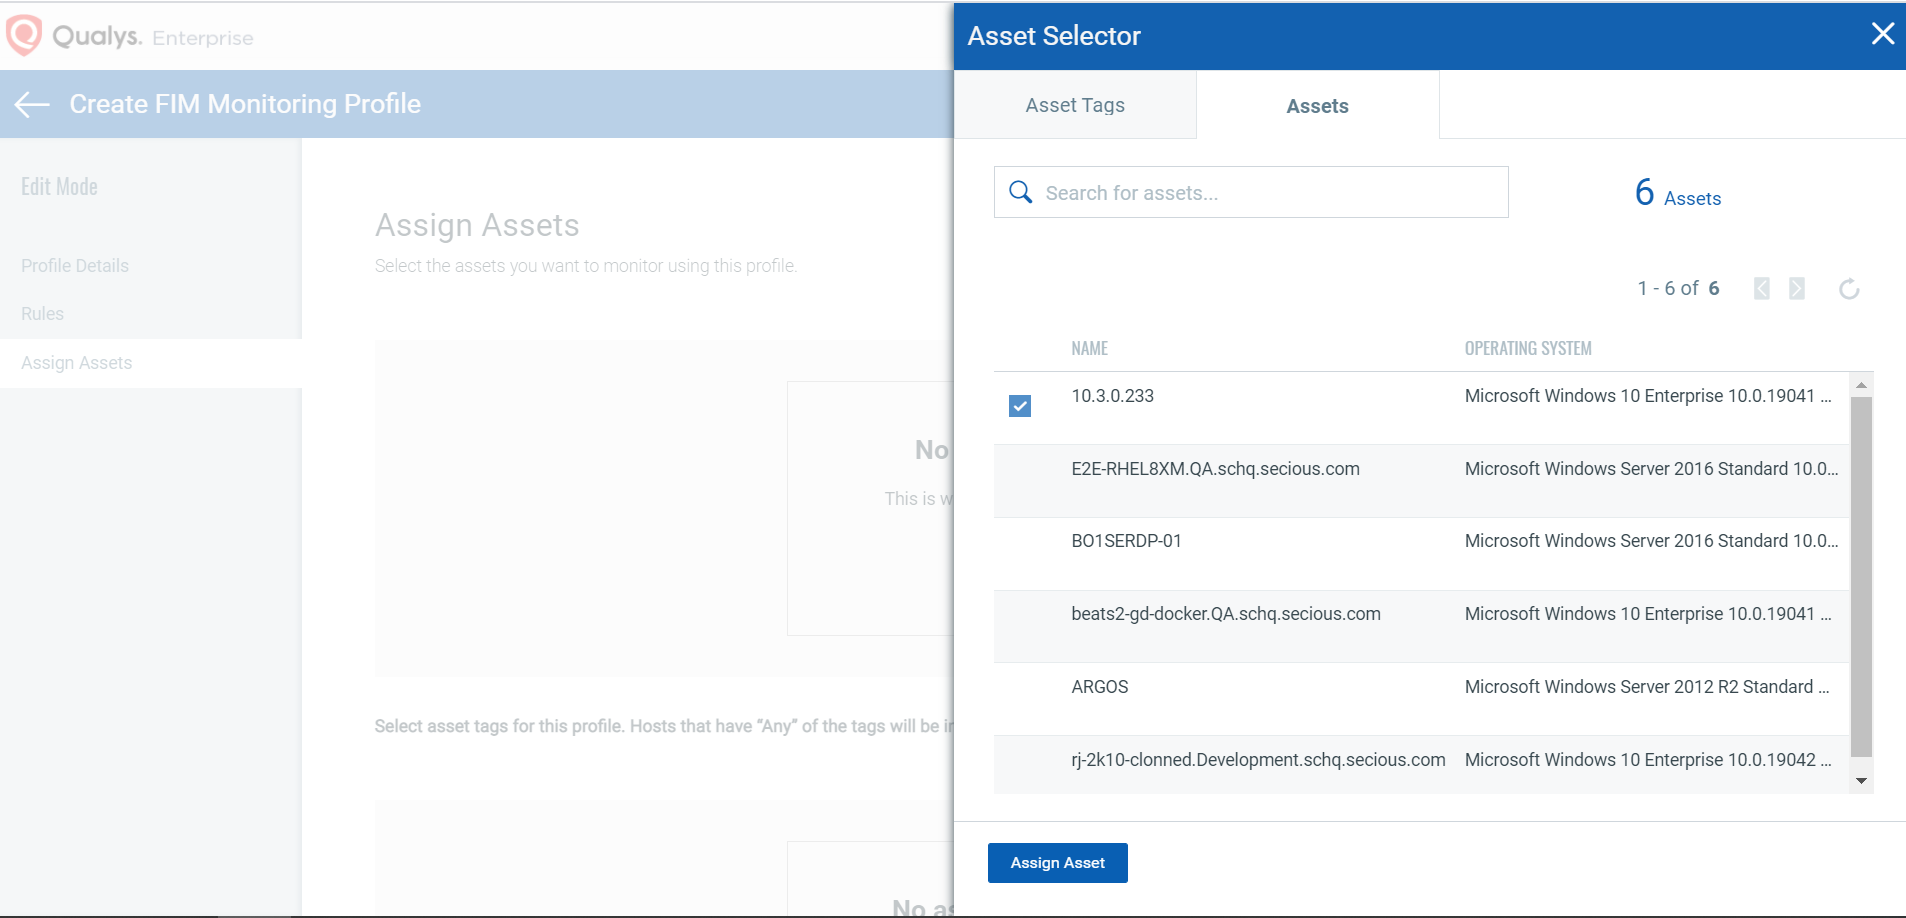
-
Click each asset to which the rule should be assigned.
-
Click Assign Asset.
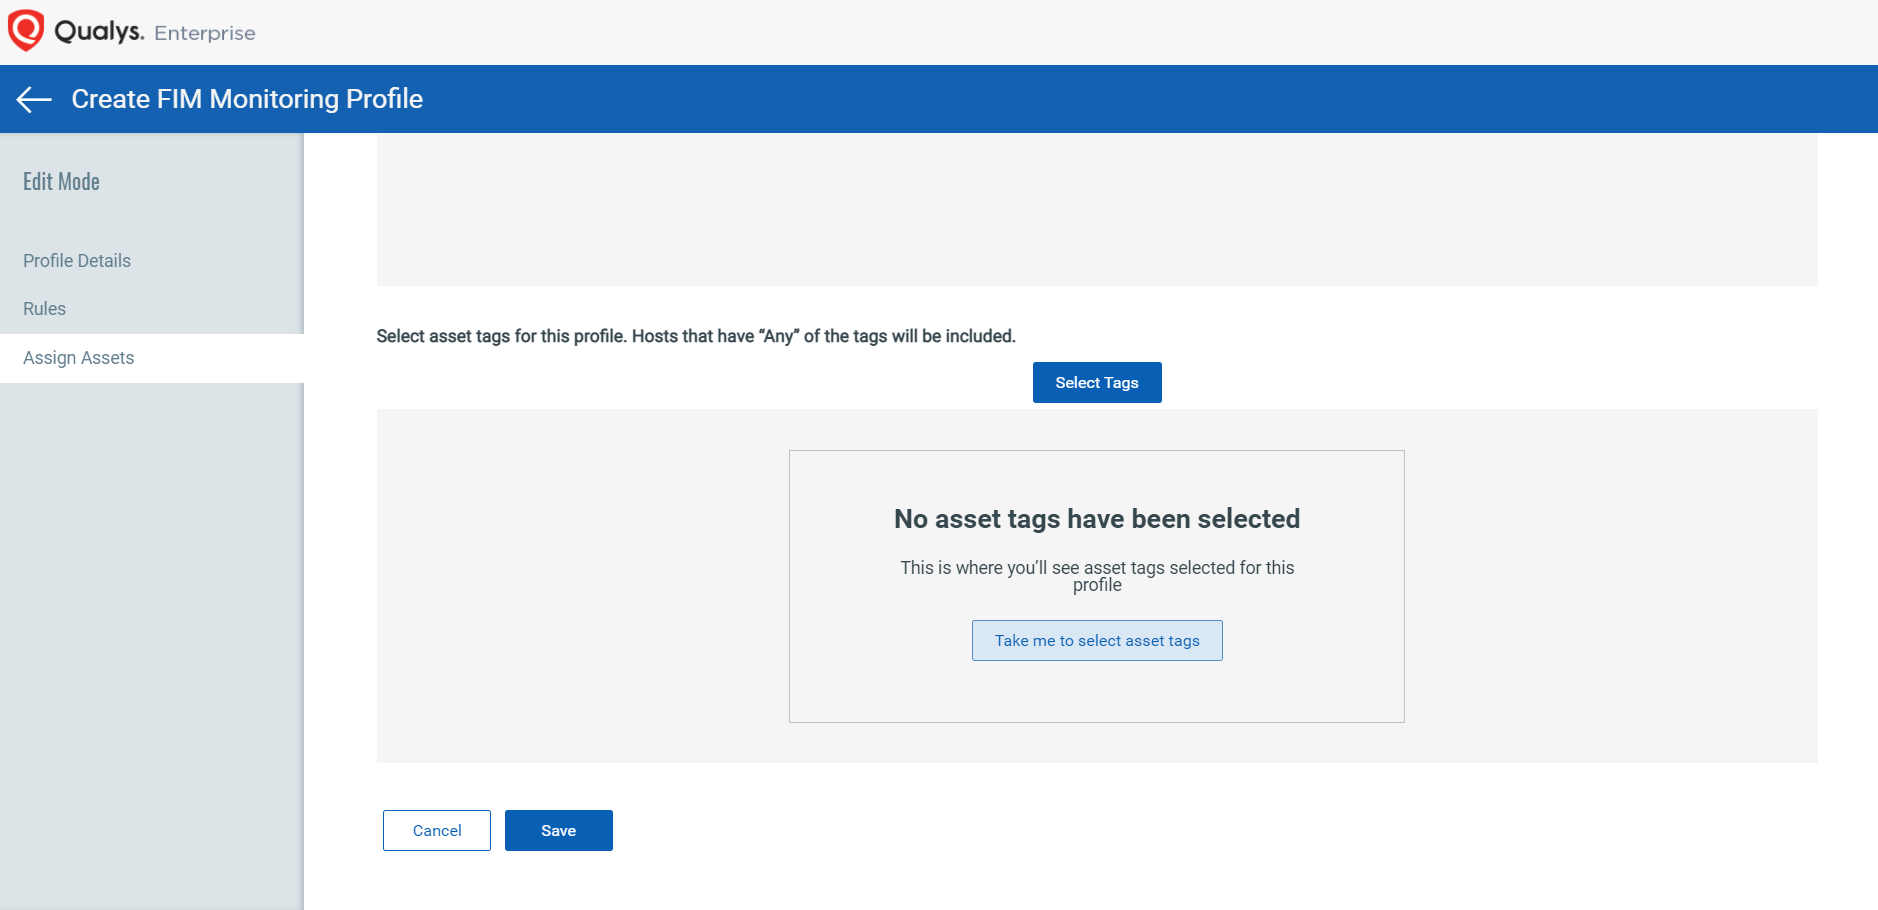
-
Click Save.
-
In the Profiles tab, right-click on the newly created profile and click Activate.
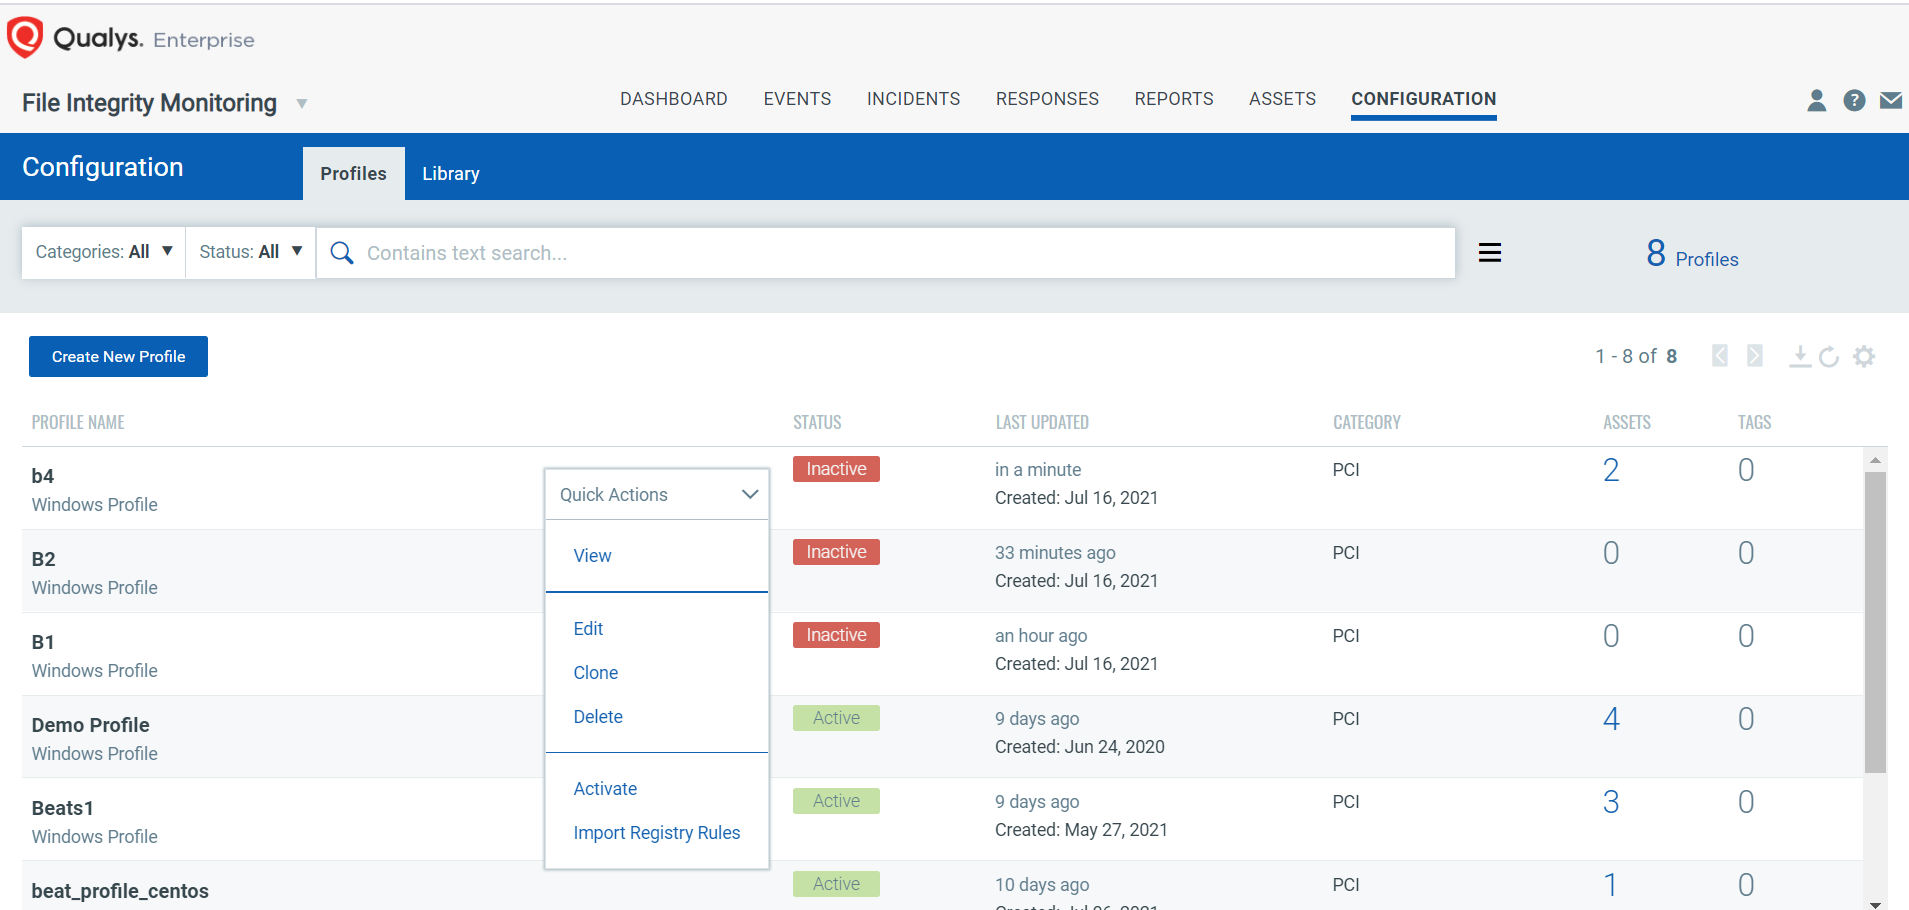
-
Click Yes.
The asset is successfully configured for File Integrity Monitoring.
View Generated File Integrity Monitoring Logs for the Asset
To view generated logs for an asset:
-
Log in to the Qualys Portal.
-
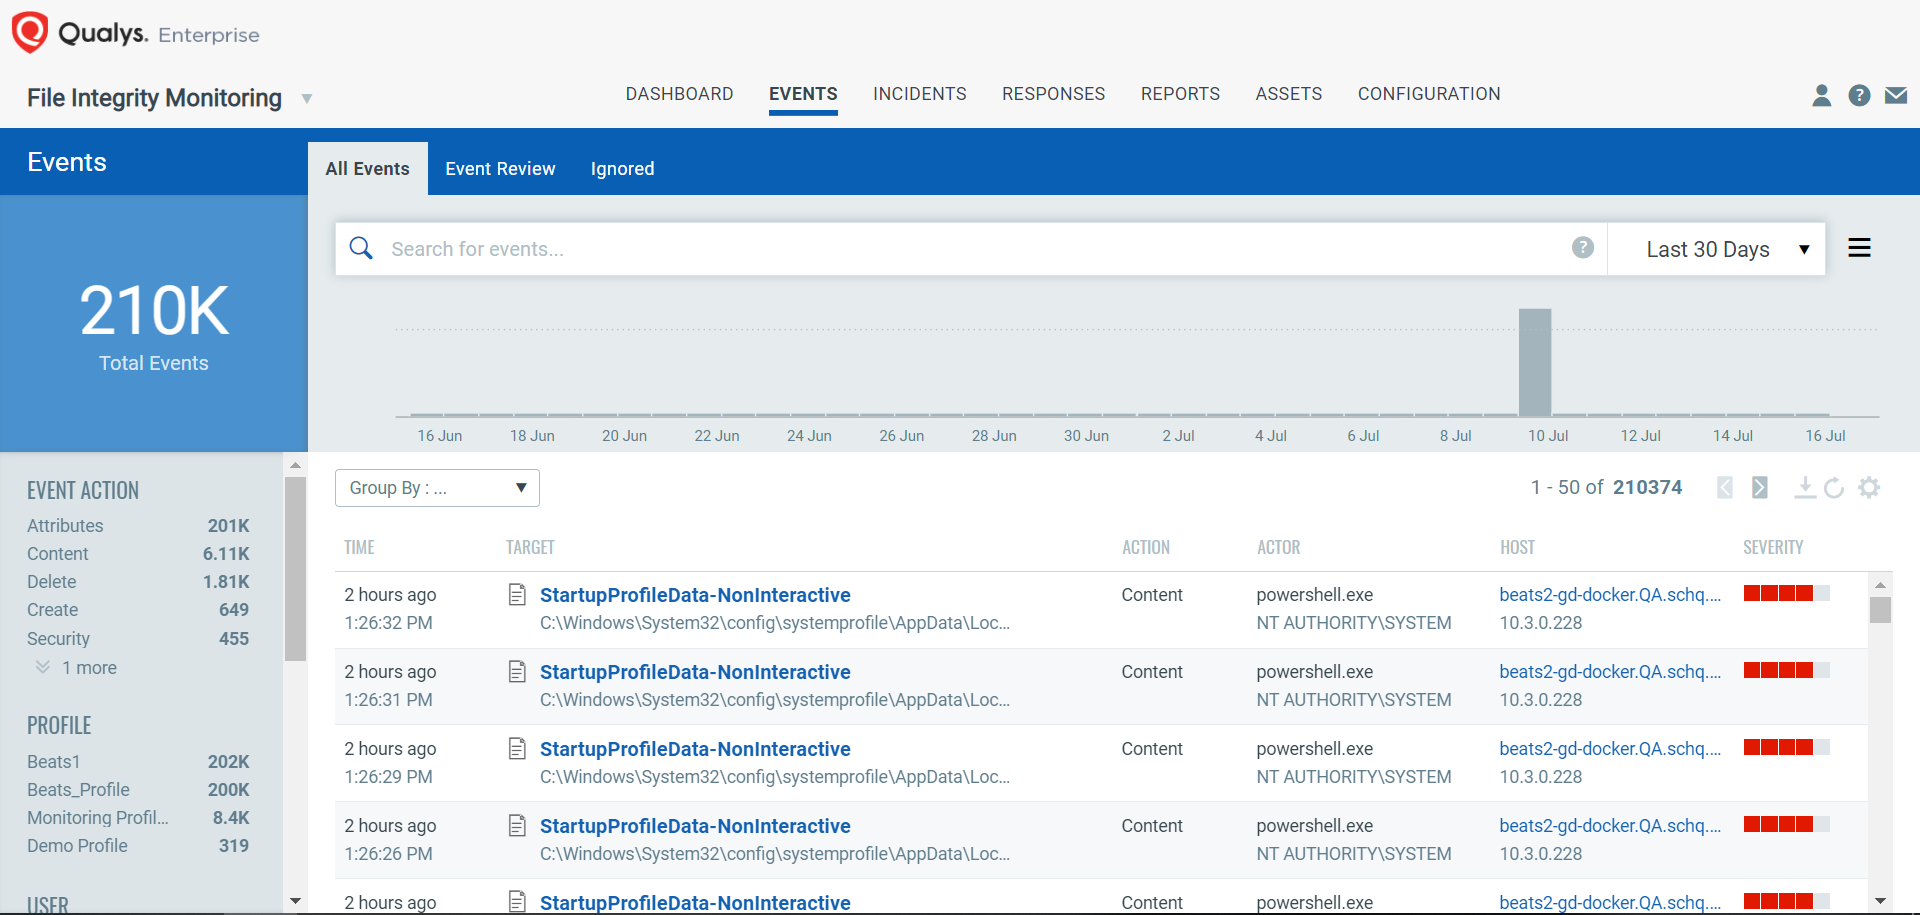
In the upper-left corner, open the Modules drop-down menu, and then click File Integrity Monitoring.
-
Click the Events tab.