This topic outlines the process to set up the Generic beat to fetch logs from any log sources that support page-based pagination, basic authentication, and the "between start and end date" filter.
This guide assumes a working knowledge of the API request and response format to be set up with the Generic beat.
Prerequisites
-
Open Collector is installed. If you have not already installed it, follow the instructions in the Open Collector Installation and User Guide, and then return to this topic.
-
Log source Name (The same as the name of the log source you want to setup with the Generic beat).
-
Log source URL (The complete URL with which logs can be fetched from the log source).
-
Log source Username and Password (for basic authentication).
-
Page size field, the field name sent as the page size field in the request.
-
Page size value, the numeric value sent to limit the number of records returned by the server in a single request.
-
Page number field, the field name sent as the page number field in the request.
-
Interval field supported by the API.
-
Interval value supported by the API.
-
Split char supported by the API.
-
OAuth provider URL.
-
OAuth Request body.
-
Time format supported by the API.
-
Time range supported by the API.
-
Number of back days data supported by the API.
-
Sorting fields, if sorting is supported by the API.
-
Response data field, if the response needs to be fetched from a specific field in JSON.
-
Period during which logs need to be fetched from the log source.
-
Request headers and query parameters that the API requires to fetch logs from an endpoint.
-
The following port is open:
Direction
Port
Protocol
Source
Outbound
443/80
HTTPS/HTTP
genericbeat
Initialize the Beat
For more information on any of the Generic beat-specific fields described in this topic, see the Guide to Generic Beat Prompt Inputs section of the Configure the Generic Beat topic.
-
To confirm the Open Collector is running, run the following command:
./lrctl statusIf the Open Collector is not running correctly, see Troubleshoot the Open Collector in the Open Collector Installation and User Guide.
You should see the open_collector and metrics versions.

-
To start the Beat, run the following command:
./lrctl genericbeat start
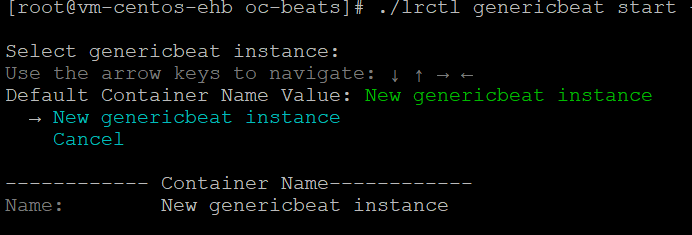
The values shown in the images used in this guide are example values. Replace the example values with the actual values that your API supports.
-
Select New genericbeat instance using the arrow keys. Enter the unique beat identifier for this beat instance, and then press Enter.

-
Enter the log source name for the Generic beat's configuration, and then press Enter.

-
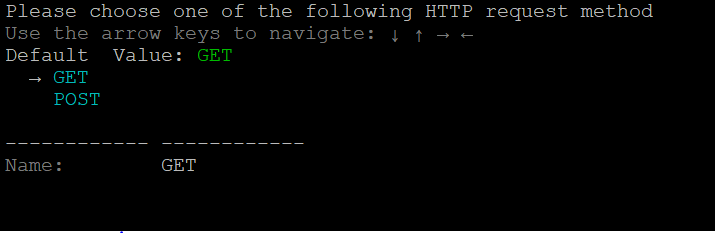
Select GET as the HTTP request method using the arrow keys, and then press Enter.
-
Enter the API URL to be used for the Generic beat's configuration, and then press Enter.

-
Select the Page Number Pagination style using the arrow keys, and then press Enter.

-
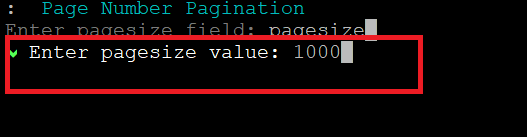
Enter the page size field supported by the API, and then press Enter.

-
Enter the page size value supported by the API, and then press Enter.
-
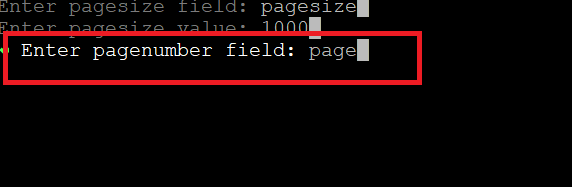
Enter the page number field supported by the API, and then press Enter.
-
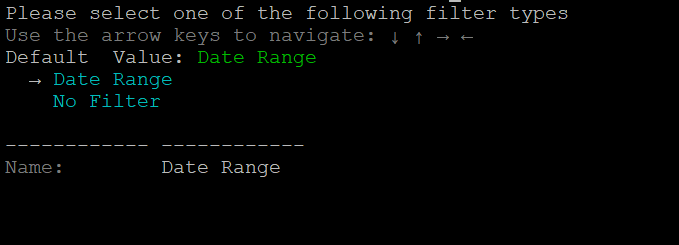
Select the Date Range filter type using the arrow keys, and then press Enter.
-
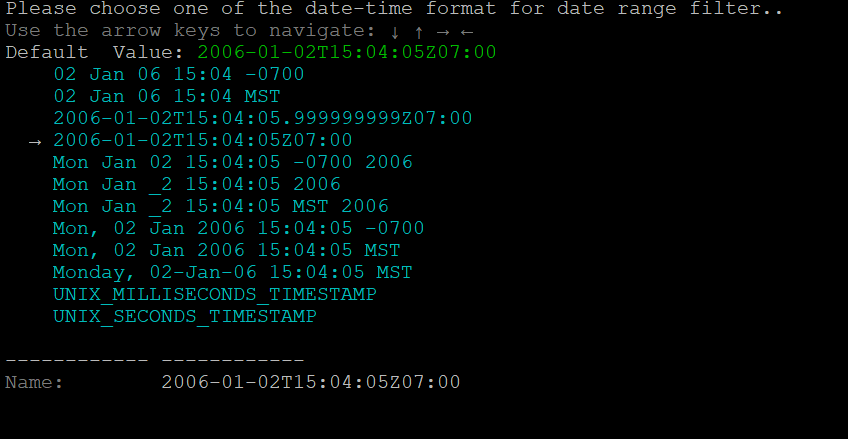
Select one of the date-time formats for the date range filter using the arrow keys, and then press Enter.
-
Enter the delay time (in seconds) supported by the API for live logs. For example, 2s.

-
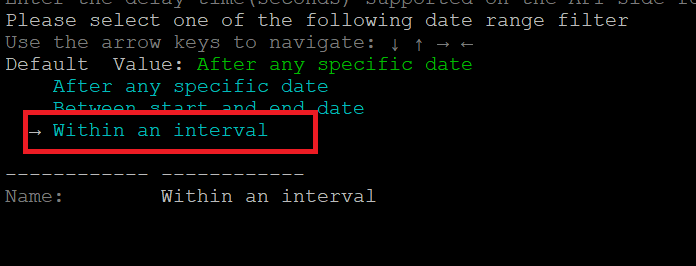
Select the Within an interval filter using the arrow keys, and then press Enter.
-
Enter the interval field, and then press Enter.

-
Enter the interval value, and then press Enter.

-
Enter the split character (delimiter) value, and then press Enter.

-
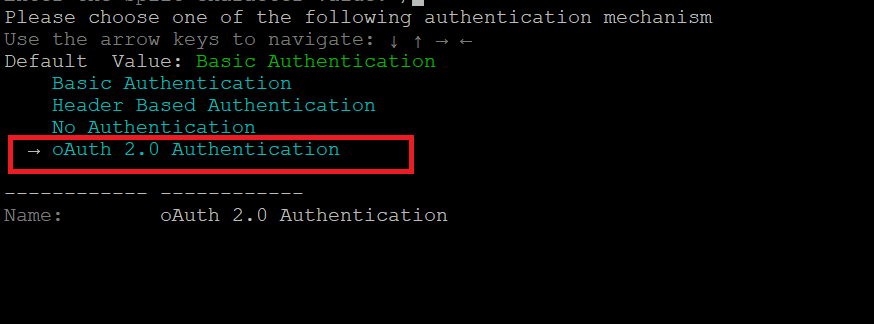
Select the oAuth 2.0 Authentication mechanism using the arrow keys, and then press Enter.
-
Enter the OAuth provider URL used to get the access token, and then press Enter.

-
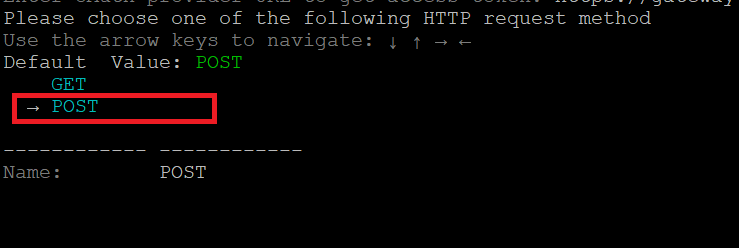
Select the HTTP request method using the arrow keys, and then press Enter.
-
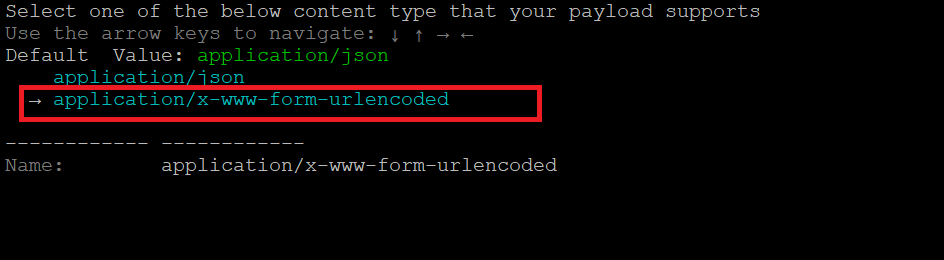
(Optional) If the request method selected in step 19 is POST, select the content type that the payload supports.
-
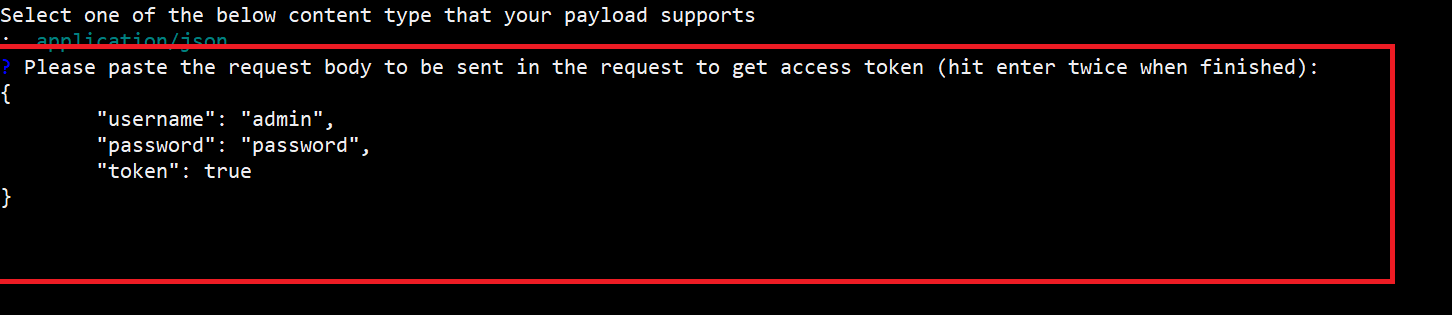
(Optional) If the content type is application/json, paste the request body to be sent in order to get the access token, and then press Enter twice.
-
(Optional) If the content type is application/x-www-form-urlencoded, enter the necessary fields in the "key:value" format, and then press 'c' to continue.

-
-
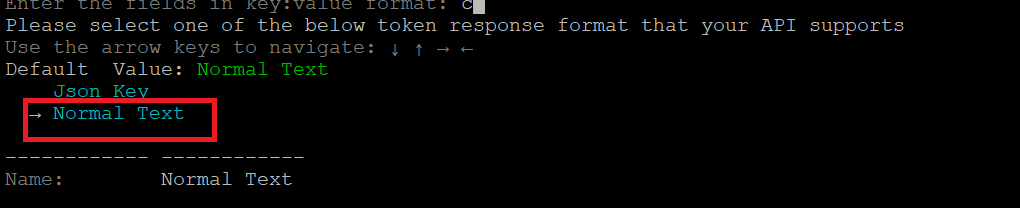
Select the token response format supported by the API using the arrow keys, and then press Enter.
-
(Optional) If the token response format selected in step 21 is Json Key, enter the field from which to parse the access token from response, and then press Enter.

-
Enter the authorization request header in which the access token will be sent, and then press Enter.

-
Enter the field to append in the token (for example, Bearer), and then press Enter.

-
Enter the headers needed to be sent in the request to retrieve the access token in the "key:value" format, or press 'c' to continue.

-
Enter the request body in the key:value format, and then press 'c' to continue.

-
Enter the parameters needed to be sent in the request to retrieve the access token in the "key:value" format, or press 'c' to continue.

-
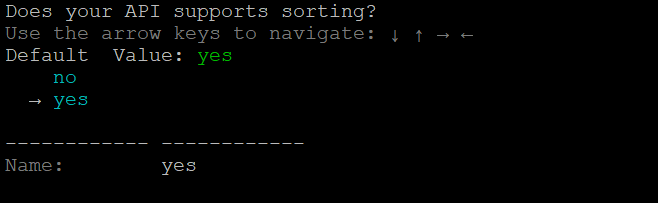
Select whether the API supports sorting using the arrow keys, and then press Enter.
-
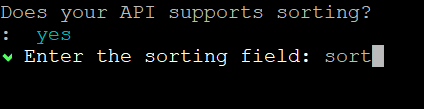
(Optional) Enter the sorting field, and then press Enter.
-
(Optional) Enter the sorting value, and then press Enter.

-
Enter the request headers (other than the authentication header) in the “key:value” format, and then press 'c' to continue.


-
Enter the request parameters (other than start time and end time) in the key:value format, and then press 'c' to continue.

-
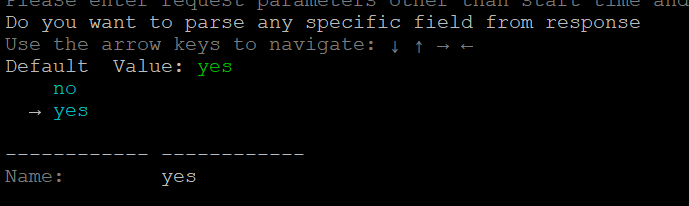
To parse any specific field from the response (for example, if the API response contains logs in a specific field), select yes using the arrow keys and then press Enter.
-
Enter the field in the API response in which data will come (for example, "resp"), and then press Enter.

-
Enter the polling period for the beat in seconds (for example, "30s"), and then press Enter.
The beat is successfully initialized using page-based pagination, OAuth authentication, and the "within an interval" filter.
