
Configure O365 Message Tracking
The following steps are required to configure O365 Message Tracking in the Azure portal so that an O365 Message Tracking collector can be setup in Axon.
Create an Application in the Microsoft Entra Portal
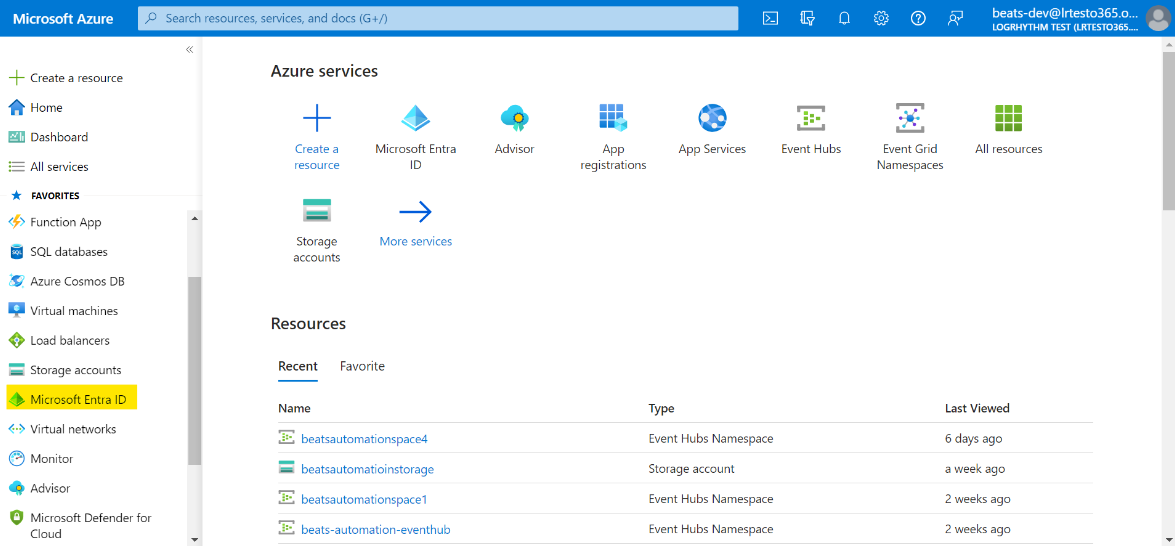
To open the Entra Portal and create an application:
- From the Azure Services homepage, click Microsoft Entra ID.
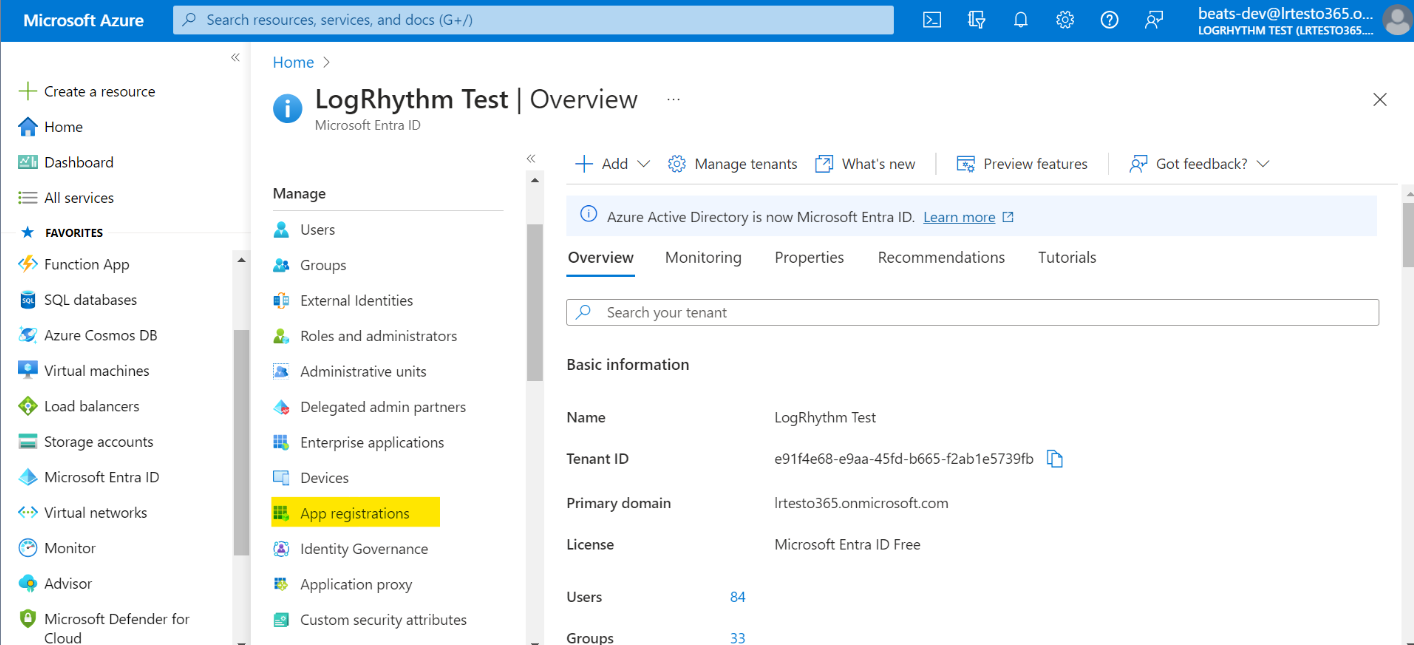
- (Optional.) If you have more than one directory, select the correct directory name.
- On the directory page, click App Registrations in the menu on the left.
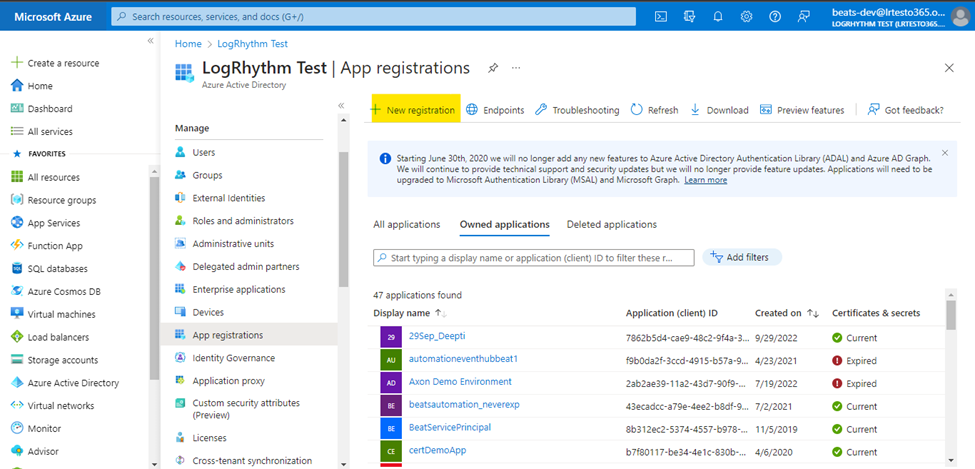
- In the top menu, click New Registrations.
- Complete the fields on the right side of the page:
- Name the application.
- Select a support account type.
- Configure a Redirect URI:
- Platform: Web
- Provide a sign-on URL (for example, https://localhost/).
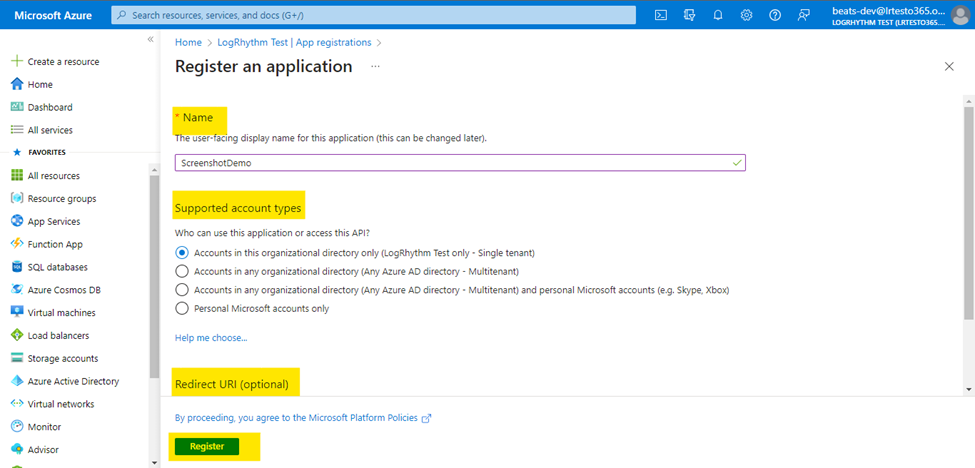
- Click Register.
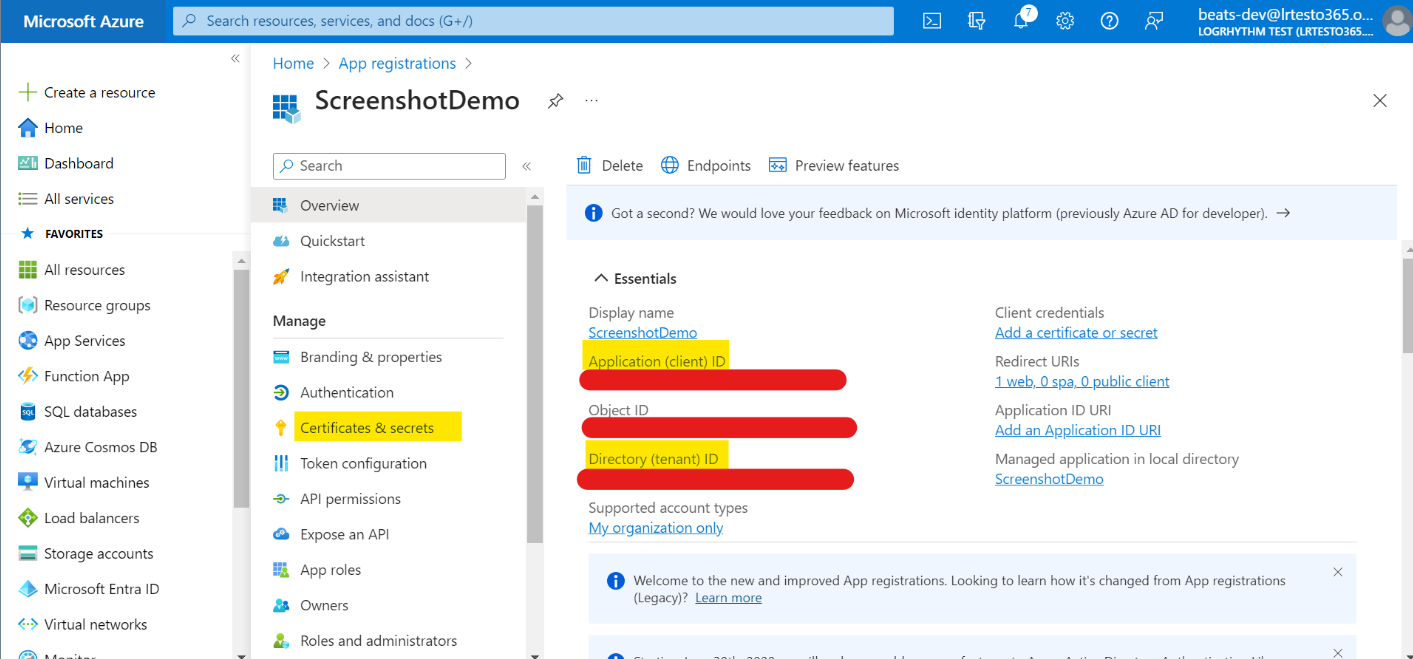
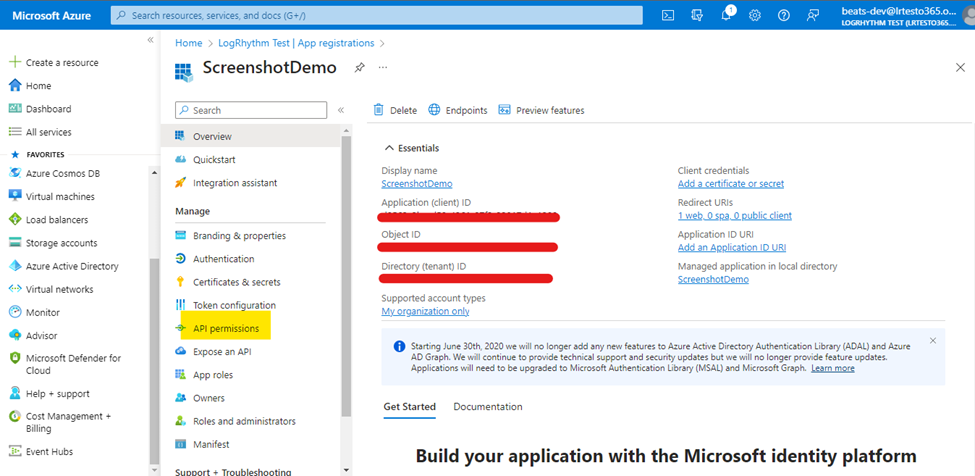
Your new application appears under the Display Name header. - Copy the Application (client) ID and Directory (tenant) ID into a text document for later use.
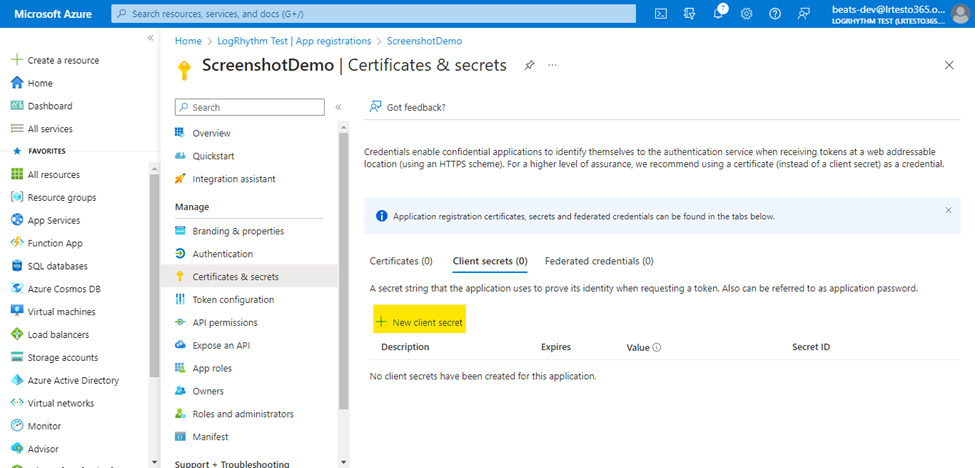
- Under the Manage menu on the left, click Certificates & secrets.
- Click New client secret.
- Enter a detailed Description and select an Expires period, and then click Add.
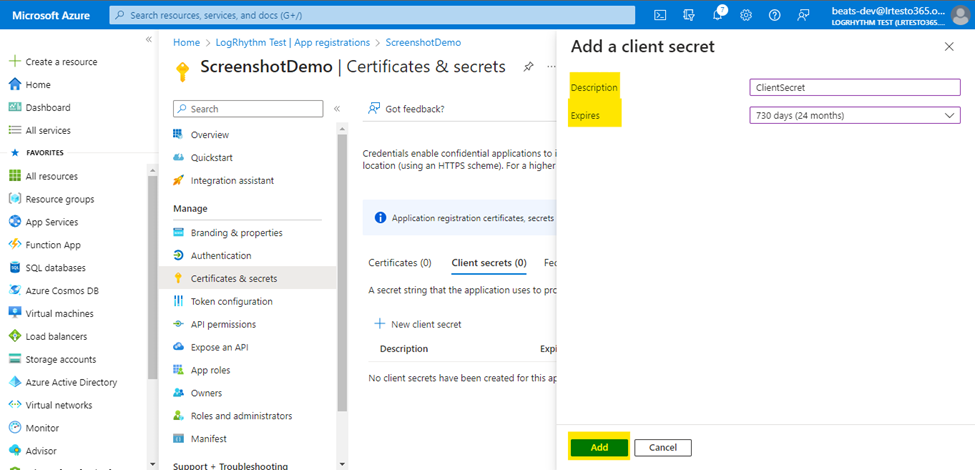
Copy the Value into a text document for later use.
This value is not accessible once the window is closed. Be sure to copy it now for later use.
Add O365 Message Tracking API Permissions
To add O365 Message Tracking API permissions, from the directory page:
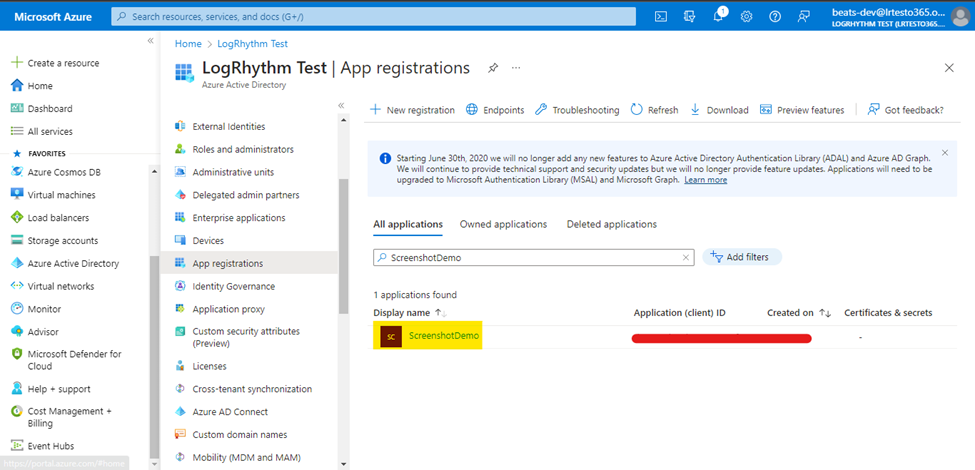
- Search for your created application under All applications on the App registrations page.
- Click the name of your application.
- In the left-hand menu, click API permissions.
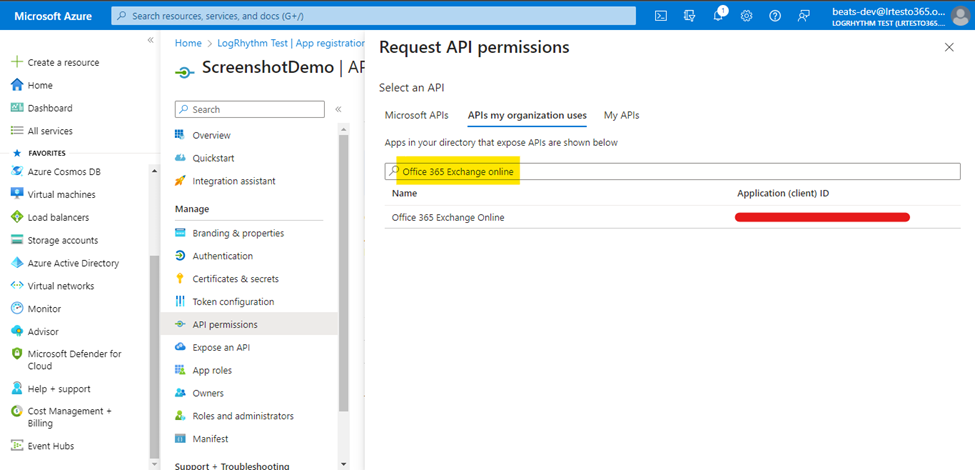
- Click Add a permission.

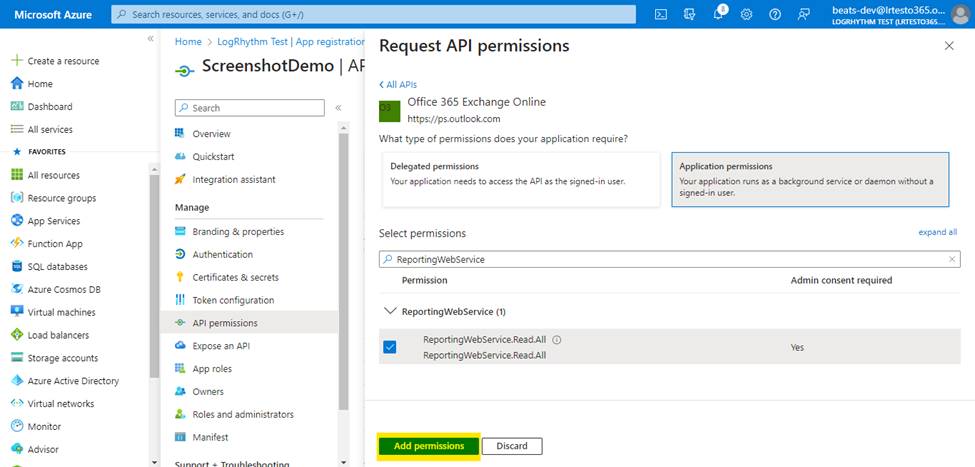
- In the Request API permissions pane, on the APIs my organization uses tab, select Office 365 Exchange Online.
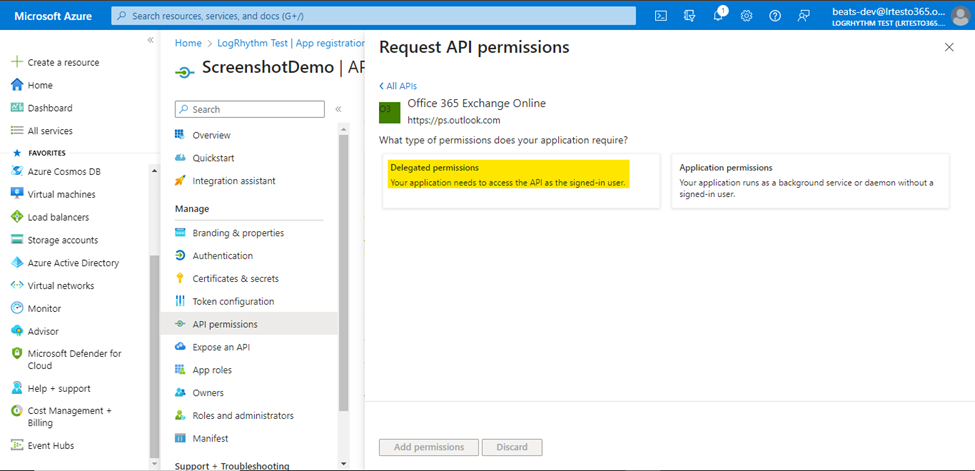
- Click Delegated permissions.
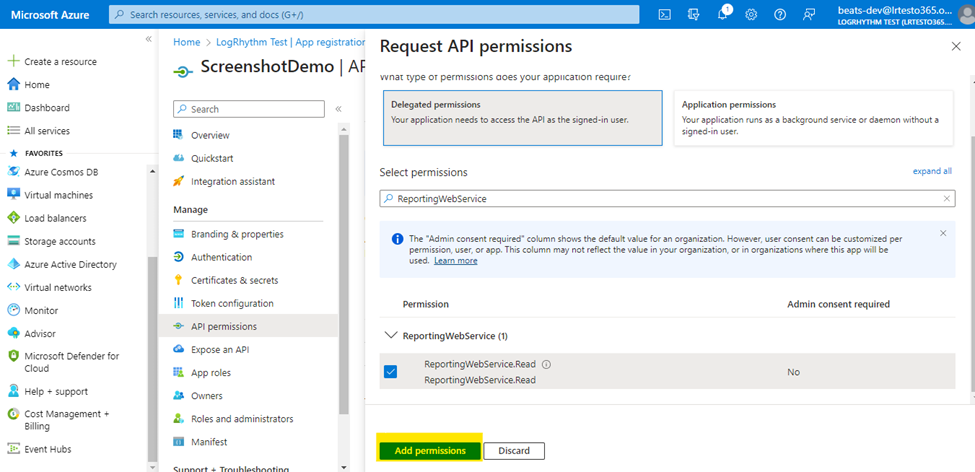
- Under Delegated Permissions, search for ReportingWebService, expand the ReportingWebService header, and check the Read boxes.
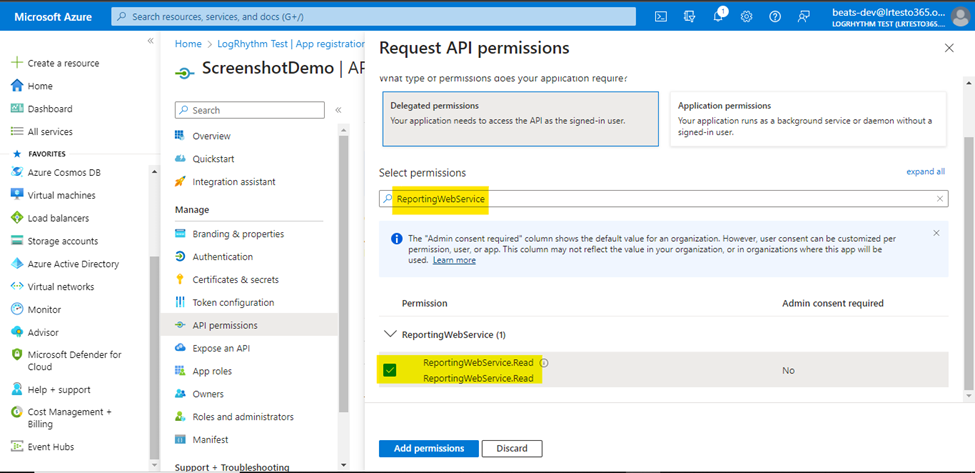
- Click Add permissions.
Verify that your changes have been saved on the API permissions page.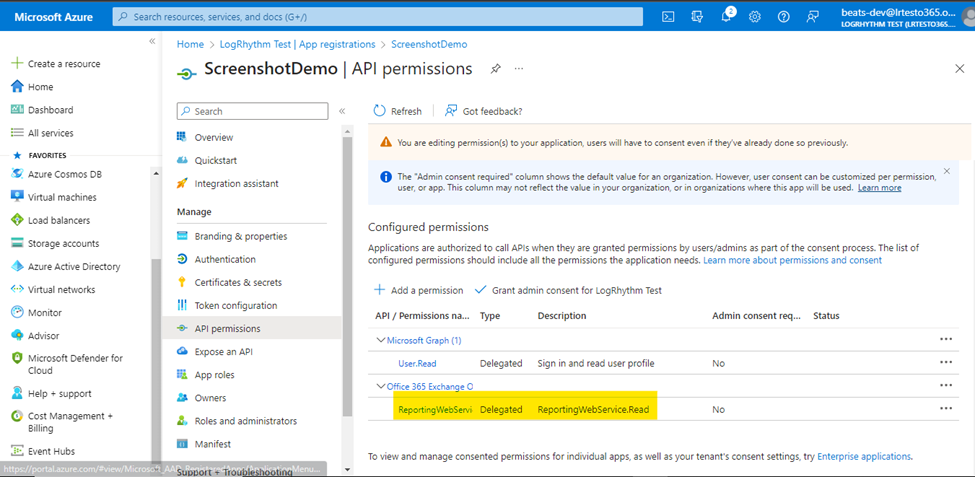
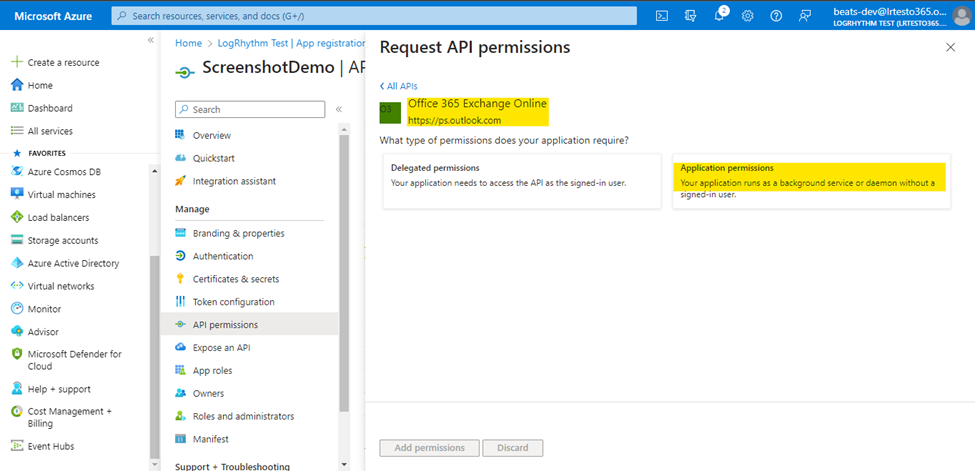
- Return to the Office 365 Exchange Online page (refer to step 4).
- Click Application permissions.
- Under Application Permissions, search for ReportingWebService, expand the ReportingWebService header, and check the Read.All box.
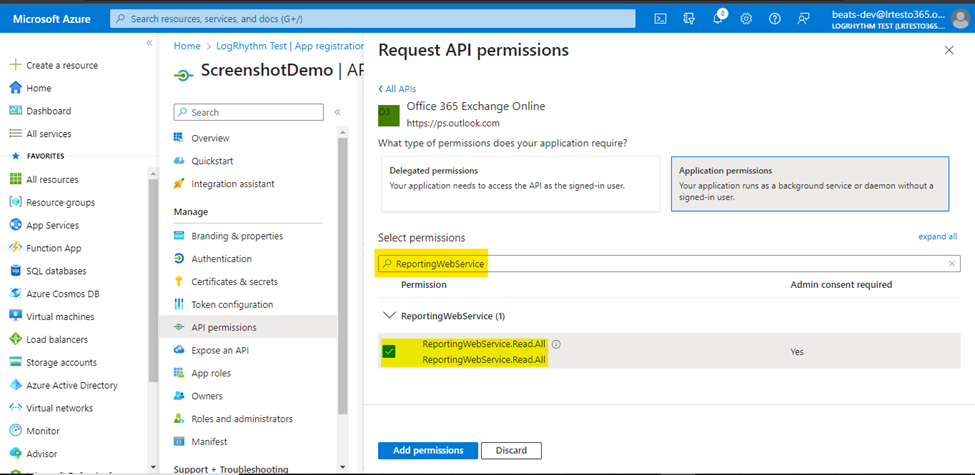
- Click Add permissions.
Verify that your changes have been saved on the API permissions page.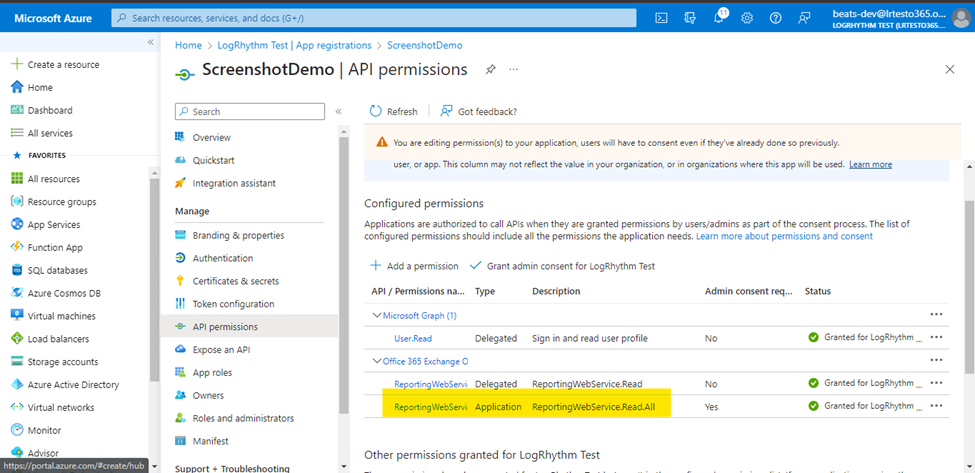
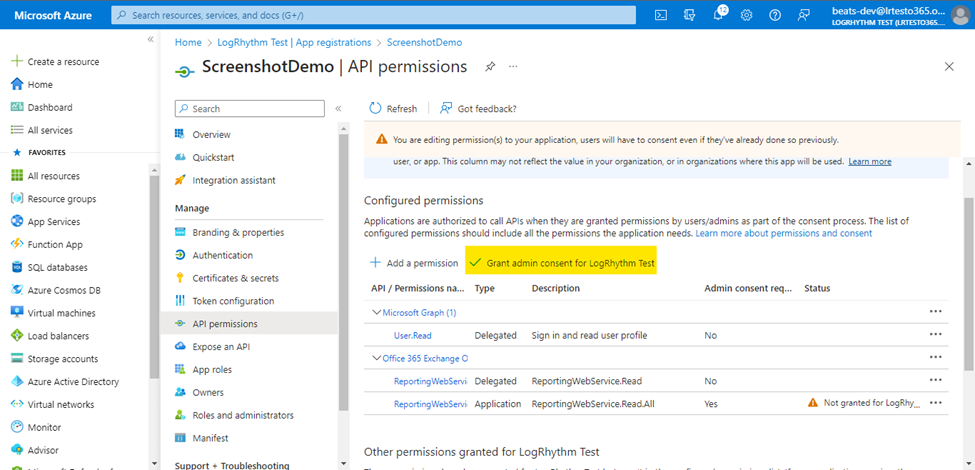
- Select Grant admin consent for <Organization Name> to apply the application permissions previously selected.
- Select Yes to continue.
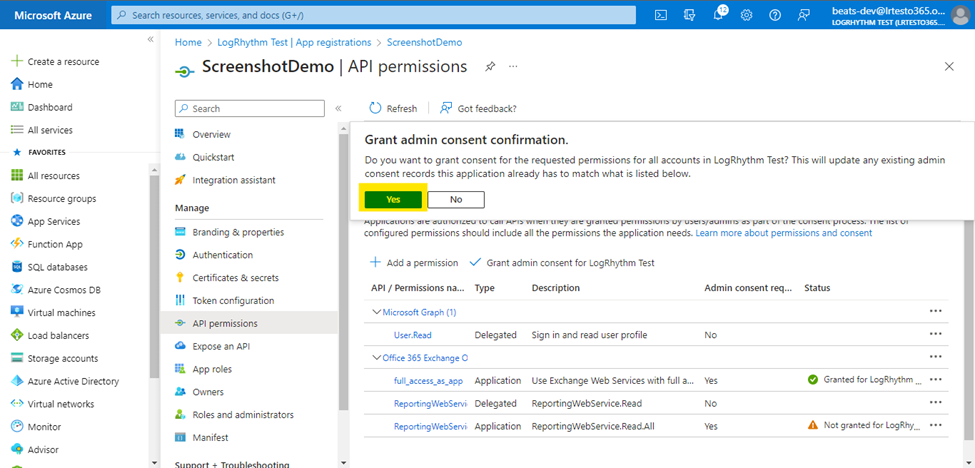
A successful confirmation appears.
Assign Azure AD Roles to the Application
The supported role for applications to access the Reporting Web Service is Global Reader.
To assign this role to the newly registered app:
- On the left-side menu in the Office 365 portal Admin app, click Admin centers, and then click Azure AD.
The Azure AD Dashboard appears. - On the left-side menu, click Azure Active Directory.
- From the left-most menu, select Roles & admins.
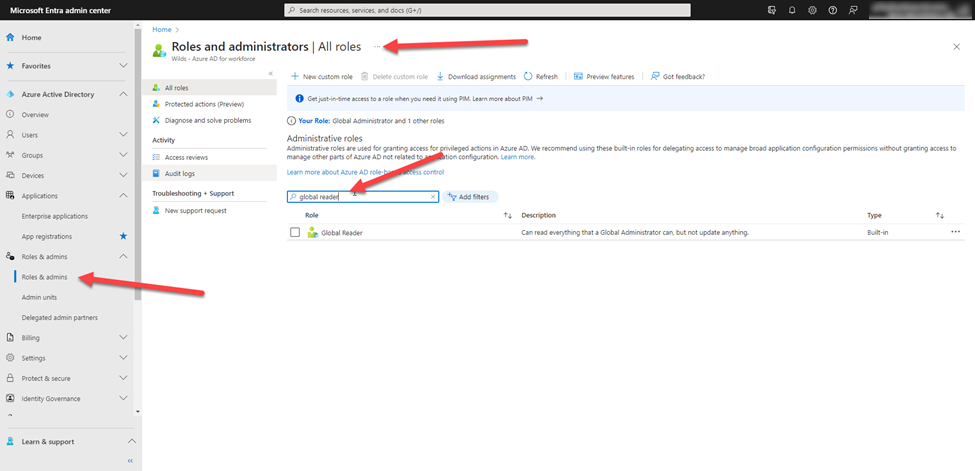
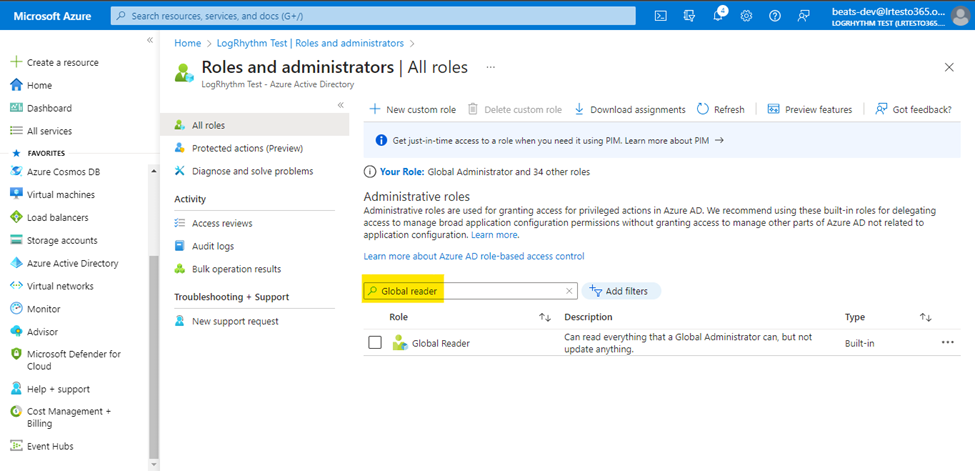
- In the search bar, type Global Reader and click on the role that appears.
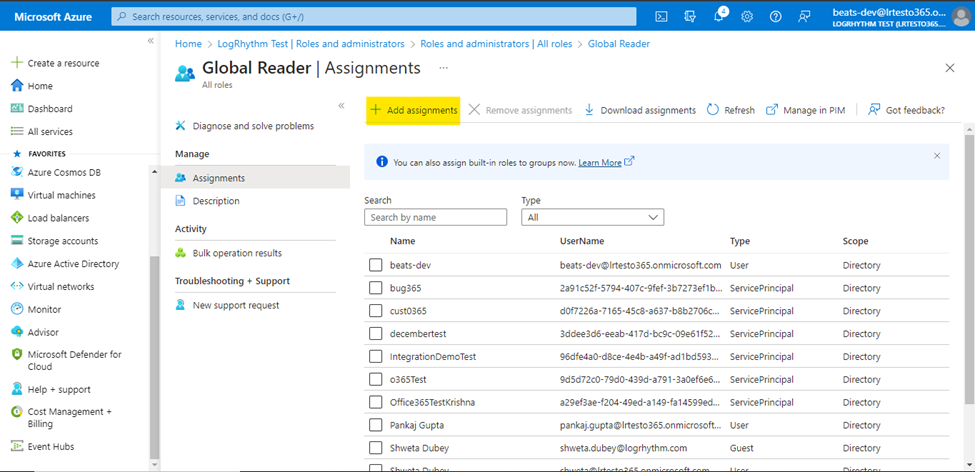
- Click Add assignments.
- Type the name of your created app into the search bar and then click Select.
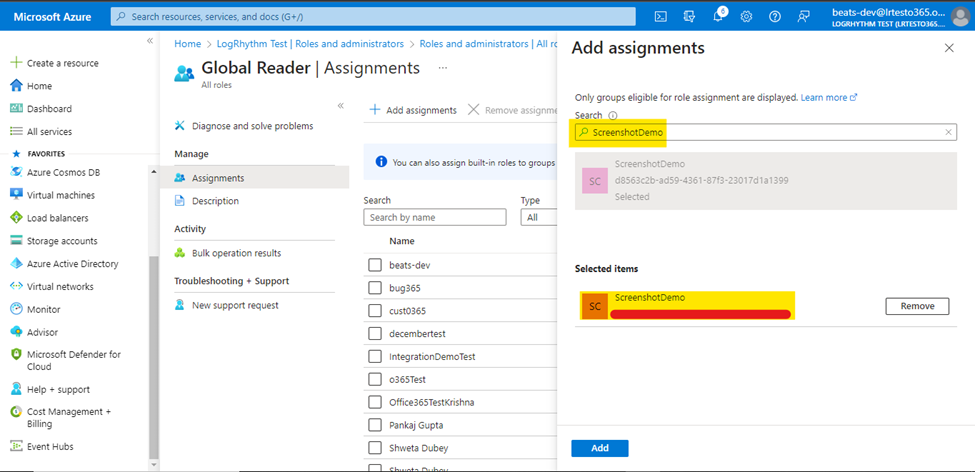
- Click Add.
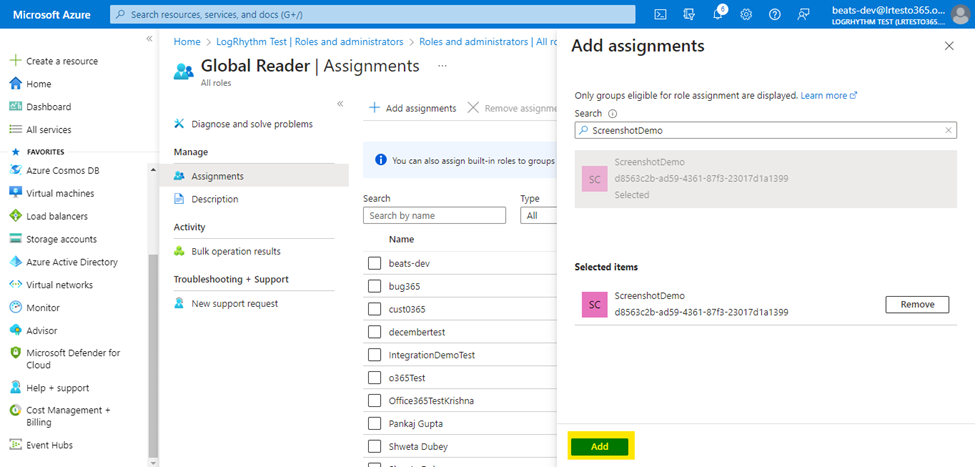
Verify that your newly created app is available under Global Reader assignments.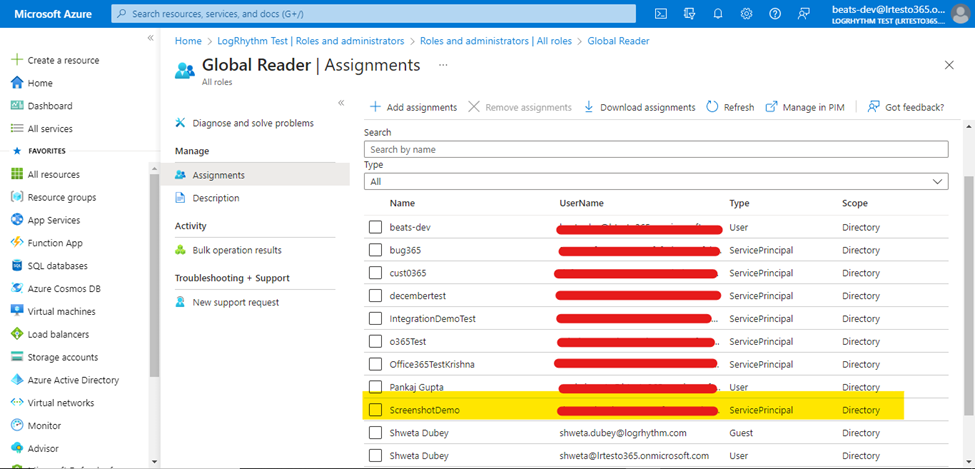
Disable Multi-factor Authentication for the User Account
Multi-factor authentication must be disabled on the user account. To disable multifactor authentication for the user account that will be identified in Axon:
- From the main page of the newly created app, click the Owners link under the Manage header.
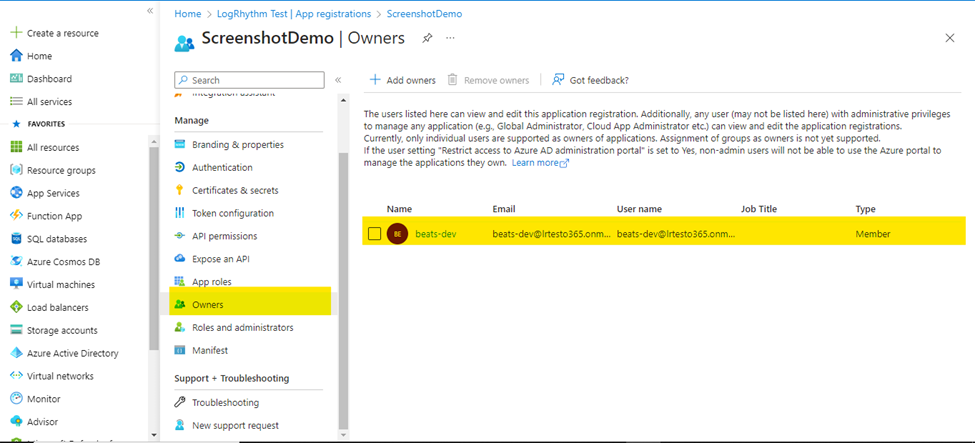
- Make note of the owner account listed.
- Navigate to the Users page (from the Azure AD homepage).
- Click the three-dot menu at the top-right of the page and click Per-user MFA.
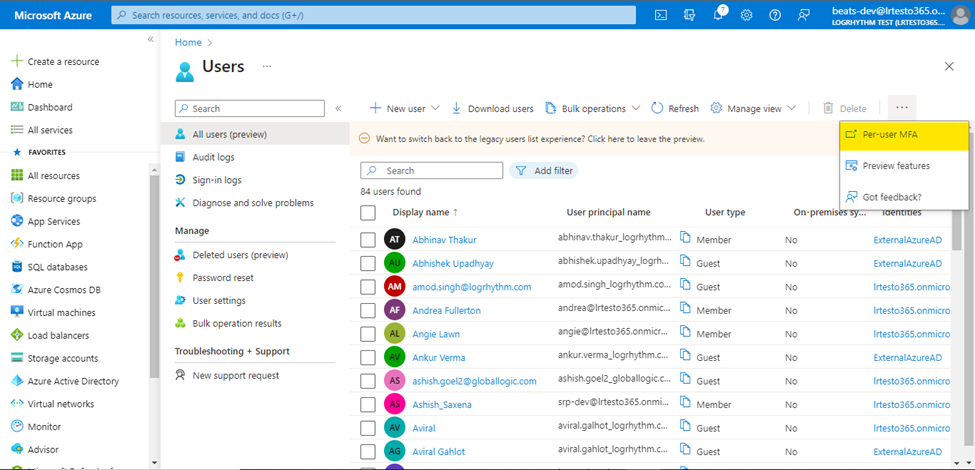
- Disable the MULTI-FACTOR AUTH STATUS for the owner account noted in step 2.