Configure GCP PubSub
Google Cloud PubSub brings the flexibility and reliability of enterprise message-oriented middleware to the cloud. At the same time, PubSub is a scalable, durable event ingestion and delivery system that serves as a foundation for modern stream analytics pipelines. By providing many-to-many, asynchronous messaging that decouples senders and receivers, it allows for secure and highly available communication among independently written applications.
The steps on this page must be completed in order to set up a new Google Cloud Project to collect logs.
Prerequisites
- Cloud Log Source Account Login Credentials with Administrator access, including the ability to:
- Create and manage roles,
- Generate credentials files, and
Configure topics and subscriptions.
For more information on Google's IAM access control and the permissions required for certain roles, refer to Google's Access Control with IAM documentation.
Collect Account Information from the GCP Console
The following information is required to configure the GCP Log source:
- Project ID
- Credential file for a particular GCP account
- Topic Name
Subscription Name (also referred to as Subscription ID)
Only one Subscription ID can be linked to the single Topic ID, and therefore a unique GCP collector is created against the combination of the given Subscription ID and Project ID.
Create a Role For a Project
- Open the GCP Console: https://console.cloud.google.com.
- On the left-side menu, click IAM & Admin, and then click Roles.
- In the center pane, click Create Role.
- Enter the basic information requested for the role.
- Click Add Permissions and select the following permissions:
- pubsub.subscriptions.consume
- pubsub.subscriptions.get
- pubsub.subscriptions.create
- pubsub.topics.attachSubscription
- pubsub.subscriptions.consume
- pubsub.subscriptions.get
- pubsub.subscriptions.update
- Click Add, and then Create.
Generate a Credential File
Open the GCP Console: https://console.cloud.google.com.
On the top menu bar, select the project from which logs will be collected.
The Select a project dialog box appears.To create a project, see the instructions provided by Google here: https://cloud.google.com/resource-manager/docs/creating-managing-projects
Make a note of the Project ID.
From the left-side menu, click APIs & Services, and then click Credentials.
- In the center pane, click Create credentials, and then click Service account key.
- In the Service account field, click New service account.
- In the Service account name field, type a unique name.
In the Role field, click Custom, select the role you created, and then click Done.
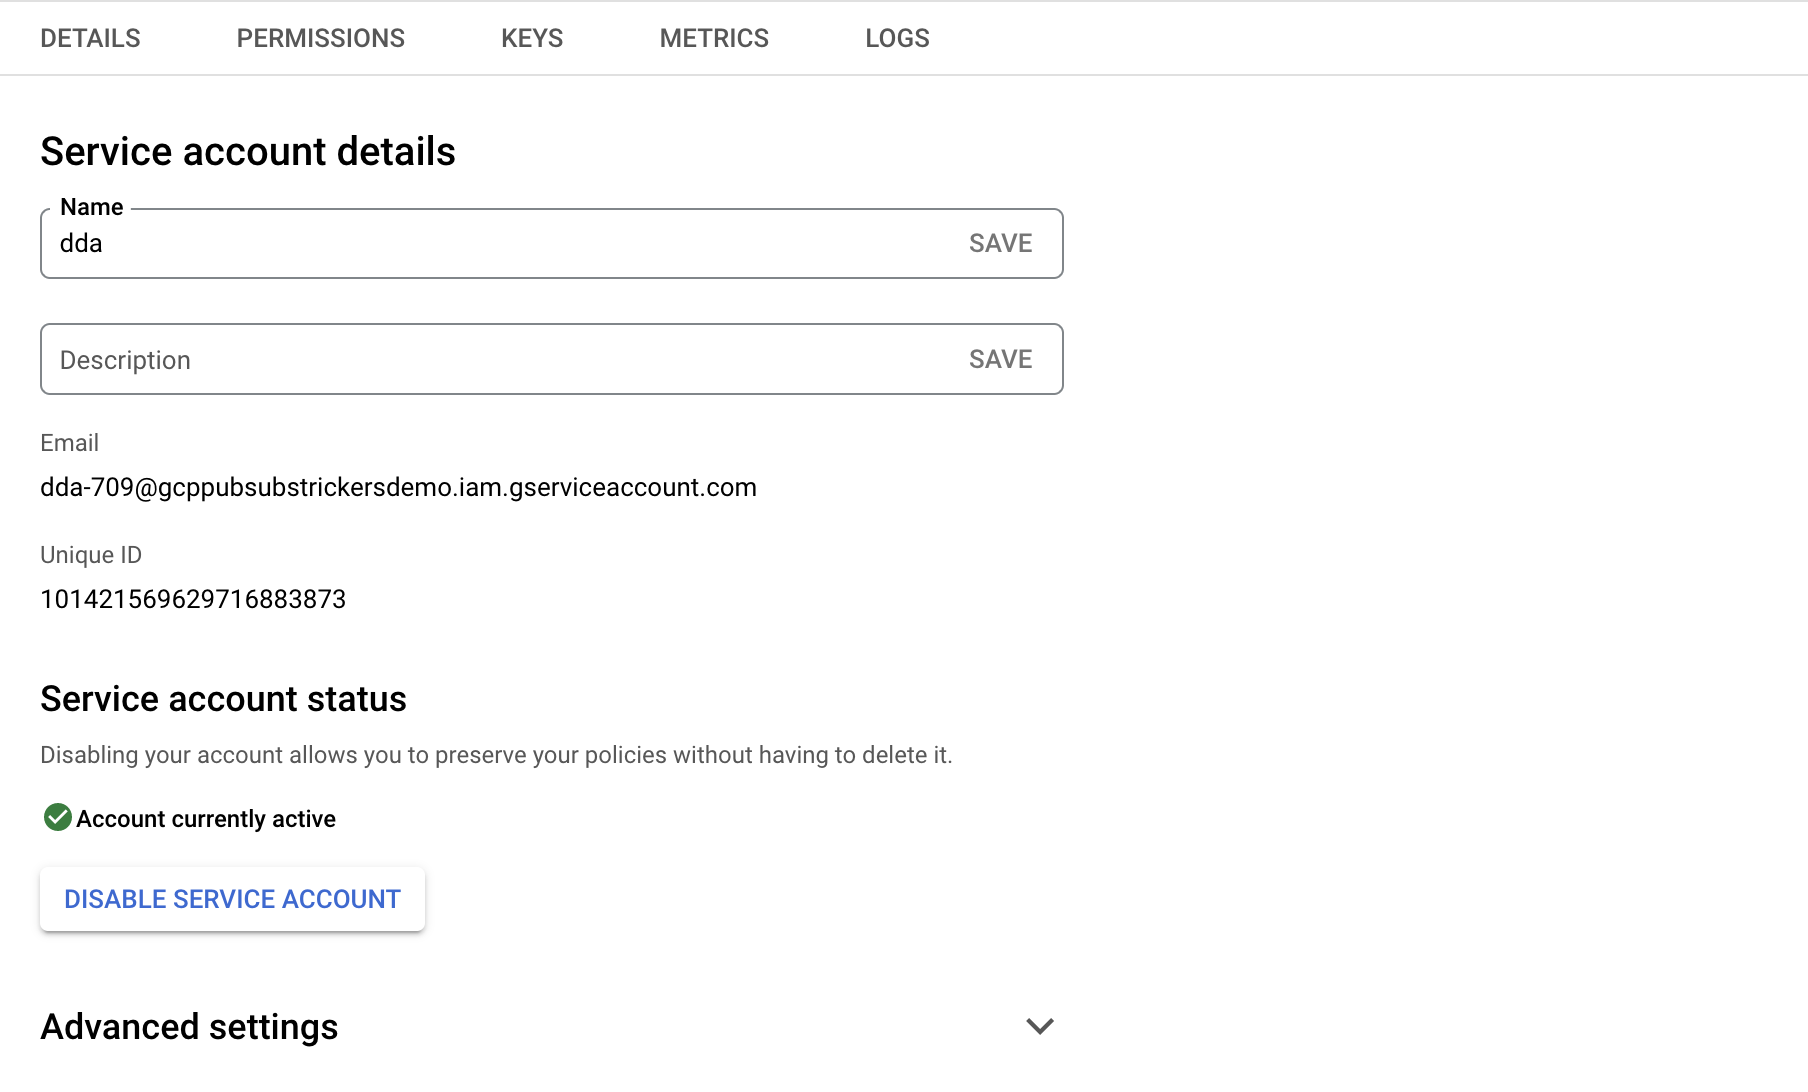
- Click on the newly created service account, and go to the Keys tab.
- Click Add Key, and then Create new key.
Ensure that the default key type is JSON.
Click Create.
A JSON file containing your credentials downloads to your computer.Ensure the JSON file is stored in a place with easy access, as the credentials are needed later.
Secrets Configuration
The following four fields are required from the JSON file downloaded above when configuring a GCP PubSub collector in Axon:
- clientId: "XXXX"
- clientEmail: "XXXX"
- privateKeyId: "XXXX"
- privateKey: "XXXX"
Configure a Topic and Subscription
For further information on this topic, see the official Google Cloud PubSub documentation: https://cloud.google.com/pubsub/docs/admin
In the GCP console, select the project in which you want to create a topic.
Expand the main menu on the left and scroll to the Big Data section.
Click Pub/Sub, and then click Topics.
On the top of the center pane, click Create Topic.
If you already have a topic configured, you can skip these steps. Make a note of the Topic ID you want to use.
In the Topic ID field, type a unique name.
- Make a note of this Topic ID.
Click Create Topic.

Click Create subscription.
The Pull option in the Delivery Type section is provided as the default value. Therefore, ensure Pull is selected when creating the subscription.
In the Subscription ID field, type a unique name.
Make note of this subscription ID, as it is required when configuring the GCP PubSub collector in Axon.
Subscription IDs must be unique within a single project.
- Ensure the Acknowledgement Deadline is set to 60 seconds.
Leave the remaining settings as their defaults, and then click Create.
Configure and Export Logs for Multiple Projects in One Topic
Configuring logs for multiple services from multiple projects in a single topic enables you to subscribe to only one topic in PubSub and pull logs for multiple projects through this one topic.
Create a new project for logging.
For information on creating projects, see the official Google documentation: https://cloud.google.com/resource-manager/docs/creating-managing-projects
- Create a topic in the newly created project following the steps previously described.
- Go to the project from which you want to send your logs to the collector.
- From the project, on the left-side menu, scroll to the Operations section.
- Click Logging, and then click Logs Router.
- On the top of the center pane, click Create Sink.
- In the Edit Sink pane on the right, in the Sink Service field, select Custom destination.
- In the Sink Destination field, replace the pre-filled string with your Project ID and Topic ID created in the steps above. This will take the format: pubsub.googleapis.com/projects/<projectid>/topics/<topicid>
- Click Create sink.


