
Configure Azure Event Hub
Azure Event Hubs is a data streaming platform and event ingestion service. It can receive and process millions of events per second. Data sent to an event hub can be transformed and stored by using any real-time analytics provider or batching/storage adapters.
This section details the configuration steps to set up a new Azure Event Hub cloud collector in the Azure portal.
Prerequisites
- Azure portal login credentials and admin access.
Vendor Documentation
- https://learn.microsoft.com/en-us/azure/event-hubs/
- https://docs.microsoft.com/en-us/azure/event-hubs/event-hubs-faq
- https://learn.microsoft.com/en-us/azure/event-hubs/event-hubs-create
Create a New Event Hub Namespace
- Navigate to https://portal.azure.com and log in to the Azure portal.
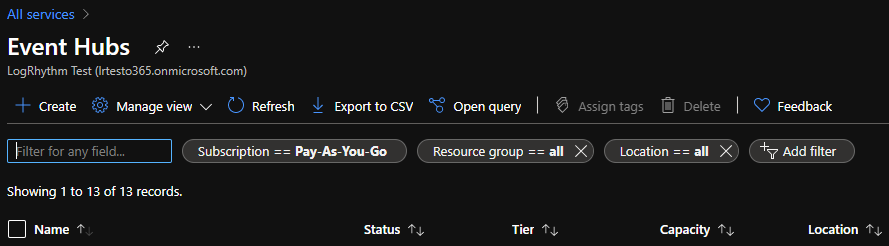
- Click All services in the left-hand menu.
- Click Event Hubs.
- Click the Create button.
- Select your organization's Subscription and Resource group.
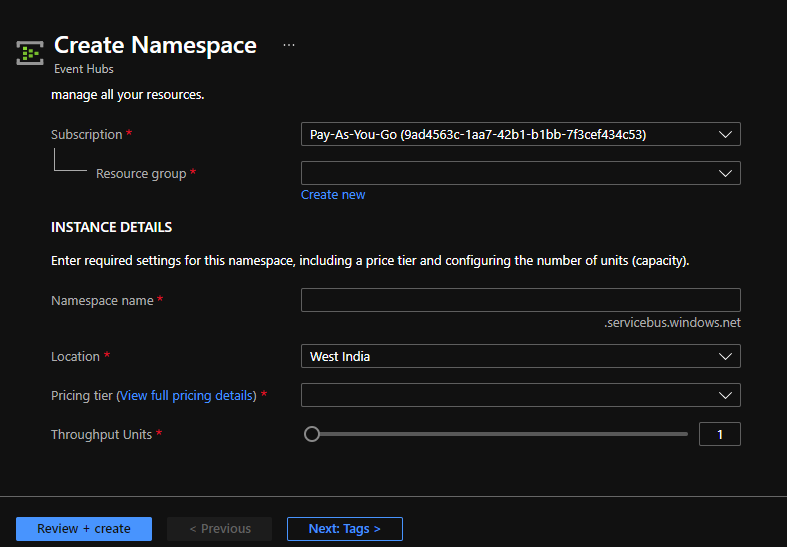
- Enter a unique Namespace name.
- Select the Location from the drop-list.
The Pricing tier and Throughput Units must be configured according to your organization's Event Hub subscription.
For information on Azure Event Hubs quotas, limits, and pricing tiers, see https://learn.microsoft.com/en-us/azure/event-hubs/event-hubs-quotas
- Click the Review + Create button.
- Review the entered information, and then click Create.
The Validation Succeeded pop-up appears and the namespace is successfully created.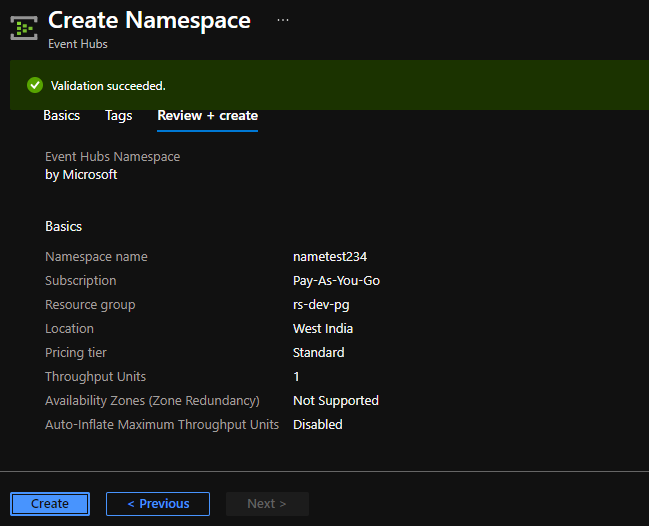
Create a New Event Hub on the Namespace
- On the Event Hubs page, select the created Namespace to open an Overview page.
- Click the + Event Hub button at the top-left.

- Enter a unique Name for the Event Hub.
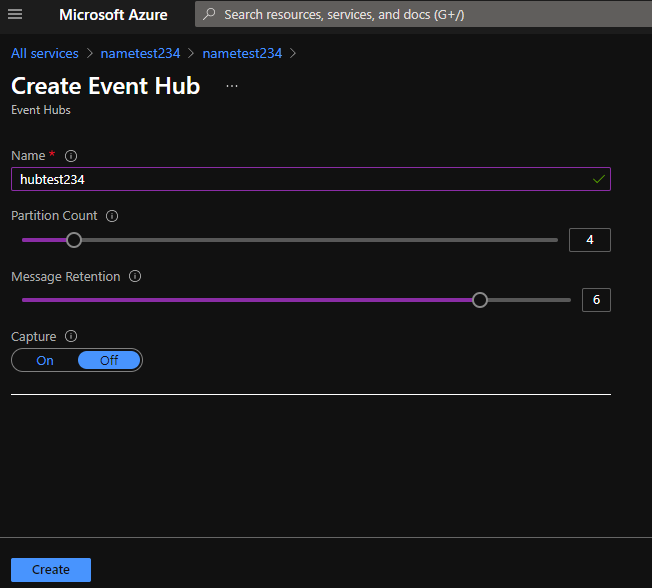
Configure the Partition Count and Message Retention settings per your organization's standards.
For more information on partitions, see https://learn.microsoft.com/en-us/azure/event-hubs/event-hubs-scalability#partitions
For more information on message retention, see https://learn.microsoft.com/en-us/azure/event-hubs/event-hubs-features#event-retention
Message retention is not available for Namespaces on the Basic pricing tier.
- Click the Review + Create button.
- Review the entered information, and then click Create.
The Event Hub is created and appears in the list of event hubs. Verify the status of the newly created Event Hub within Alerts.
Create a Consumer Group on the Event Hub
Only one Azure Event Hub Collector should be configured per combination of Consumer Group + Azure Event Hub. Creating multiple Azure Collectors for a single consumer group can result in errors and loss of logs.
Additionally, it is not recommended to change the consumer group on an already-configured Azure Event Hub Collector. This will cause the Collector to re-establish its connection to Azure, resulting in further loss of logs. In cases where the consumer group does need to be changed, retire the old collector and create a new one with the correct consumer group.
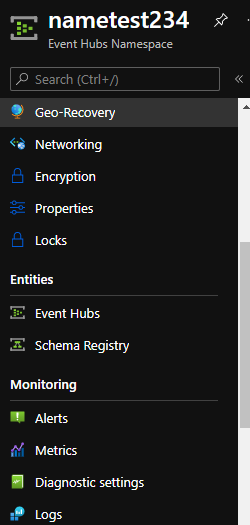
- On the Namespace's Overview page, click Event Hubs in the left-hand panel.
- Select the Event Hub created above.
- Click the + Consumer group button.
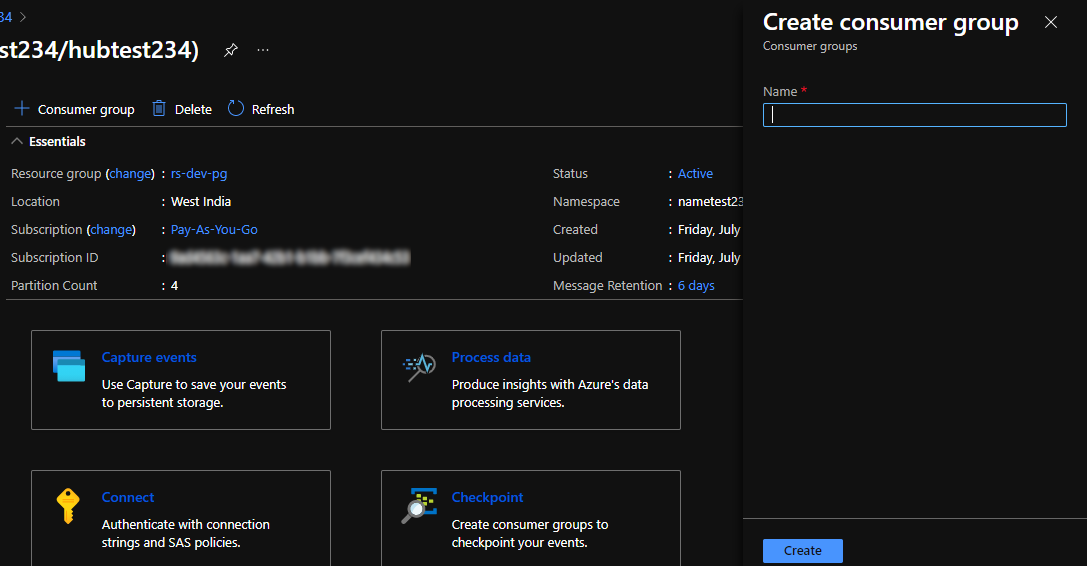
- Enter a unique Name for the consumer group.
- Click the Create button.
The consumer group is successfully created.
Add Access Policies to the Event Hub
- On the Namespace's Overview page, click Event Hubs in the left-hand panel.
- Select the Event Hub created above.
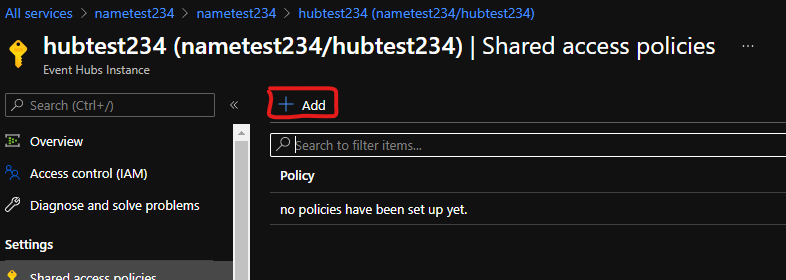
- Click Shared access policies in the left-hand panel.

- Click Add.
- Enter a unique Policy Name.
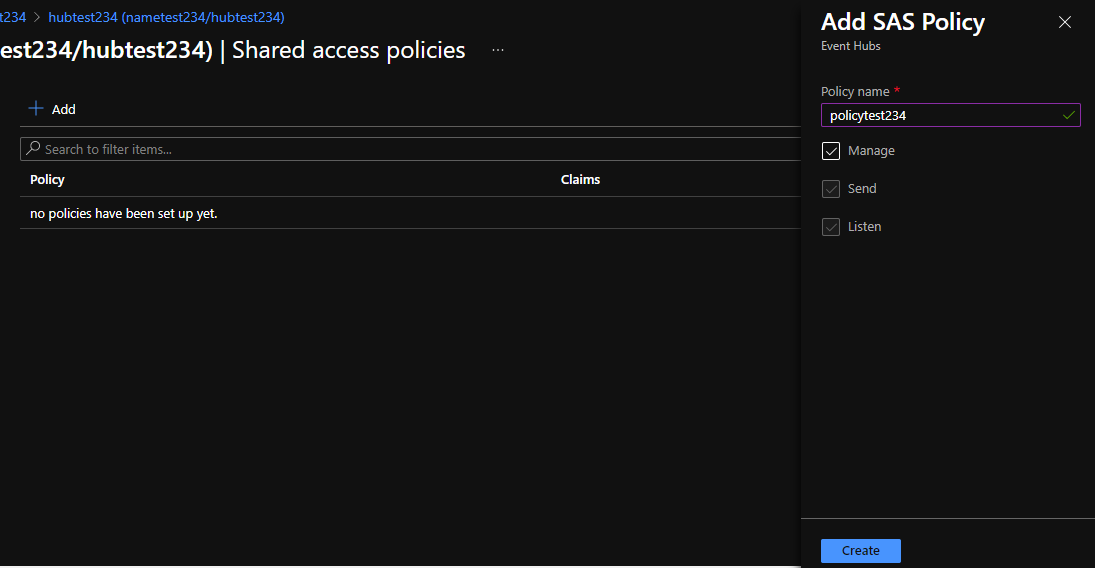
- Check the Manage box.
- Click Create.
The new access policy is successfully created. - Click the name of the newly-created access policy in the list.
- Copy the Primary key into a text document for later use.
Configure Diagnostics Settings on the Event Hub Namespace
- On the Namespace's Overview page, click Activity Log in the left-hand panel.
- Click Diagnostics settings.
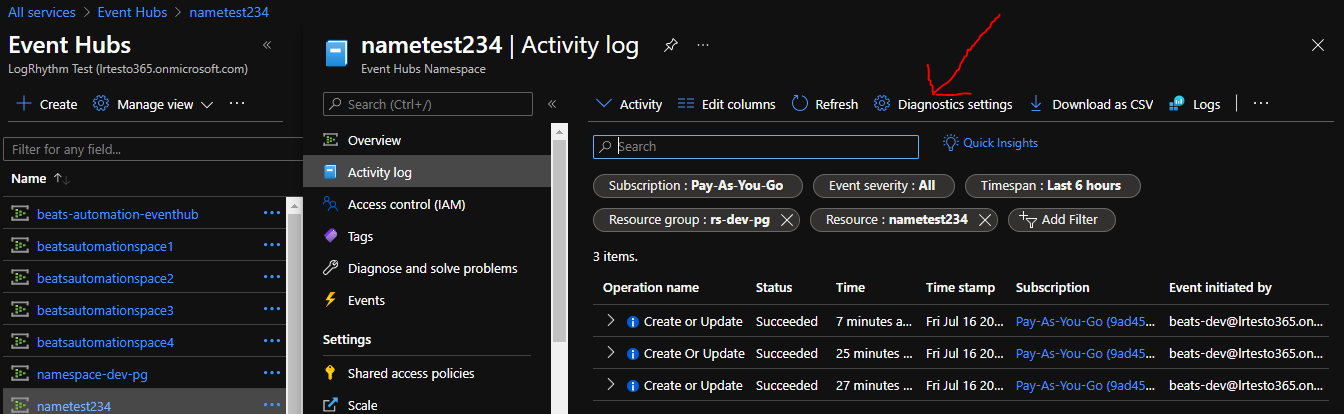
- Click Add diagnostic setting.

- Check the following log source types to include in the diagnostic settings:
- Administrative
- Security
- ServiceHealth
- Alert
- Recommendation
- Policy
- Autoscale
- ResourceHealth
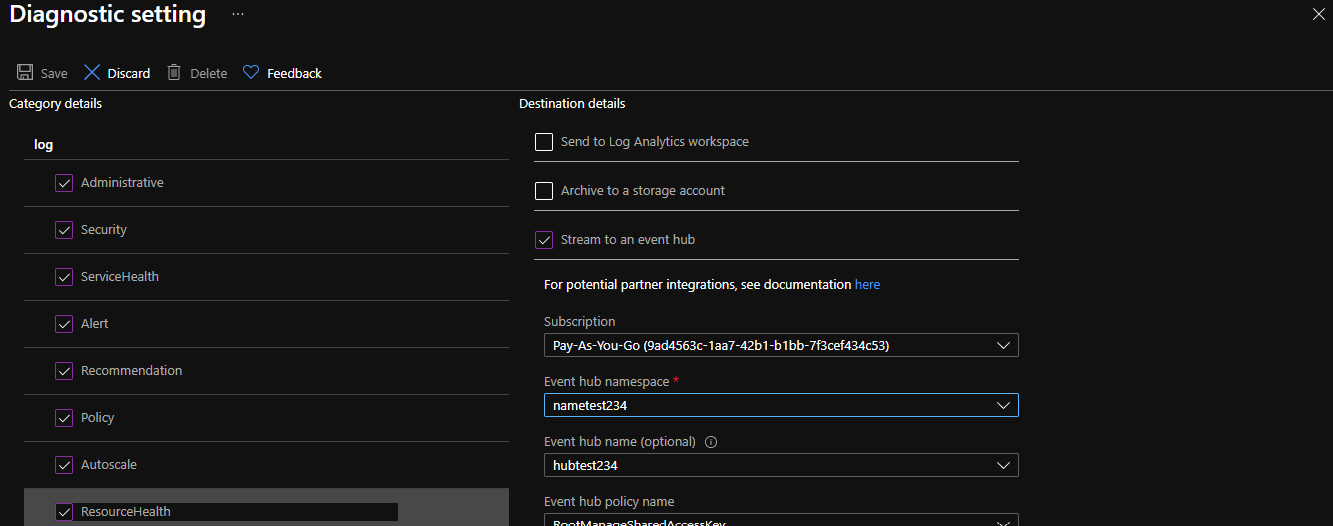
- Check the Stream to an event hub option.
- Select the Event hub namespace created earlier from the drop-list.
Click Save.
The maximum number of diagnostic settings that can be created at one time is five.
Create a Storage Account and Storage Account Container
- On the Azure portal dashboard, click Storage Account.
- Click the Create button.
- Select the Subscription and Resource group used by your organization.
- Enter a unique Storage account name.
- Select the Region from the drop-list.
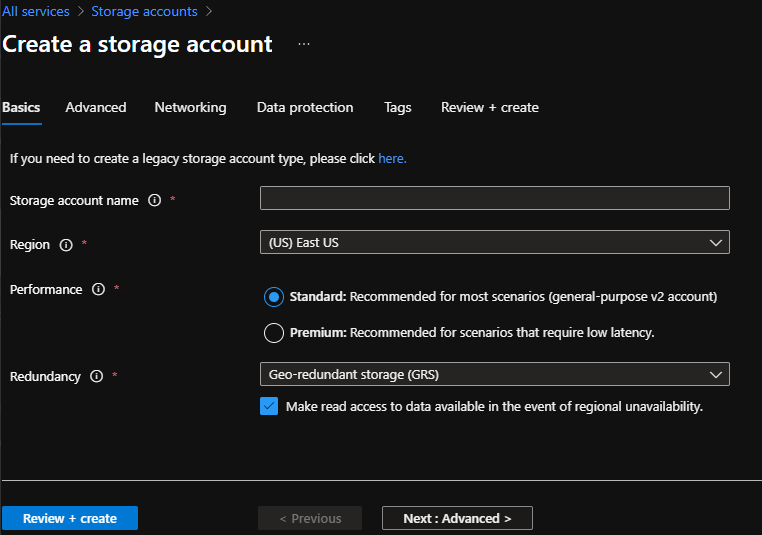
- Select the Performance and Redundancy settings used by your organization.
- Click Review + Create.
- Review the entered information, and then click Create.
The storage account is created successfully. - On the created storage account's overview page, click Containers in the left-hand panel.
- Click the + Container button.

- Enter a unique Name for the container.

- Set the Access level for the container to Public.
- Click Create.
The storage account container is successfully created.
Obtain Connection Strings and Access Keys
- On the Azure portal dashboard, click Storage Account.
- Select the newly-created storage account from the list.
- Click Access Keys in the left-hand panel.
- Copy any access key name and the associated connection string for that access key to a text document for later use.
Log Generation
To generate the logs for the Azure Event Hub Collector/Integration, multiple activities can be performed manually from the Azure Portal:
Create/Delete Event Hub Namespace.
Create/Delete Event Hub.
Change the “MESSAGE RETENTION” period on any particular Event Hub.
Create/Delete Consumer Group
Add/Delete policies on any Event Hub.
Change the access of any policy on the Event Hub from Manage to Send/Listen or from Send/Listen to Manage, and then save the policy.
This option is used most frequently to generate logs.