This guide outlines the procedure to install Rocky Linux 9.
Rocky Linux versions 9.1 and later are compatible with the Open Collector.
Prerequisites
-
Internet access and web browser
-
VMware (Workstation or Player) or another VM platform
-
The Rocky Linux host should have the firewall configurations outlined in the Open Collector Networking and Communication topic.
Rocky Linux 9 Installation Setup
-
Download Rocky Linux 9 from https://download.rockylinux.org/pub/rocky/9/isos/x86_64/
Rocky Linux versions 9.1 and later are compatible with the Open Collector.
-
Create a VM with the following settings:
-
CPU: 8 cores (or more)
-
RAM: 8 GB (or more)
-
HDD: 50 GB (or more)
-
DVD: Rocky-9.x-x86_64-dvd.iso
-
User: In addition to the root user, create the following user:
-
username: logrhythm
-
password: <enter a password of your choice>
-
-
-
On initial boot, log in as the root user.
-
Add the new "logrhythm" user to the sudoers wheel:
usermod -aG wheel logrhythm
-
Reboot the VM, and log in as the "logrhythm" user.
Install Rocky Linux 9
-
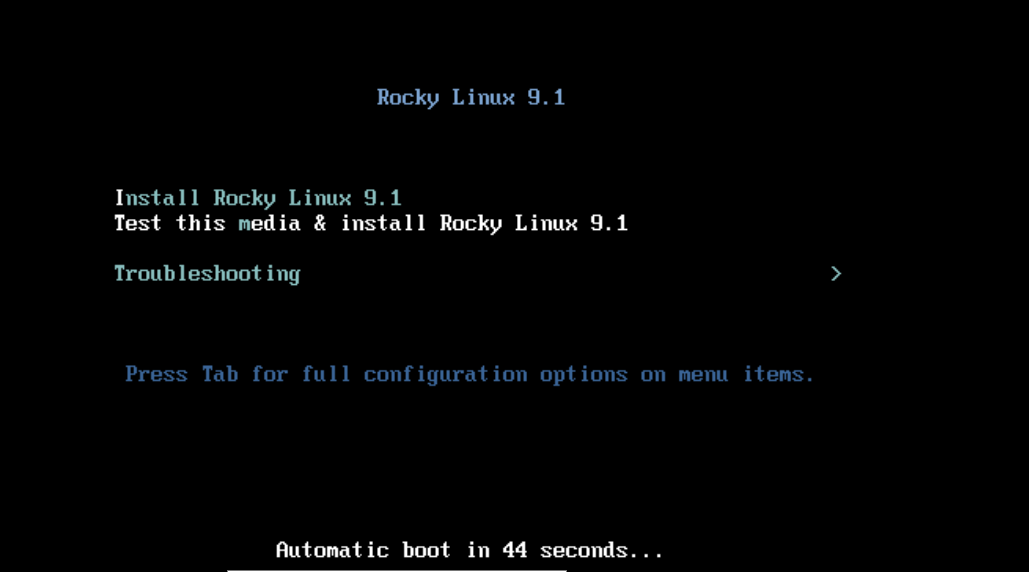
Boot your VM with your installation media attached to the virtual CD-ROM drive (.iso format).
-
Select Install Rocky Linux 9.X.0.
-
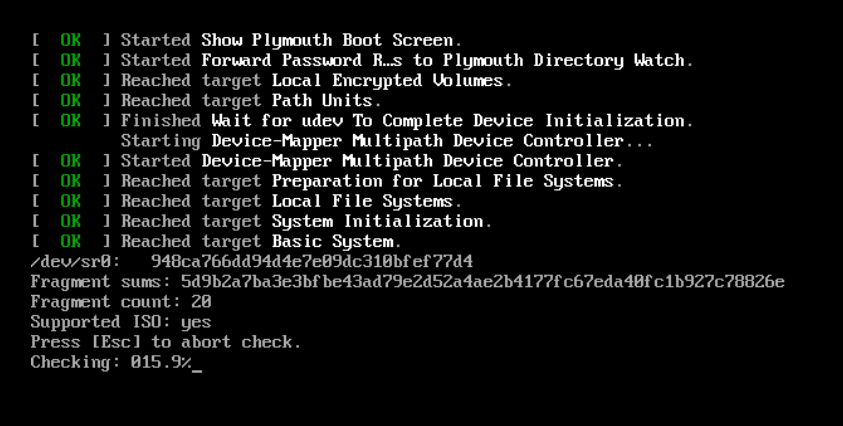
Wait for the media check to complete.
-
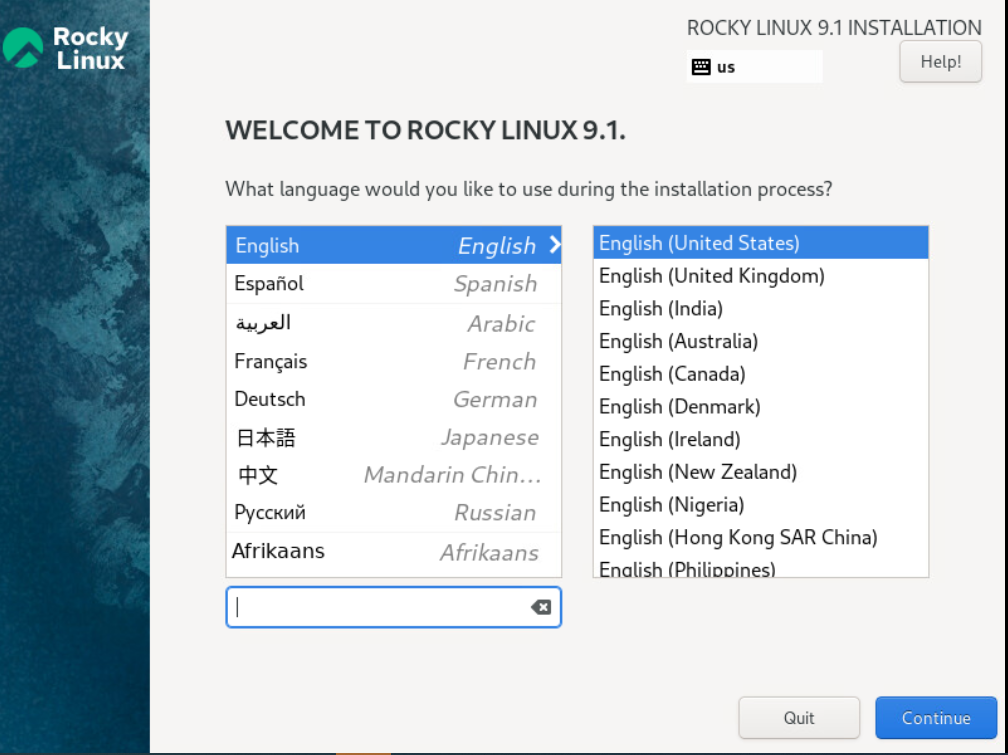
Once the Rocky Linux 9.X installer GUI starts, select your language localization settings.
-
Click Continue.
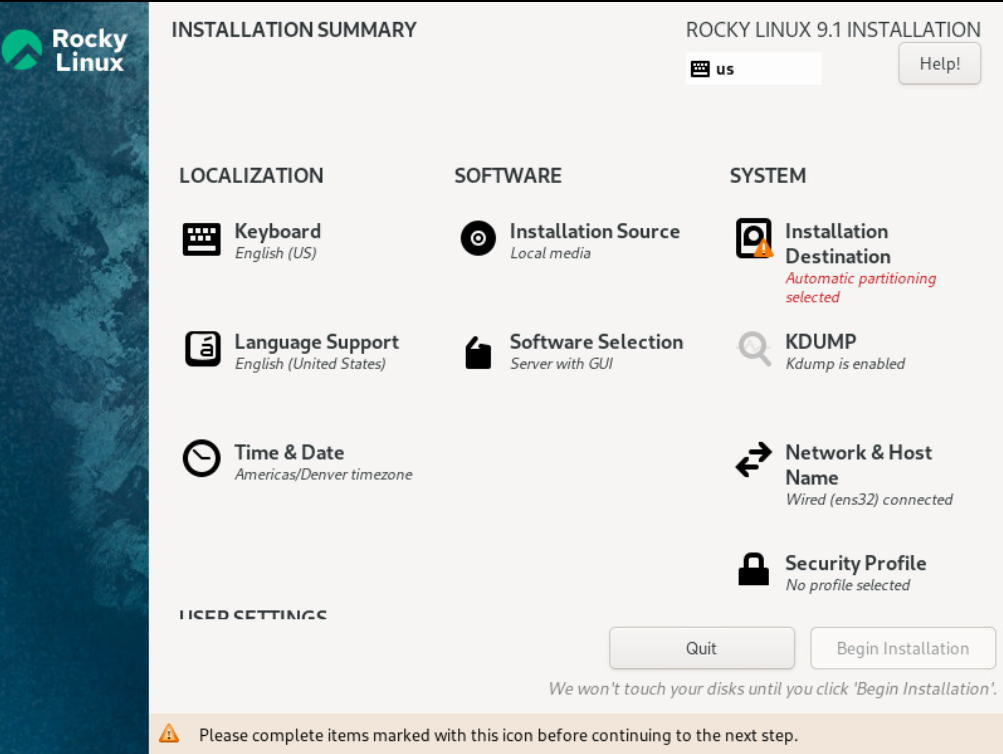
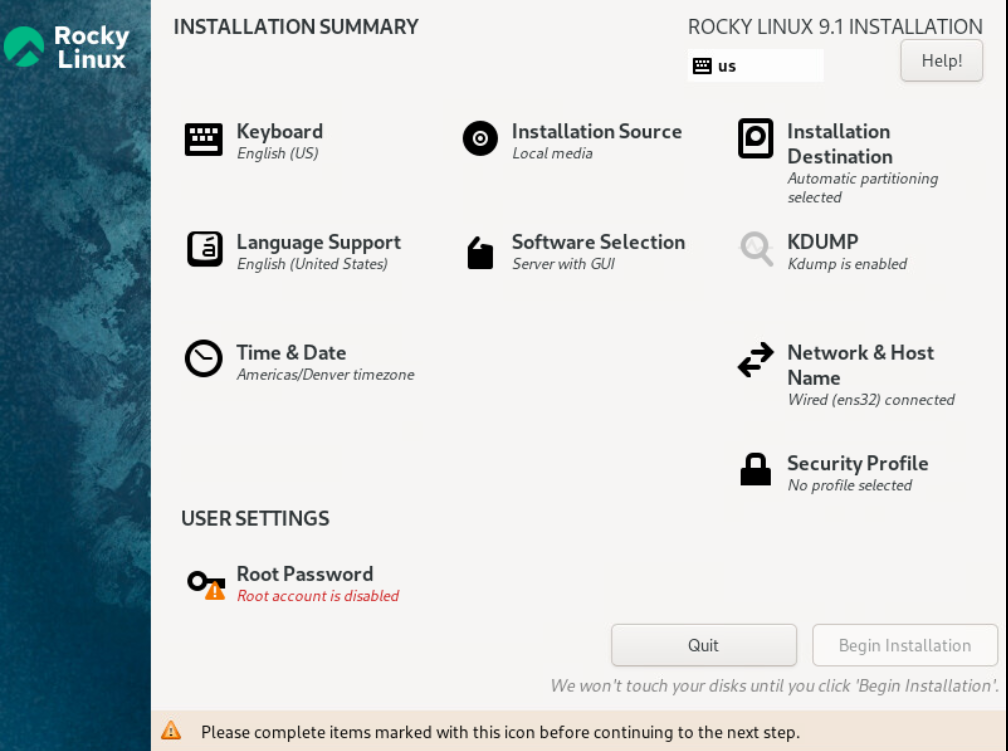
The Installation Summary screen appears.
-
In the System section, click Network & Host Name.
This is required to get networking on your VM without manual configuration. -
In the upper-right corner, click the toggle switch to On.
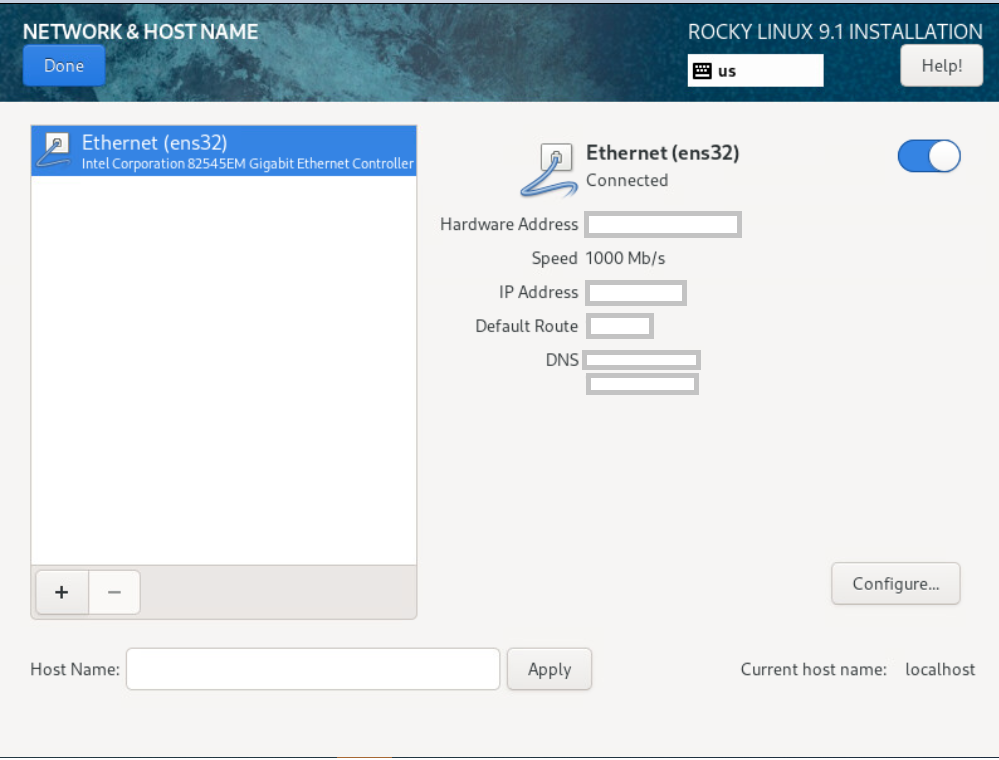
The VM retrieves an IP address and DNS settings using DHCP. -
In the upper-left corner, click Done.
The Installation Summary screen appears. -
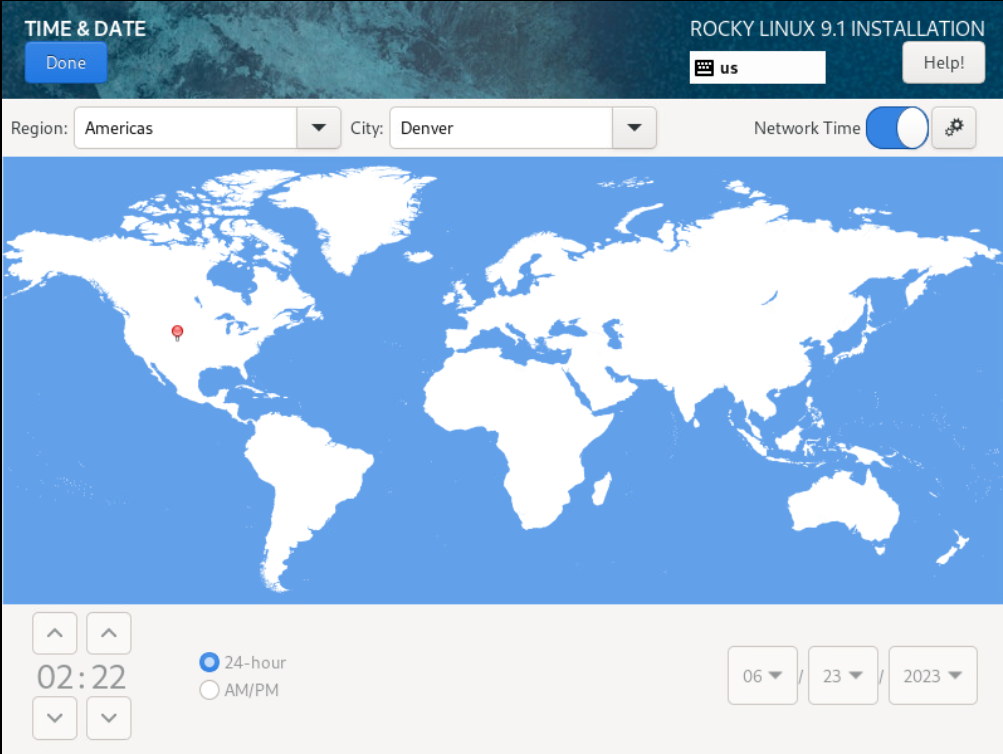
In the Localization section, click Time & Date.
The Time & Date screen appears.
-
Confirm the date and time are correct.
You can also use the Network Time (NTP) option (networking must be configured to use this option).
-
In the upper-left corner, click Done.
The Installation Summary screen appears. -
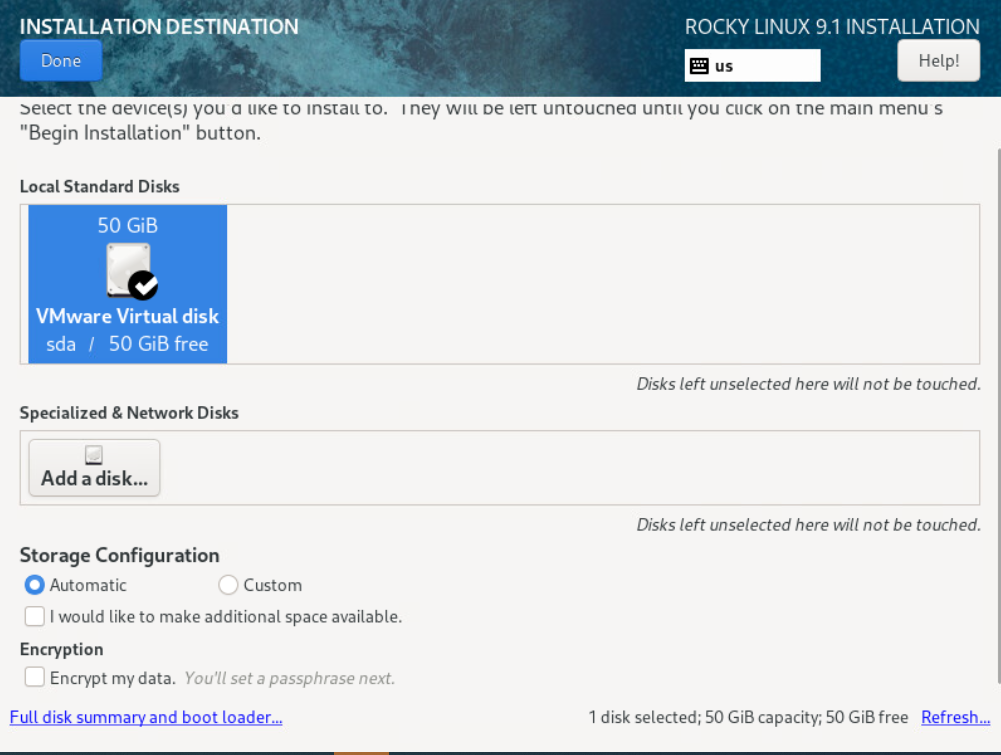
In the System section, click Installation Destination.
The Installation Destination screen appears.
-
Ensure your local disk is selected. The recommended disk capacity is 50GB.
-
In the upper-left corner, click Done.
The Installation Summary screen appears.
-
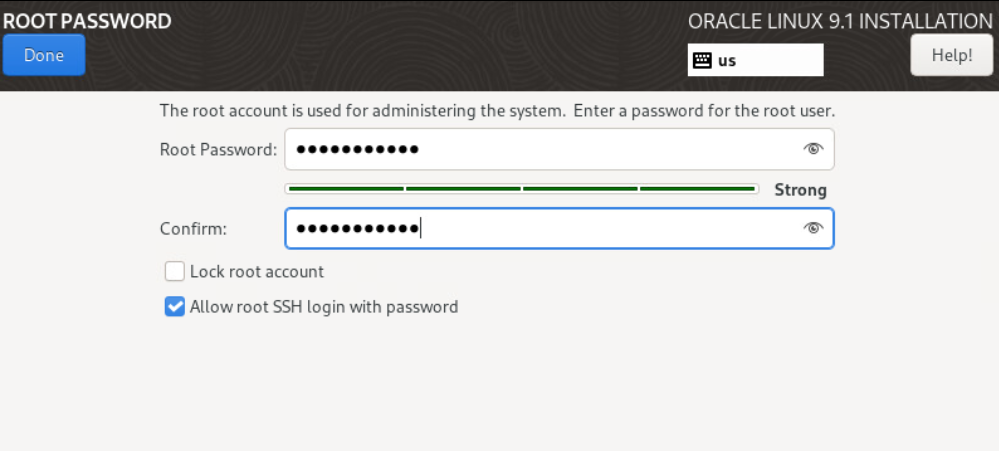
In the bottom-left corner under USER SETTINGS, click Root Password.
The Root Password screen appears.
-
Enter your desired password and check the Allow root SSH login with password checkbox.
-
In the upper-left corner, click Done.
The Installation Summary screen appears. -
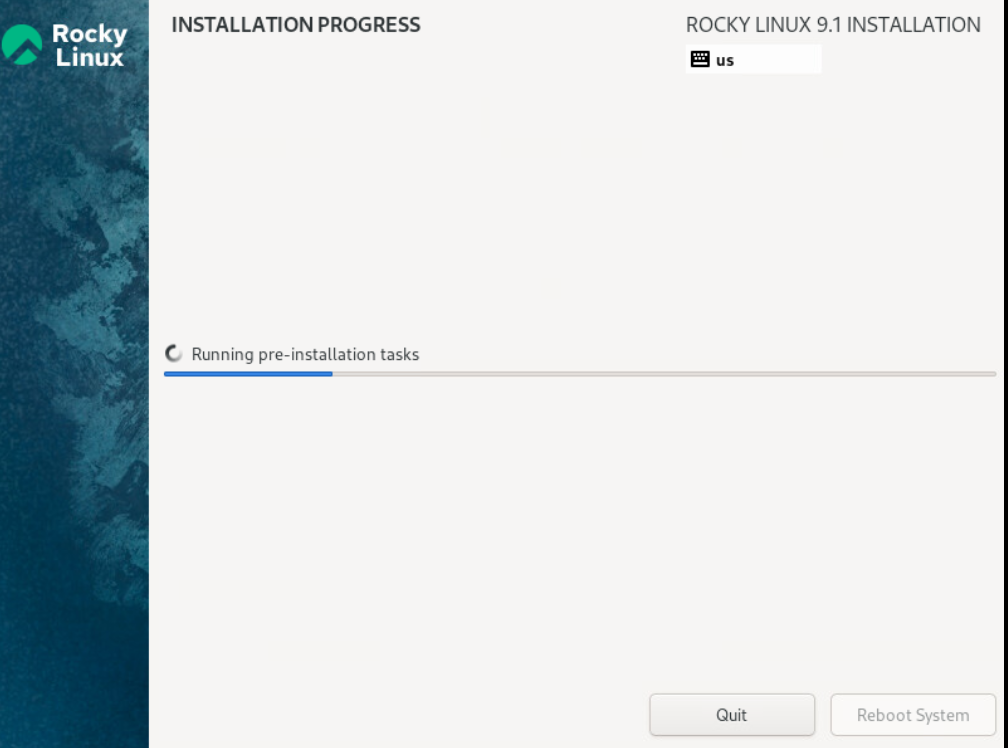
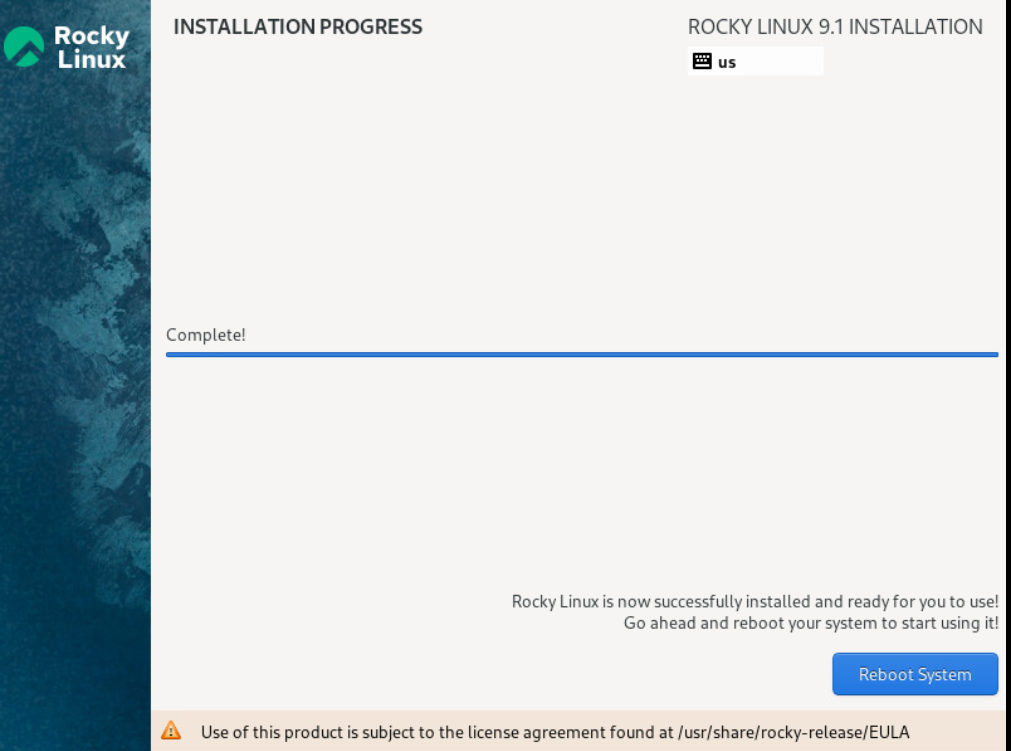
In the bottom-right corner, click Begin Installation.
The Installation Progress screen appears.
-
Once the installation is completed, click on Reboot System at the bottom right corner.
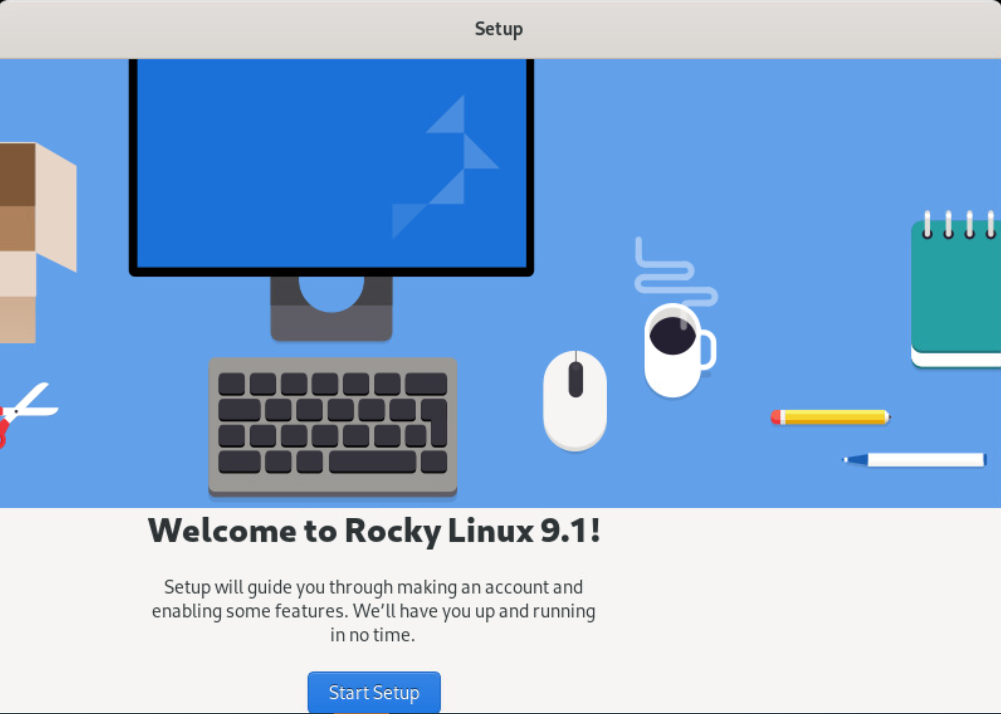
The SETUP screen appears after reboot. -
Click on the Start Setup button.
The Privacy screen appears.
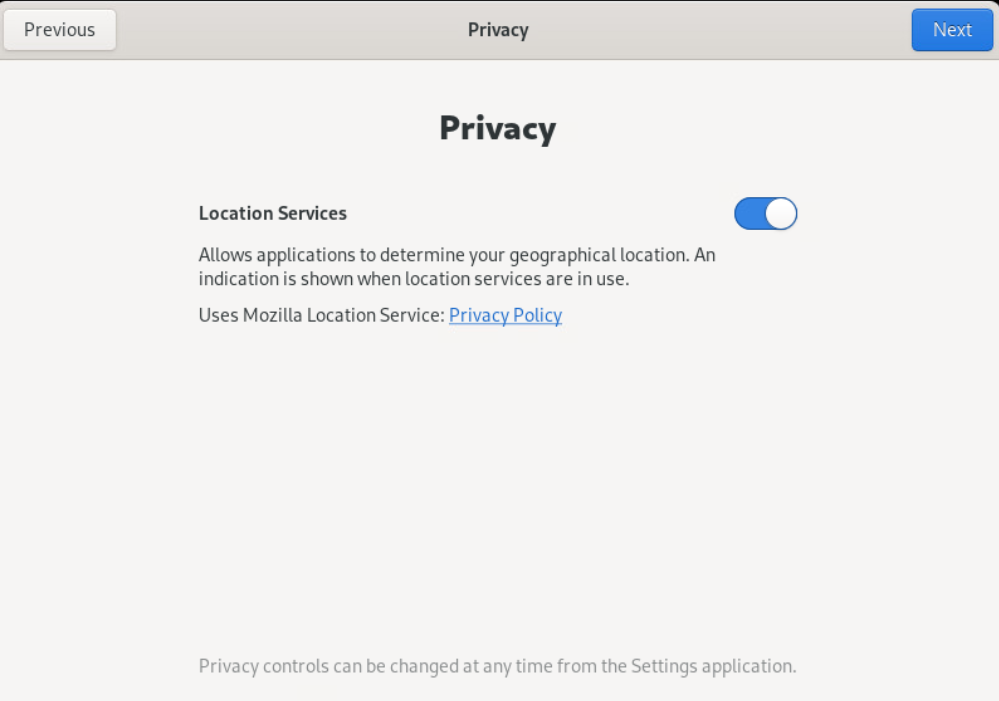
-
Keep the default privacy settings and click Next in the top-right corner.
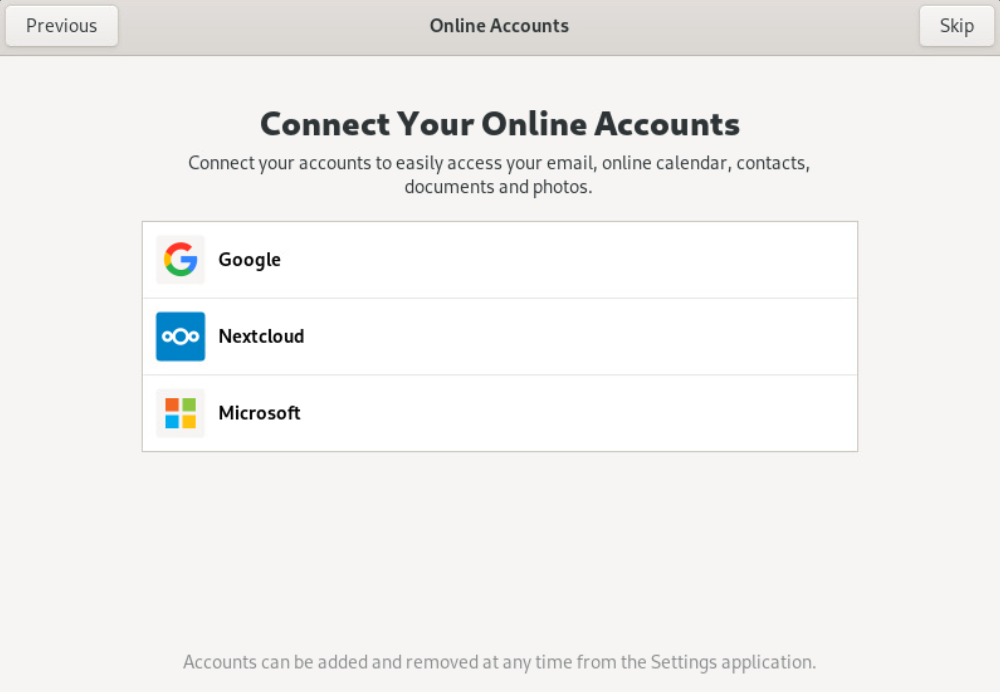
The Online Accounts window appears. -
Optionally, configure your online account, or click Skip in the top-right corner.
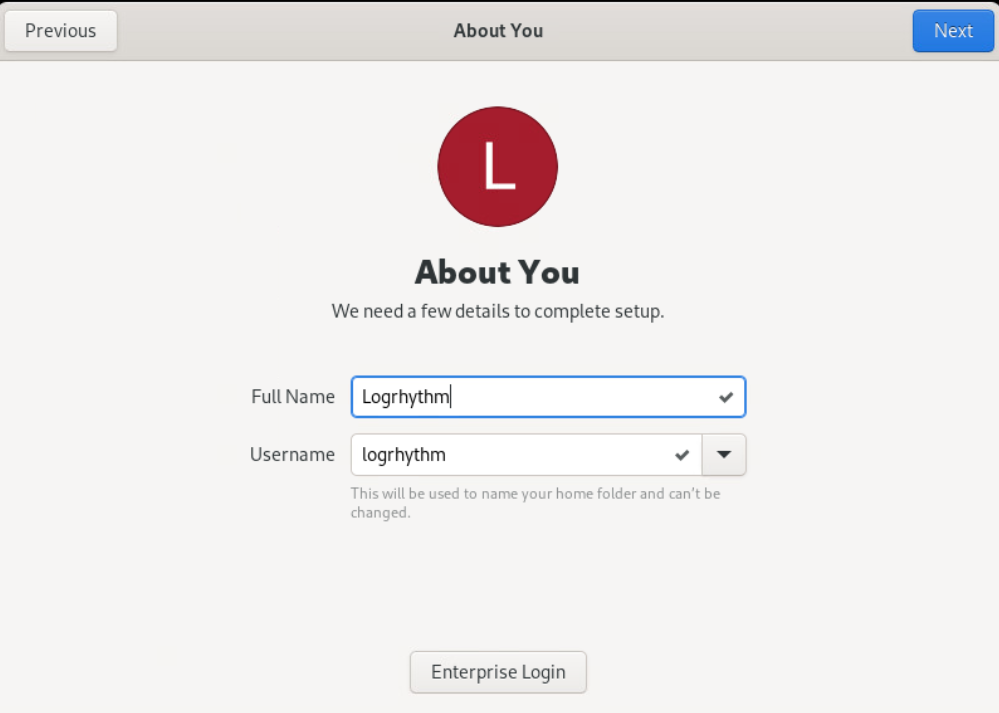
The About You window appears. -
Enter appropriate details for the logrhythm user and click Next in the top-right corner.
The Password window appears. -
Enter a strong password, and then click Next in the top-right corner.
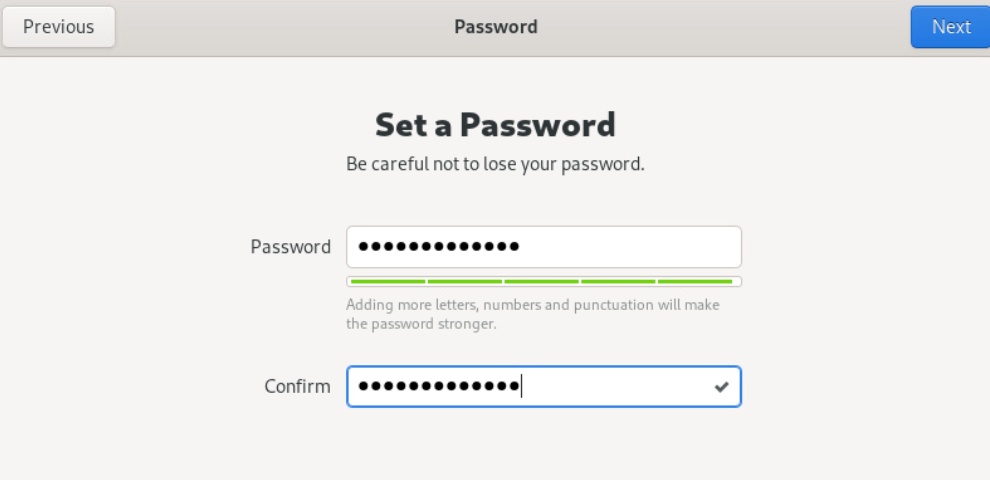
You can also create a logrhythm user manually after installation.
The Setup Complete window appears.
-
Click the Start Using Rocky Linux button.
Make sure to remove the installation media. The method for removal is hypervisor-specific.